 In my previous posts, Powerlifting Prep Lesson #1: The Squat and Powerlifting Prep Lesson #2: The Bench, we took a look at how managing the three key principles of mobility, stability, and tension can have a huge impact on your ability to perform those two lifts at a high level while decreasing the chance of injury. We turn now to the big daddy of them all, the deadlift!
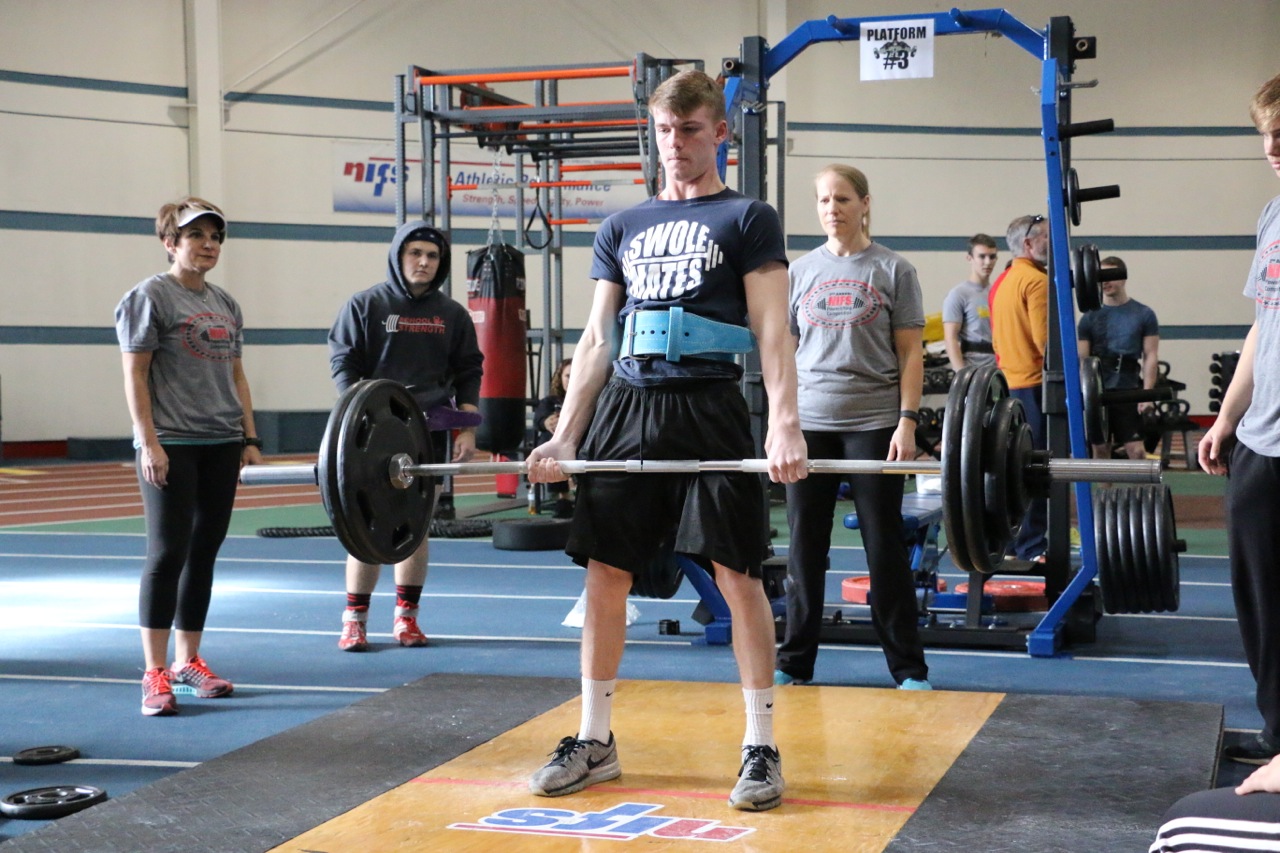
This hinging/pulling lift is easily one of the most popular lifts on the planet, and everybody wants to pull a huge bar from the ground and slam it back down. There really is no feeling like it. And not only does it look pretty cool on Instagram, the deadlift is one of the most functional exercises you can do that transfers very nicely to the outside world. Since the dawn of time we have picked up heavy things and set them back down, essentially doing deadlifts day in and day out. In the powerlifting world, the deadlift is where champions can be forged, or injuries suffered.
So let’s break down this giant lift, focusing on the three key principles introduced earlier:
- Mobility: The full range of motion of a particular joint(s).
- Stability: Alignment, with integrity, under load.
- Tension: Defined with terms such as stiffness and phrases like “bending the bar,” and “spread the floor.”
Mobility
You might think that mobility would not play a big role in this lift, but like most weightlifting movements, it’s imperative. I hope I have done a good job in this series of posts to stress that it all starts with mobility. Strength, power, endurance, and any physical attribute must start at mobility, if you want to be the best that there is. The deadlift is no exception; and if you can’t touch your toes, you probably need to take a few steps back before heavy loading the deadlift.
The deadlift is a hinge pattern, so we will start there by focusing on the active straight-leg raise to monitor and improve the mobility of that pattern. A great place to start is with a leg-lower exercise or a kettlebell butt touch exercise to help improve your mobility for the deadlift.
Stability
For stability, take one more look at the active straight-leg-raise pattern to ensure you capture the mobility you gained through the two movements described above. The lying leg raise with core activation looks a lot like the leg-lowering exercise from above, as it should, but here you are adding stability to the mobility you just gained. Trunk stability is key in the deadlift; without it, spines tend to hyper-flex and lead to injury. Planks and plank variations are always a great place to start, as well as loaded carries and dynamic-stability movements such as a sandbag plank drag to challenge and train the musculature of the trunk so you can pull more weight safely.
Next, and just as with the squat and the bench, intra-abdominal pressure will also be key in pulling the most weight possible. Remember to “fill the can” by inhaling fully and pressing the air against your belt during the set-up and first phase of the deadlift. This again will help fire all of the muscles of the trunk to provide maximum stability during the lift. If you want to learn more about breathing and stability in loaded movements, check out this article from Mike Reinold as he breaks down this concept even more.
Tension
Tension in the deadlift starts with grip! Many studies correlate grip strength to overall strength, so the stronger the grip the bigger the deadlift. Loaded carries and all the variations are my go-to to help train grip strength as well as any pulling motions such as chin-ups and inverted rows.
In the other two lifts I referred to “bending the bar” as a cue to create tension in the system (body) during the lift. In the deadlift, I want you to think about taking that tension out of the bar by preloading the system before pulling the bar from the ground. Pull the bar toward your body without it leaving the ground; you should hear the plates make a kind of clicking noise. This will fire the lats and other spinal musculature to brace before accepting the load of the bar. Ideally in doing so, your entire body will move as one system, like a crane lifting a two-ton I-beam. This will make you a stronger unit to pull the bar off the ground and help eliminate hyper-flexing in the spine that can lead to a bad injury.
***
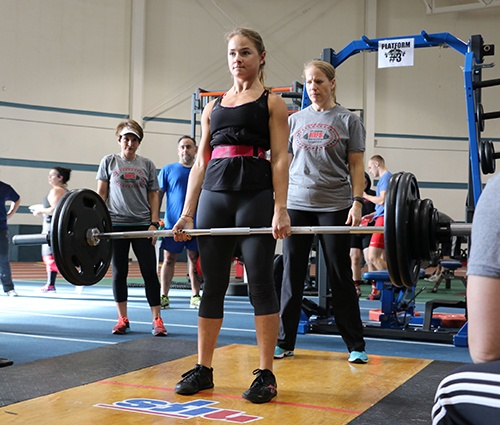
Executed correctly, the deadlift is a super-functional and super strength-building exercise. It is also one of the more exciting lifts in any powerlifting competition, and it’s sure to make some noise once again at the NIFS 5th Annual Powerlifting Competition coming up on November 10. Registration is full, but you should still come out and support all the athletes competing. It is a great show of strength, competition, and sportsmanship and great way to spend a Saturday morning in November!

This blog was written by Tony Maloney, ACSM Certified Exercise Physiologist and Fitness Center Manager. To find out more about the NIFS bloggers, click here.
 Functional training is an excellent approach for longevity and maintaining a healthy lifestyle and functioning body because it emphasizes movements that mimic activities of daily living, enhance flexibility, and improve overall mobility. In this blog, you will learn about the different functional exercises that can contribute to your longevity, along with their benefits and daily function.
 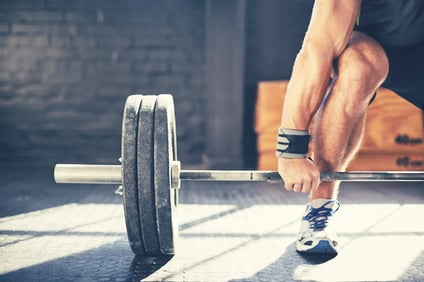 With the sport of powerlifting taking off in the last couple of years, more and more people are taking up the sport as a hobby and to improve their overall fitness levels. Training to improve strength in the squat, bench, and deadlift is a great way to improve total body strength and improve body composition.
 The deadlift is a creature all its own. There is no other exercise like it, and there are so many reasons behind that. It can be one of the most beneficial total-body exercises, yet at the same time, one of the most detrimental if performed incorrectly. Numerous factors go into this very important lift, but there are a few tricks to keep in mind to help you set up and perform well consistently while avoiding injury.