 When watching elite athletes during competition, there are many athletic traits and features that we novices or amateurs marvel at. We think to ourselves, “If I did something like that, I wouldn’t walk for a week!” Seeing an NFL running back or wide receiver make a cut at full speed, a baseball player hitting a 400-foot home run, or a powerlifter deadlifting the weight of a Volkswagen Beetle are feats that just leave you in awe.
One of my favorites is to watch the jumping ability that is on display in countless basketball, football, and many other sporting events. Nothing seems to get fans and folks like myself more fired up than to watch an NBA player effortlessly float in the air and dunk on an opponent, or an NFL receiver jump up over two or three defensive players and come down with the football. No doubt, the combination of high-level athletic ability and hard work has paid off for many of these professional athletes with what seems like superhuman abilities. There is a reason that we see these men and women on TV and pay to see them during competition. The capabilities of the human body are crazy!
Improve Your Jump to Improve Your Sport
So, many of you reading this are probably not professional athletes. You might be former high school or college student athletes who have since “retired” from your respective sport. Like many of us, the “athlete” in us never really goes away. We find other sports or competition to feed that drive that we had as we grew up by playing recreational-league sports like basketball, flag football, or soccer, or have picked up new sports such as golf (like this guy) or tennis. And if you’re anything like me, you want to try and continue to improve in your new sport as much as possible.
Regardless of where you are in the timeline of your athletic journey, the vertical jump and vertical power will always play an integral role in your performance. Basketball and volleyball are the most obvious sports that are reliant on these abilities, but golfers, tennis players, and athletes in any other sport that utilizes rotational aspects would benefit highly by increasing their vertical jump. I mean, who wouldn’t want to hit the golf ball farther or add a few more miles per hour on their tennis serve?
When it all comes down to it, the amount of force we can put into the ground will dictate a lot of the athletic actions that happen with our bodies.
Three Jump Training Styles
Below I break down three different types of jump training styles that will put you on your way to soaring above the competition.
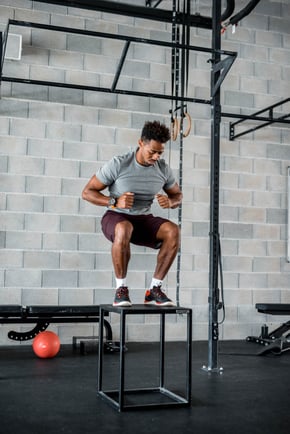
Body Weight
This is the most common type of jump training that you will see. Utilizing only the weight of your body, you perform these plyometric jump movements with little or no equipment. In the video below, you will see three movements starting from easiest to most advanced. These include the following:
- Wall Touches
- Box Jumps
- Depth Jumps
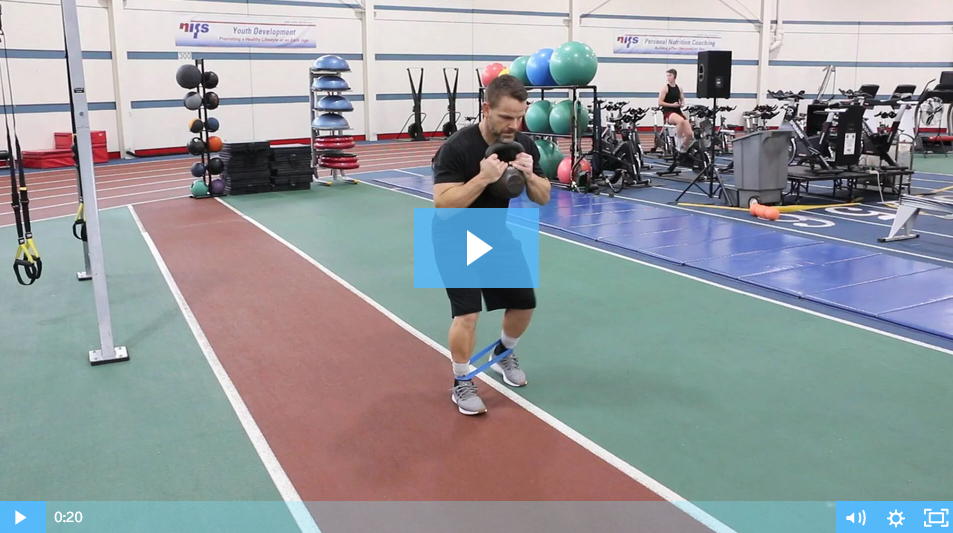
Resisted Jumps
Now we get into some of the less common vertical jump training options. Resisted jumps add some type of downward-pulling resistance that will make your jump seem more difficult and hopefully help you generate more effort into the movement. The movements in the video below include the following:
- Medball Powerball
- DB Resisted Jumps
- Band Resisted Jumps
Assisted Jumps
The third variation is assisted jumps. In my opinion, these are the most enjoyable. The goal here is to feel like there is a trampoline-effect going on where you just seem to spring up into the air. Most (if not all) variations will utilize a band. The three movements I have chosen for you are the following:
- Banded “Belt” Jumps
- Band Rack Pogos
- Band Rack Squat Jump
All in all, the vertical jump is a very important skill to improve and master with regard to overall athletic ability. When it all boils down, the amount of effort you put into the training will dictate the results you get. Doing the majority of your jumps at 50 percent effort will yield an improvement in just that: jumping at 50 percent. Try to maximize your effort with each set and repetition where you are working at or above 90 percent effort, whether that be because of doing lower repetition ranges (1–5 reps) and/or making sure that you are fully recovered between sets (about 1–3 minutes’ rest).
Give great effort, get great results!

This blog was written by Alex Soller, Athletic Performance Coach and NIFS trainer. To find out more about the NIFS bloggers, click here.
 Whether you’re a competitive athlete, a weekend warrior, or the casual gym-goer, addressing mobility concerns can go a long way toward performance enhancement and injury prevention. If a joint is unable to move through a complete range of motion unloaded, then it’s going to be “bad news bears” when it comes to putting that same joint under any external load. Eventually, limited mobility could lead to muscular imbalances and compensation patterns, which could ultimately lead to the onset of injury. In other words, you can’t look to build strength on top of dysfunction.
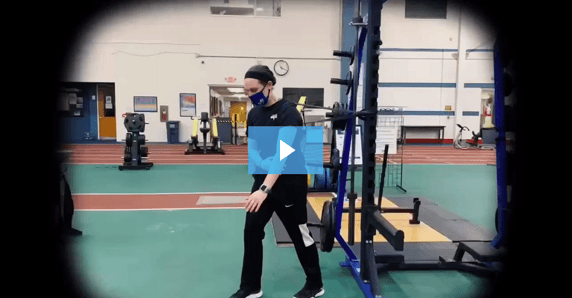
 The saying often goes, “success breeds success,” but I’m a big believer that failure leads to just as much and even more success. Being reactive in nature to a situation (as most of our population is) can delay a successful outcome, but often does lead to one. Obviously being proactive, anticipating and avoiding rather than catching and correcting, is a more successful model of living; but we find ourselves in situation we really couldn’t anticipate. There are some lessons to be learned and success that can come from this desperate situation we are all in.
 In a world where in many cases bigger is better, just because something is small doesn’t mean it’s less important or can’t have big impact. Being short in stature my entire life, it has always been my motto that “dynamite comes in small packages,” and I have strived to create as much BANG as I can in all facets of life. Small in stature can provide big results when you light the proper fuse and utilize its power maximally.