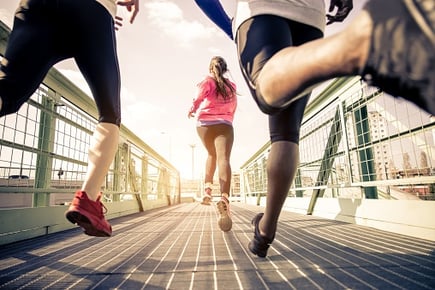
If you have never entered a powerlifting competition but are interested in competing for the first time, it's a high-energy, exciting celebration of strength. Many enter with the goal of dominating their weight class as well as grabbing that coveted top male or female trophy and being Champion.
 If you are one of the athletes who want to throw their hat into the ring, I want to give you three key principles that will help you be the best you can be on event day for each of the three lifts. Those lifts, of course, are the squat, bench, and deadlift. Today we will focus on the squat. We will get to the other two soon, so keep an eye on the NIFS blog. You can improve by using these three key principles, whether you are a competitor or a spectator.
We will look at the same three weightlifting principles for each of the lifts, but each concept will be aimed specifically for each of the three different movement patterns. I learned long ago that principles should guide not only your training, but also your life. And as it relates to movement, variations of movement patterns may change, but the principles to train it will not.
The three key principles we will focus on for each of the lifts are
- Mobility: The full range of motion of a particular joint(s).
- Stability: Alignment, with integrity, under load. (A great lesson from Gray Cook that I learned in a workshop once.)
- Tension: For our context in this and the two following posts, we will define tension as the word stiffness and explain phrases like “bending the bar” and “spread the floor.”
All three of these principles will directly impact how well you perform in each of the three lifts in specific ways. Let’s see how these can impact your squat and how to work to make things better.
Mobility
In the squat, and the back squat specifically, we continue to find the lack of ankle mobility to be a huge factor in how deep you can go and how much weight you can throw on your back. In a July article by Gray Cook (if you can’t tell, I learn a lot from him), Gray explains the importance of knowing your ability to flex your ankle and how it can disrupt the chain. Come see us and we can provide that screen for you. Improving your ankle mobility is a sure-fire way to improve your squat. The first step would be to do some soft-tissue work on the calf and surrounding areas using a foam roller, roller stick, or tennis/lacrosse ball. A simple drill that I would recommend is a wall ankle flexion drill, which you will perform in a few different directions.
Place your hands on a wall with one foot approximately 2–3 inches away from the wall and stagger the other foot behind you. While keeping the heel of the front foot “glued” to the ground, attempt to touch the wall with that same-side knee. Hold the position for a 2 count, return to the start position, and repeat for 4–5 more reps. Then aim that same side knee over your big toe and repeat for 5–6 reps, and then again but with your knee aimed out over your pinky toe. Switch legs and repeat the series. If you can touch the wall with your knee and your heel stays on the ground, move back one inch. The goal is to increase the degree of flexion in your ankle. You can measure your progress by how far from the wall your foot is.
Stability
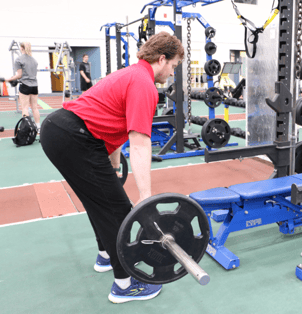
Considering that powerlifters place huge amounts of weight on their shoulders and pretty much sit down and stand up, spinal stability is so important in performing technically sound and safe squats. Of course, planks and carries are great exercises to strengthen your trunk muscles, which will help prepare you for squatting, but what about during an actual mid-weight squat? Increase your intra-abdominal pressure by bracing your abdominal and low-back muscles. A great way to accomplish this is by wearing a belt. Tighten the belt and push your entire midsection against it, then squat. The belt also provides its own stability by reducing spinal flexion, or bending over. Lastly, wearing a belt is a requirement during competition, so if you are not training with one, you’d better get on it.
Tension
Tension, or stiffness in a lifter, is key when loading up the body with a challenging load. Without it, safety is at risk as well as success in completing the lift. “Bending the bar” is a phrase we use where a lifter will attempt to bend the bar on their shoulders by pulling the bar down with their hands. This, as they say, will take tension out of the bar and stiffen the lifter to move as one complete unit. Another major benefit of this cue is engaging the lats of the back by pulling the bar around your shoulders to help engage the glutes, which are key muscles in a strong squat. The lats connect to the glutes, the only muscle that connects the upper and lower body. Simply put, by creating tension in the lats, you increase the effectiveness of your butt.
The other cue that will increase tension in a lifter, specifically in the glutes, will be to “spread the floor” with your feet. Once in position and before you squat, feel as if you are trying to create space between your feet by pushing the floor away. Your position should not change, but your tension surely will. Maintain spreading the floor throughout the squat to reap the full benefits of this strategy.
***
So squat on, athletes, using mobility, stability, and tension to improve your positioning, which will ultimately lead to bigger lifts. Stay tuned as we break down the bench and the deadlift, focusing again on these key aspects.
Come watch our 6th Annual Powerlifting Competition here at NIFS, Saturday, November 9th at 9am.

This blog was written by Tony Maloney, ACSM Certified Exercise Physiologist and Fitness Center Manager. To find out more about the NIFS bloggers, click here.
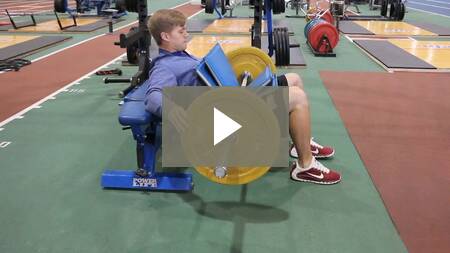
 The Hip Hinge Pattern
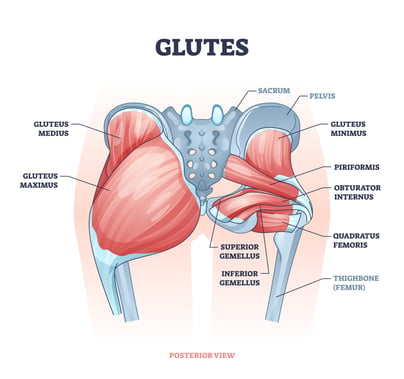 The Gluteal Muscles
 Squatting has always been the go-to exercise for those who want to make glute gains. You have probably heard someone say, “If you want to get better glutes, squatting is the way to go.” Recently, though, hip thrusters have gained momentum as the best exercise for glute development. Although, there is no concrete evidence that one is better than the other, some
 The benefits and importance of developing the glutes in sports performance, fitness, and physique is a popular topic these days and has been for quite some time. In fact, an entire industry is built around shaping the perfect backside for some, and developing the most powerful athlete for others.
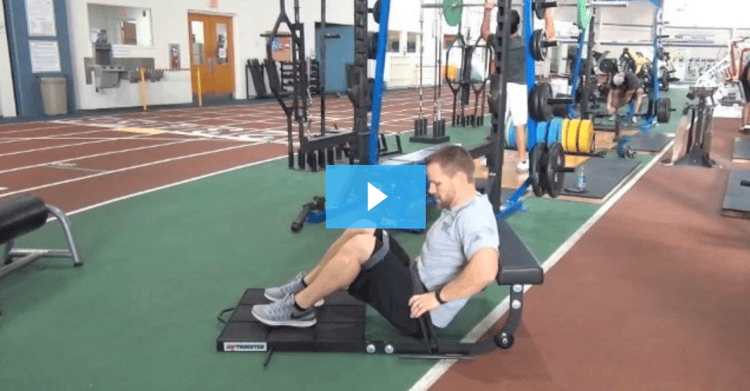
 Having strong glutes is essential for reducing your risk of injury and preventing lower back pain. Those muscles help protect your knees while walking and running, they help you with your speed, and they stabilize the entire leg. Without strong glutes, the entire lower body may fall out of balance causing other injuries
 In part 1