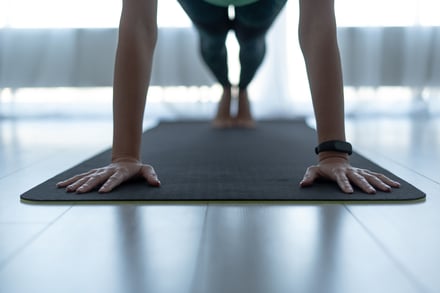
 As we get into the season of gratitude, it’s the perfect time to think about how we can strengthen our bodies and minds. This November, we’re super excited to kick off the holiday season with a Planksgiving Challenge! Whether you’re a fitness pro or just starting out, planks are a fantastic way to build your core strength, improve posture, and up your overall fitness game.
Let’s chat about the benefits of adding planks to your routine and tips to make the most of your Planksgiving efforts. Get ready to boost your fitness while appreciating the strength and resilience of your body by committing to a stronger you—one plank at a time!
Why Planks?
- Posture and Low Back Pain Prevention: Planks are a great way to help maintain good posture and can prevent lower back pain by strengthening the core muscles.
- Balance and Coordination: They engage multiple muscle groups at once, which helps improve your balance and coordination, making everyday activities easier.
- Convenient, Total Body Exercise: Planks are super versatile! Whether you are doing a workout in a gym, at a park, or at home, planks activate multiple muscle groups at once to allow a bigger bang for your buck.
How to Work Planks into Your Routine
There are several ways to incorporate planks into your routine. For example, you can add them at the beginning of your workout as a full-body warm-up before you start. Performing three to four sets of planks before you start your workout is a great way to warm up those tiny stabilizer muscles and help you build a mind-muscle connection before performing your workout. Planks can also be added to the end of your workout as a finisher. Adding in planks at the end of a workout is a great way to strengthen your core and help build endurance in the muscle groups activated.
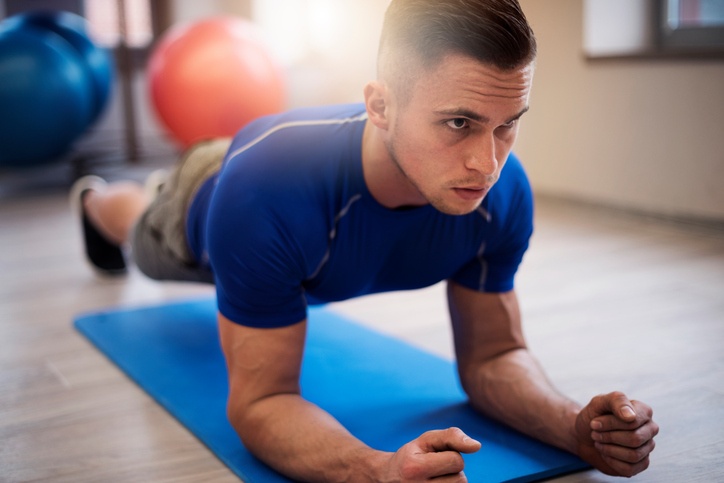
Sample Plank Circuit
- Standard plank hold: 2 sets, 30 seconds each
- Side plank hold: 2 sets, 30 seconds each side
If you’re new to planks, they can also be easily modified by dropping the knees to the ground, coming up to the hands in a high plank position or by being performed on an elevated surface such as a weight bench or box.
Make November a time to celebrate fitness, resilience, and gratitude by joining us for the Planksgiving Challenge! Whether you’re looking to strengthen your core, improve your balance, or just try something new, this challenge is for everyone. See a NIFS staff member to get started!
 The plank series needs no equipment, only a wall (if you make it that far). Attempt to complete the plank series in order. Complete the plank progressive series on the days you work out at the end of your workout. If you are x2 days in a row successful and have perfect technique with the exercise, move on to the next progressive variation. You will see that the traditional plank is repeated multiple times and we will add time as you progress along over break. You do not need to do more than what is asked of you. It will be easy at first, but trust me: it gets harder by the end.
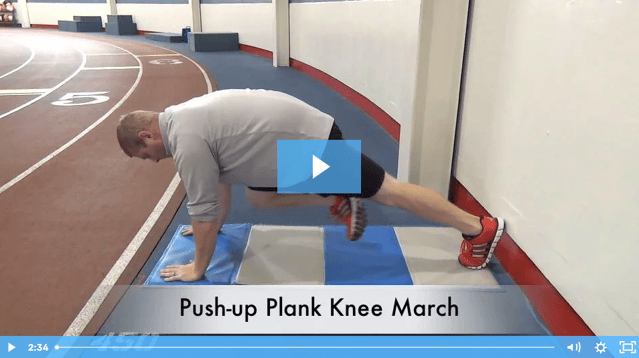

 Some of the number-one fitness goals are to strengthen the core, lose belly fat, and get six-pack abs. These are all pretty good goals that can be addressed by a fitness professional and a dietitian, but everyone might not have that luxury. From a traditional perspective, we have mainly used a few ab exercises such as crunches, sit-ups, and variations of them. For the most part, these are better than the alternative—nothing at all.
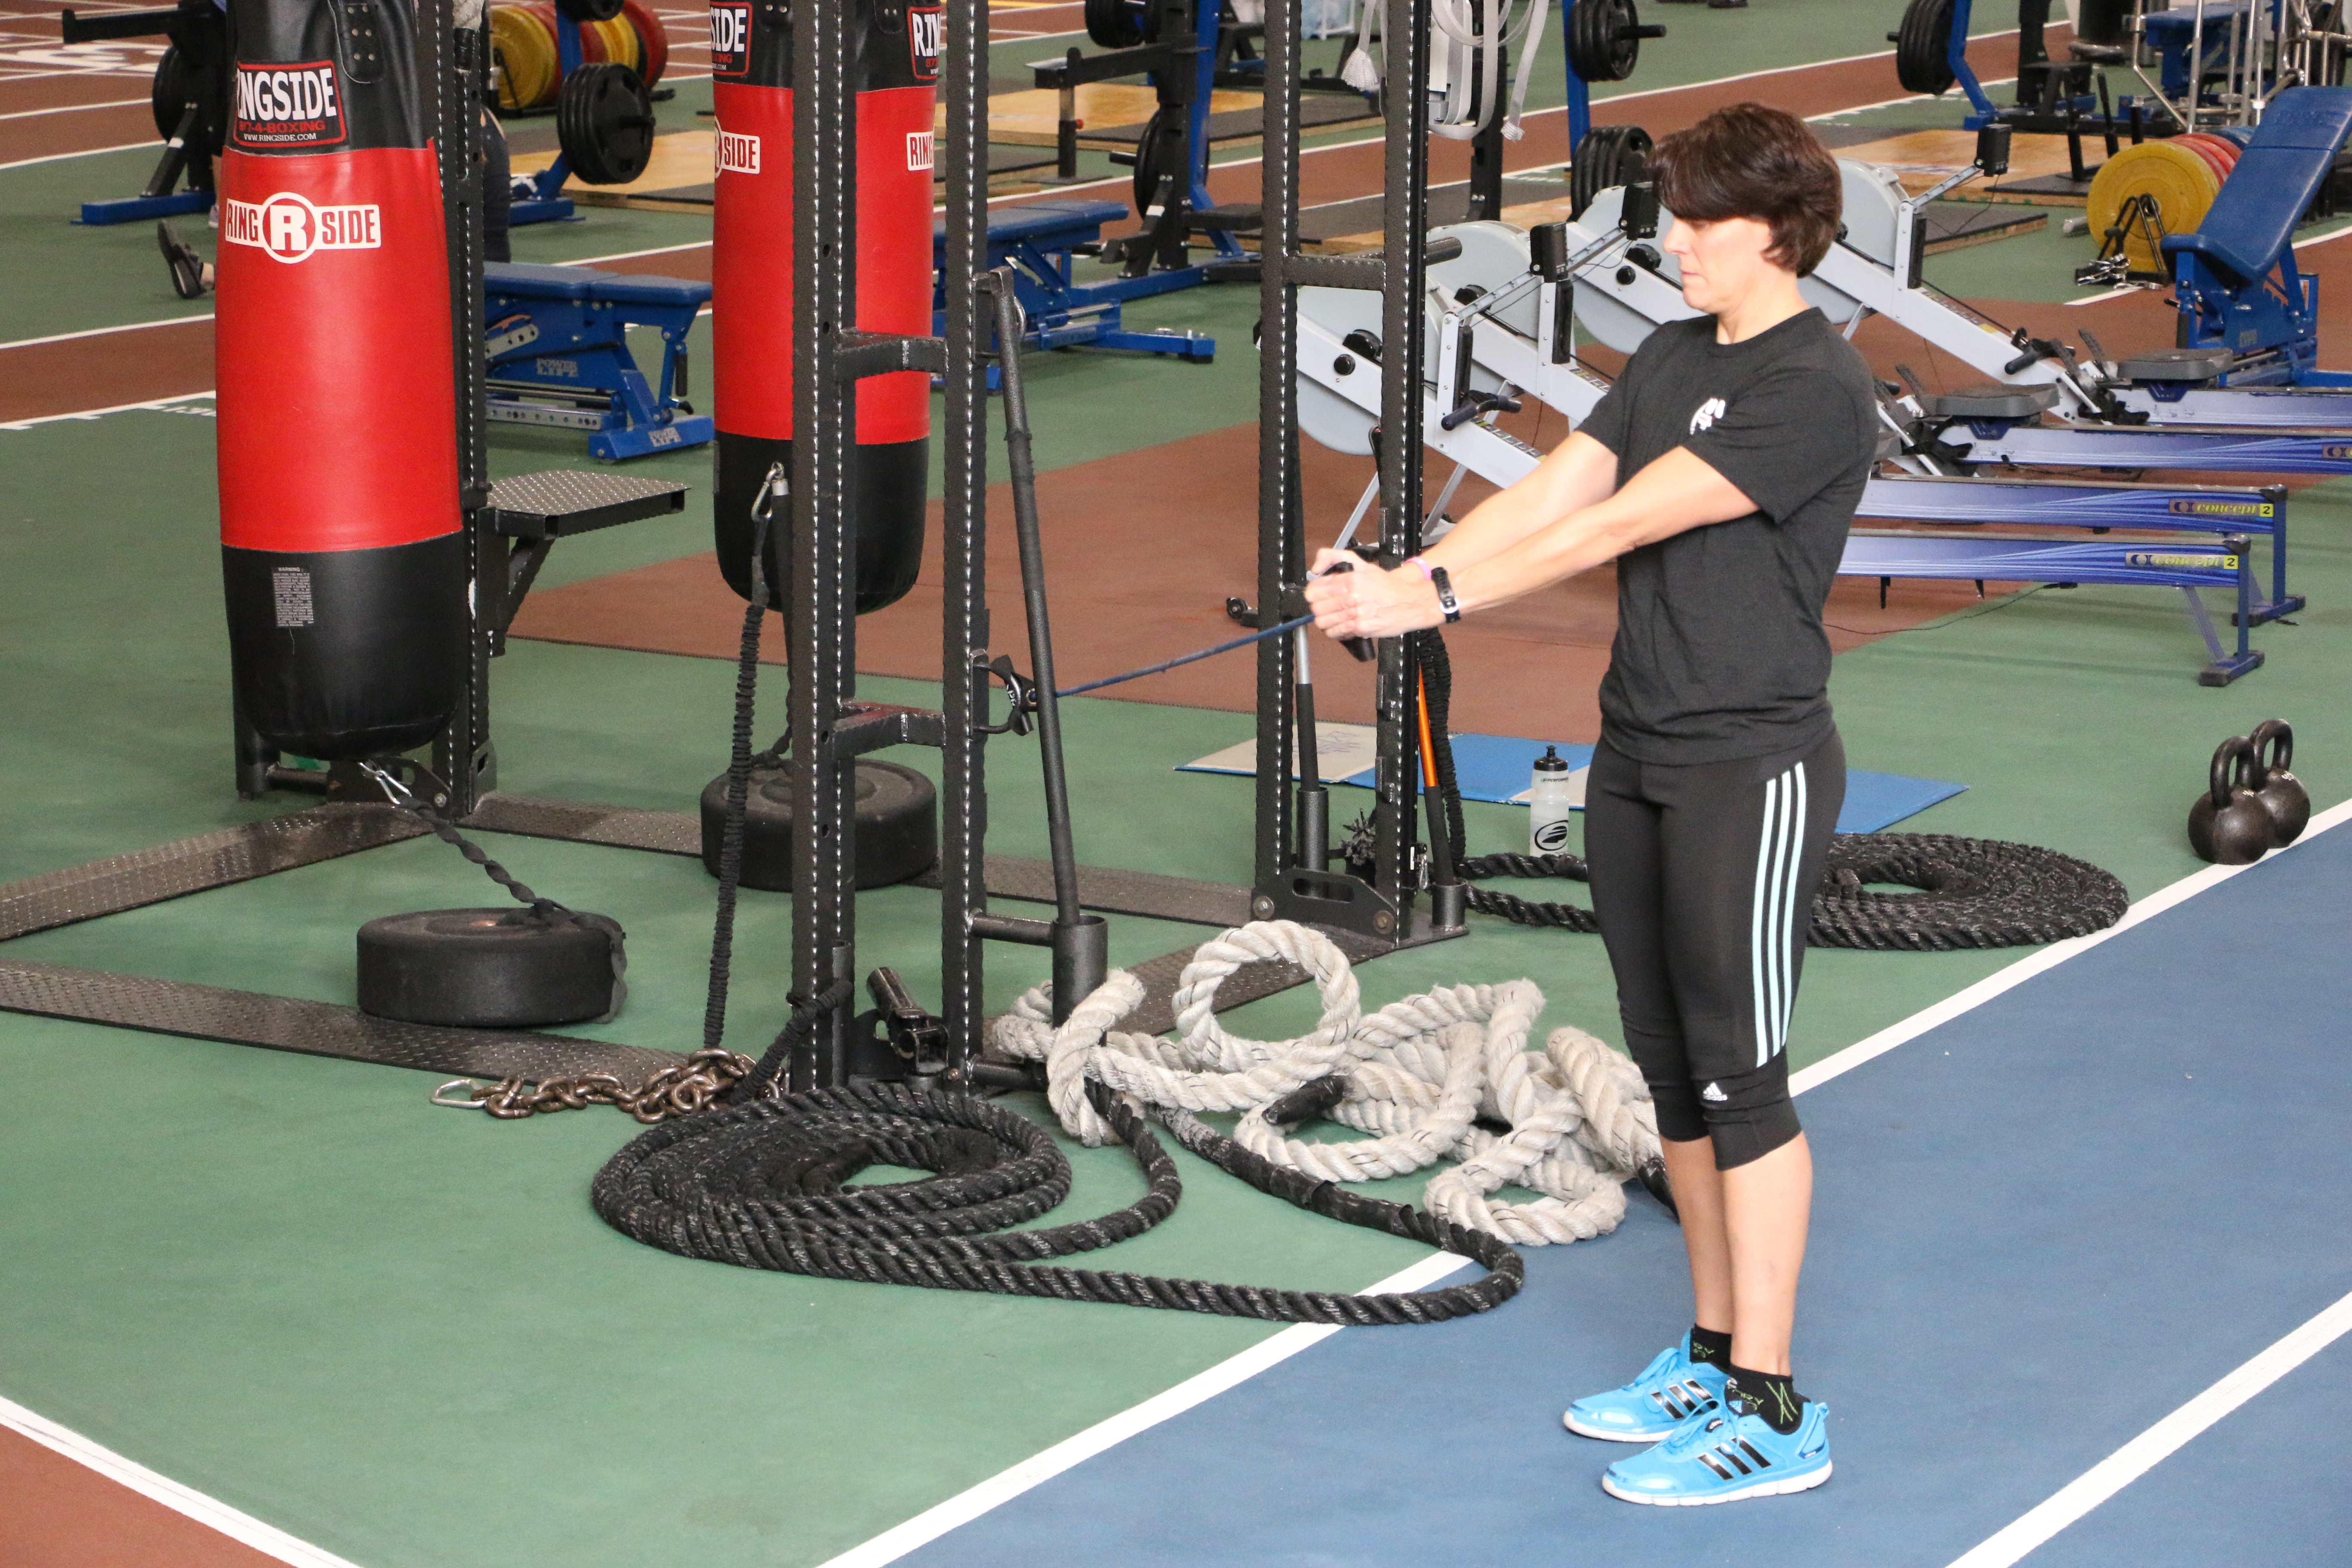 Anti-rotational holds: Using either a cable machine or bands, stand perpendicular to the anchor point while holding your handle directly in front of your midpoint. To increase the intensity, I suggest introducing a kneeling or half-kneeling position, making the core work even harder.