The Pain-Free Three workout was created years ago for NIFS Mini Marathon runners and walkers, the moves are effective for a quick and easy way to boost your leg and core strength. You will develop the supporting muscles to balance out the weakness you may have. Strengthen your glutes, and hamstrings with the Deadlift. The quads and core get work with Lunge variations and the upper body and core get work with the Inchworm. As with any program consistence is the key. There is a training plan below but a few reps of each of these before and after your running or walking will keep your body strong as you increase your mileage in the coming weeks. Running the Mini Marathon is a wonderful way to test your fitness, but the last thing you want is to be hurting at the starting line.
Three moves to assist you in being your best!
These exercises can serve as a warm-up and/or cool-down. While they initially may be difficult to perform, keep working at them and ultimately they will serve as a perfect complement to your running or walking routine.
Weeks 1 – 8: Perform exercises 3 times per week.
Weeks 9 – 14: Perform exercises 2 times per week.
Weeks 15 – 16: Perform exercises once per week.
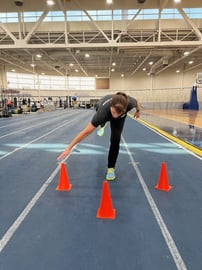
1. One Leg Deadlift with Touch (Hamstring, Glute, Back, Core, Shoulder)
Stand tall on one leg (knee slightly bent); stay stiff from the top of your head to the opposite heel.
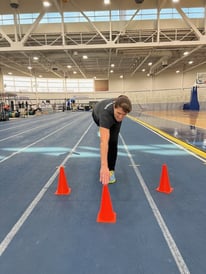
Place a target in front of you and one on each side. Hinge at your hips, and lean forward, until your body is in a T shape. Using the opposite hand of the leg you are standing on, reach in front of you as far as possible. Slowly return to the start position. Adjust targets if needed.
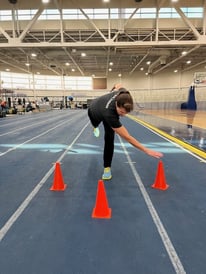
Next, hinge at the hips and reach out to the opposite side of the leg you are standing on. Slowly come back to start.
If you need help staying balanced, hold onto a chair, brace against a wall, etc. with a non-reaching hand. Each week you will notice your balance improving and your flexibility allowing you to reach further!
2. Lunge progression (Total Body)
Standing tall, bring your knee and toe up as high as possible without tilting back.
Stride out into a lunge with your front ankle directly under your knee, back knee flexed (knee may touch the floor to decrease difficulty), and shoulders over hips (not tilted forward).
Targeting the IT Band: At the bottom of the lunge, extend the arm opposite of the stride leg up and lean over to the opposite side. Feel the stretch along your side, down to the hip. Come back to the center and push off the back leg to start the next step. Proceed with high knee/ toes on that leg (squeezing the glute of the standing leg will help with stability). Perform 2 lunges and stretches per leg.
Targeting the Total Body: At the bottom of the lunge, bring your arms up and bend your elbows to 90 degrees. Turn your shoulders toward the side of the front leg, looking as far to that side as you can. Turn back and stride into the opposite side. Perform 2 lunges and stretches per leg.
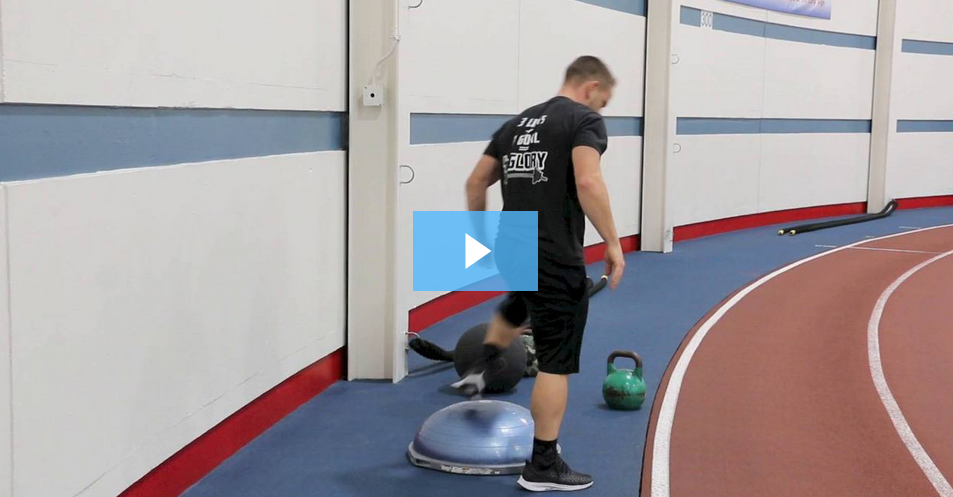
3. Inchworm
Begin with your hands and feet touching the floor (bend knees, if necessary). Walk your hands out to the push-up position. Perform 2-5 pushups, keeping your body in a straight line. Drop to your knees if you cannot keep your hips from sagging (quality over quantity).
After the last push-up, keep your hands planted, and drive your hips up, then take small steps forward (driving your heels into the floor) until your knees are slightly bent. Walk out with your hands again and perform 2-5 push-ups.
After the second set of push-ups, bend your knees and walk your feet to your hands. Shift your weight to your feet and slowly rise. Perform 4-6 repetitions.
This blog was written by Kris Simpson, BS, ACSM-PT, HFS, personal trainer, and USTA at NIFS. To read more about the NIFS bloggers, click here.
 We all know that core stability and strength is an important factor in exercise, athletics, and even daily living. Being able to properly brace and stiffen the core is an important skill in preventing lower-back injuries when attempting certain movement patterns that occur every day. The abdominal crunch, which people often think of as a core exercise, is actually not a movement we see in our day-to-day lives. Try and think of a time you have had to mimic the abdominal crunch under a heavy load: it simply does not occur.
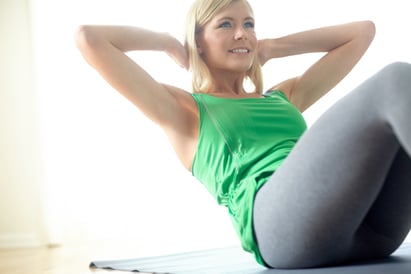 Low-back pain is an issue with so many people who are spending entire days sitting to do work. Stretching and mobility work will help ease the lower-back pain, getting the muscles to relax and loosen. Here are some moves to get loose and then start to strengthen the core to keep the pain away.
 Whether you are sitting, standing, walking, running, or exercising, having good posture plays an immense role in not only how you physically present yourself, but how your body develops over time. Just like most habits, posture has both good and bad sides, each with distinct effects on your body. Focusing on ways to get the most out of your posture can ultimately give you not only a better workout, but also improved health for many years to come.
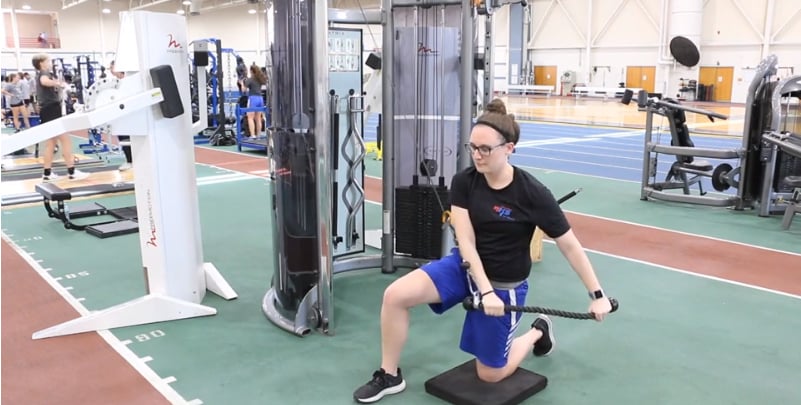

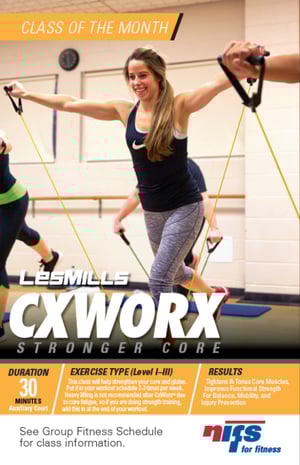 CXWORX
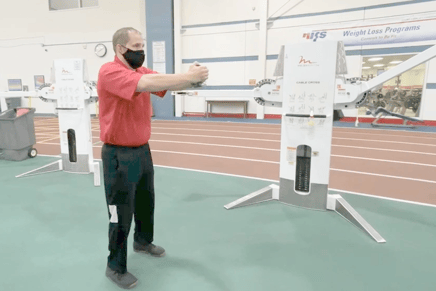
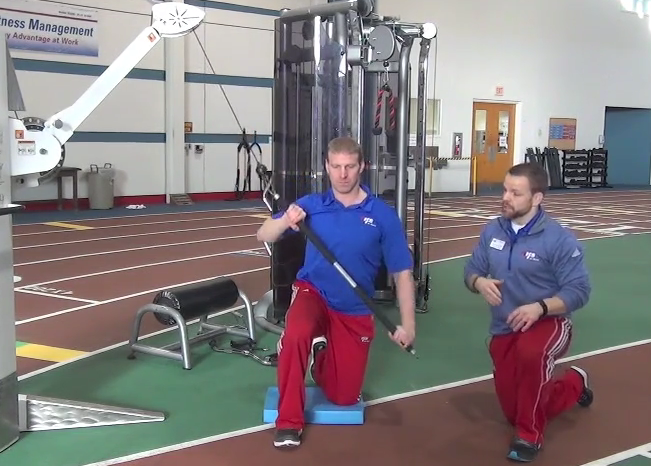 Chops
Chops Our Group Fitness Class of the Month is going to PUMP (*insert handclap) you up!