 In my last blog I briefly described the importance of the Functional Movement Screen to determine where one should begin with their workout program. The score that an individual receives determines whether they are ready for certain movements. In this blog I will go more in depth about the actual purpose of each test of the FMS, what the scores mean, and the reliability of the FMS.
The Purpose of the FMS
The FMS was created to measure motor control of movement patterns, quickly identify pain or limitations that need to be addressed, and to set a baseline for movement competency within the body. Being able to determine asymmetries in the body will help the tester figure out which movement has the greatest deficiency and which movement needs the most help. The FMS consists of seven movement patterns that are performed without warmup. The reason is that we want to see what a person’s movement capacity is at its natural state.

The Exercises That Are Part of the FMS
Here is more detail on each of the exercises that are part of this screening:
- Deep Squat: This test shows us the most about how a person moves. The reason is that it allows us to see total extremity mobility, postural control, and pelvic and core stability. If you think about it, everyone at some time in the day performs a squat, whether that is sitting down, playing sports, picking up something off the ground, and so on. When the dowel is overhead, this requires mobility and stability of the shoulders, and the pelvis must provide stability and control while performing the squatting motion.
-
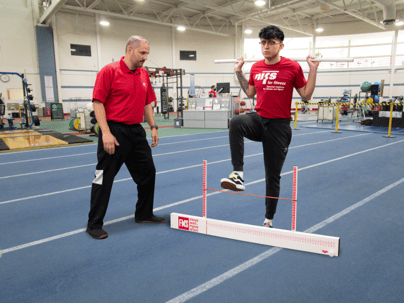
Hurdle Step: This test demonstrates how well someone is able to walk (locomotion) as well as accelerate. The hurdle step is a great assessment to determine any kind of compensation the body performs while you take a step forward. This movement also lets us know how well a person is able to stabilize and control oneself while in a single-leg stance. If pelvic and core control is lacking with this, the person will not be able to stabilize themselves properly and will most likely begin to shift too much or lose alignment.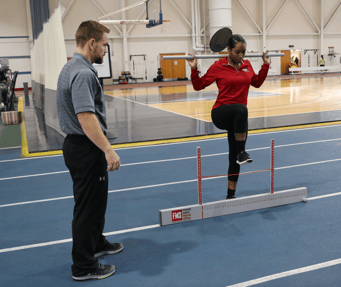
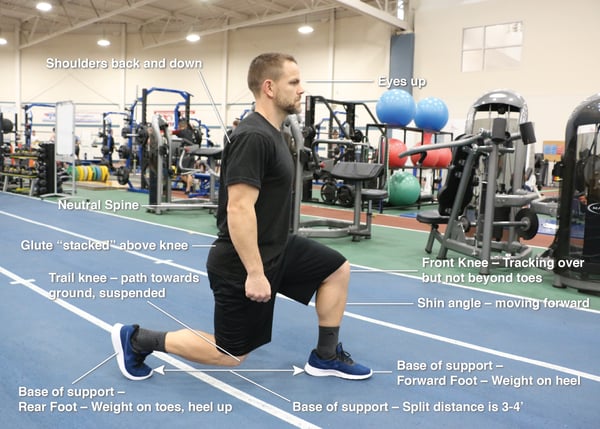
- Inline Lunge: This test helps demonstrate the ability that one has to decelerate. This is important because we as humans need to be able to decelerate every day, whether that be in sports or just daily living activities. It also allows the tester to observe the rotational and lateral movement capacity of someone. Pelvic and core control and stability is extremely important to be able to perform this movement properly. Since this test requires the person to be in a split stance, the tester can also see how well a person is able to get into hip, knee, and ankle flexion when lunging down and determine whether there is a mobility or stability issue.
- Shoulder Mobility: This test helps show the relationship between the scapular-thoracic region, thoracic spine, and rib cage. A person with good thoracic extension typically does well on this test. One side should demonstrate internal rotation and extension and adduction, and the other side should demonstrate external rotation, flexion, and abduction.
- Active Straight-Leg Raise: This test helps demonstrate many things, even though it might seem very basic. With the leg that is coming up, we typically want to see a good range of hip flexion. On the leg that stays down, we typically look for how good the range of hip extension is. Another variable that I like to look at is how well their core stability is. If they are not able to keep their back flat on the floor, this lets me know that the person is not able to own that position and needs help with core stability.
- Trunk Stability Push-up: This test often gets mistaken as being an assessment for upper-body strength. This is not the case, though. The actual purpose of this assessment is to measure the stability of the core. If the spine or hips move during the push-up movement, this is usually an indication of other muscles compensating for the lack of core stability.
- Rotary Stability: This tests for rotary stability in multiple planes. Core, pelvis, and shoulder girdle stability are what is being assessed. This also allows us to measure the ability of a person to crawl. Being able to demonstrate proper weight shift in the transverse plane and also coordination during the stabilization and mobility of this movement will help determine whether a person is ready for more complex movements.
FMS Scoring
I will keep this section short and sweet and explain the basic fundamental purpose of the scoring and what each number means. The FMS scoring ranges from 0–3, so there are 4 possible scores that a person can get. A 0 indicates that there was pain during the movement. A score of 1 usually indicates that the person was not able to complete the full movement properly or was not able to get into the correct position to execute the movement. A score of 2 indicates that the person was able to complete the movement but had to compensate somehow to actually execute it. A score of 3 indicates the movement is optimal and no compensations were detected.
Reliability of the Test
Many research studies have been done to determine the reliability of the FMS in recent years. The main findings that have been discovered are that the FMS can accurately identify people with a higher chance of an injury. The three groups at a higher risk are professional football players, male marine officer candidates, and female collegiate basketball, soccer, and volleyball players.
People always ask me what score determines an elevated risk for injury on the FMS. What most studies suggest is that a score of 14 or lower gives a person a 1.5 times higher risk for injury than a person who gets a score higher than 14. This does not mean that if you score lower than a 14, you should be frightened; again, most studies done are with a specific population (stated above). More studies are needed on the general population, but what is certain is that the FMS is a great tool for personal trainers, athletic trainers, physical therapists, and strength and conditioning coaches to use on their populations to get a better understanding of how well a person moves.
If you are interested in completing an FMS screening at NIFS, click here for more information.

This blog was written by Pedro Mendez, MS, CSCS, and Health Fitness Instructor.
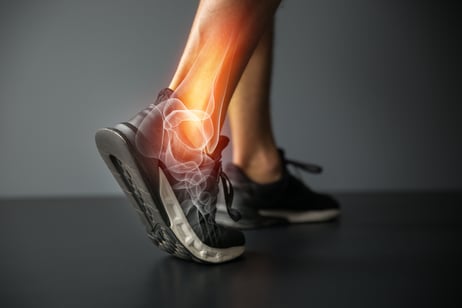 Whether you are a seasoned workout veteran or the new face in the gym, there’s no denying that lower-leg pain can be a huge deterrent for exercise (and day-to-day life, for that matter). Some pains are dictated by the range of motion in the ankle. Due to several factors including previous injuries and wear and tear, physiological problems from the various shoes people wear, and the types of exercises people punish their bodies with, we see individuals every day who have a hard time performing some of the more basic exercises such as squats and deadlifting.
 It’s finally that time of year again—time to hit the links and chase a little ball all over a well-manicured green space with the hopes of golf immortality. If you are like me, you have a love/hate relationship with the sport of golf, but I look forward to my weekly round with friends to take on challenging courses and ultimately myself.
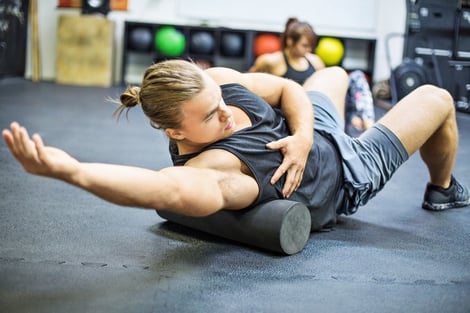
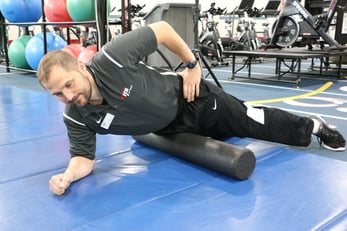 Most workout formulas include a warmup process. If hip mobility is a focus, your workout would benefit from a few additions to the routine. Foam rolling, which has been around for a while, is a great way to get blood circulating to the muscles and decrease soreness (if you worked them out prior). Spending a few minutes to roll out the trigger spots (areas of higher tenderness) will help you feel better, and you will be able to exercise on a more consistent basis.
 Second, I would suggest a dynamic movement stretch (rather than traditional static stretching) to help not only stretch the muscle, but also warm up the body for more movement. “The
 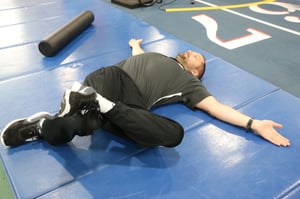 Finally, another great stretch to do is simply called a
 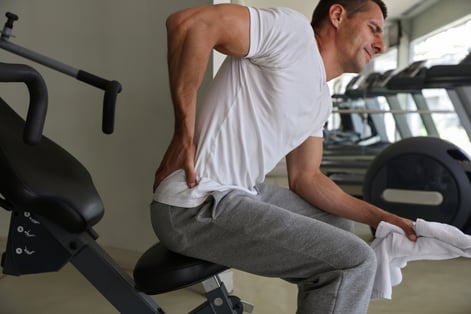 How many people do you know who suffer from a form of back pain? I’d be willing to wager it’s at least one person, and perhaps that person is you. The prevalence of nonspecific lower-back pain alone is estimated at
 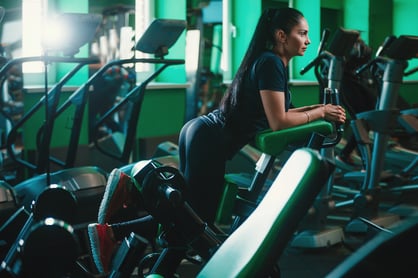 What is the most feared and most skipped gym day of the week? Nearly every person despises it, and few survive it. Yes, you guessed it. I am referring to the infamous “leg day.” However, even if you can endure training your legs, how beneficial is it if you aren’t training your hamstrings correctly, efficiently, and according to their full potential?
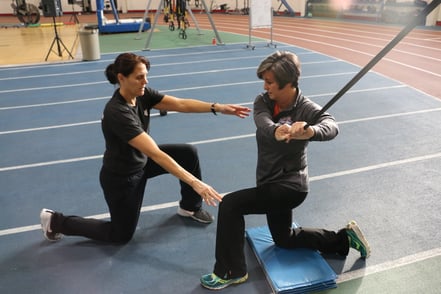 Coaching cues can really make a big difference in the outcome of your workouts. Sometimes it means the difference in whether you get injured during an exercise. Or are you even working the muscles you originally intended to use? Without cues, it would be foolish to have a client jeopardize their health because they saw someone else do a movement incorrectly or think they read it in a magazine or online. This is not to say that there are not many ways one can do to their exercises, or modifications to spice up their workout plan, but you need to make sure you aren’t compromising yourself and goals in the process.
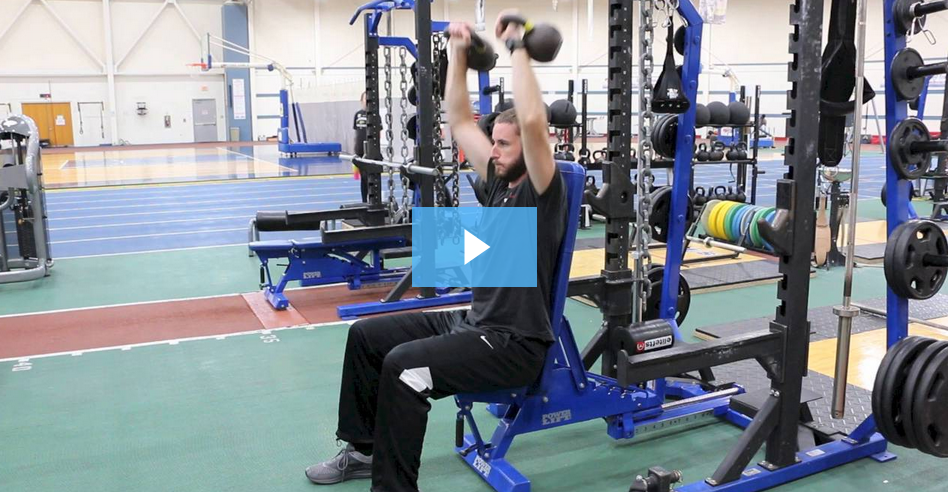
 For the majority of my athletic and fitness career, getting sore from activities, workouts, practices, or games has not only been a sign that work has been done, but also a rite of passage. The saying, “no pain, no gain” came about as a result, and the world would judge successful workouts on soreness.
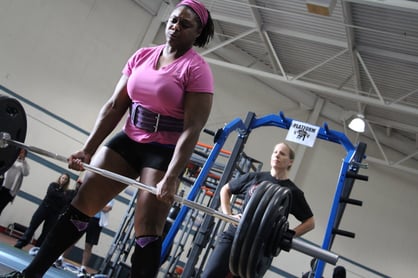 Weight-lifting belts have become a staple in many gym settings for powerlifting, Olympic lifting, bodybuilding, and strongman, and for anyone who wants to lift heavy loads. Whether you use them for training or on the competition platform, you need to know the ins and outs of weight belts so that you can make a smart decision.