 Think about the most recognized duos of all time: Batman and Robin. Mario and Luigi. Buzz and Woody. Stability and Mobility. Wait, what? Yes, like superhero teams, stability and mobility work together to achieve a balanced, harmonious environment for functional movement.
It’s All Connected
First, I want to bring to your attention a concept that has been around for some time; however, we often forget the important role it plays in day-to-day performance. Let’s reflect on anatomy and the structure of the human body. I challenge you to think of it in terms of one continuous structure in which each joint affects the joints above or below it. This concept is commonly referred to as the kinetic chain. It boils down to stable joints being stable when they should be and mobile joints being mobile when they’re meant to be. In terms of starting or stopping movement, stability and mobility are quite often complementary in nature.
Being Flexible and Mobile
In case you missed it, let’s review the details from my preceding blog. Flexibility is primarily genetic, but can be improved slowly over time. It refers to the greatest length a muscle can achieve. This is often known as a joint’s range of motion (ROM).
Mobility is the ability to synchronize one’s coordination and overall strength to move around a joint under load—as, for example, when doing the front squat.
Now that we are adding stability to the equation, it enhances movement and helps it make sense. Stability is the ability to provide firmness and strength to certain joints, often with help from the surrounding connective tissue.
The Kinetic Chain in Action
The following illustration at www.acefitness.org depicts the six common links involved in the kinetic chain, along with their assigned level of stability. Each link or joint plays an important role in human movement and overall function.
Therefore, a joint’s health and function are ultimately determined by its structure and the continuous tradeoff between being stable or mobile. When there is more of one, there is always less of the other.
Why This Relationship Is Important: Injury Prevention
Why should you care? Well, when a joint is less stable, that means it is more mobile. More mobility means more motion at that joint; it can also mean more wear and tear, which can lead to more injury at that joint, including arthritis. Also, a less stable joint has to rely on surrounding muscle and tissue to provide the required stability, which can lead to injury in certain joints that are already highly susceptible.
So the next logical question is, how do I train to improve stability? We’ll explore that question in my next blog.

This blog was written by Cara Hartman, NIFS Health Fitness Instructor. To find out more about the NIFS bloggers, click here.
 You might think that skipping the warm-up when you work out isn’t that serious. You only have so much time to get your work out in, so you think, “My warm-up was walking in here,” and “I don’t have enough time!”
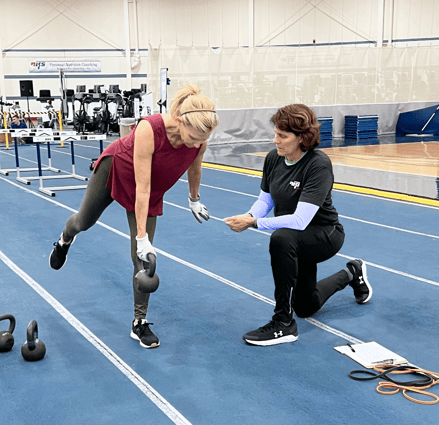 “Success favors the prepared” is one of my favorite quotes highlighting what it takes to be successful in life and any pursuit that interests you. Without preparation and planning, effort and action really have no direction, which can result in you being lost. I would also offer that a misguided workout plan, although it’s a plan you didn’t have before, can be just as detrimental to your success. So having an exercise plan is really important, but having a solid and well-thought-out plan is super important!
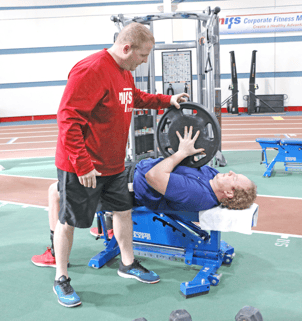 “Move well then move often”
 Overtraining
 Having strong glutes is essential for reducing your risk of injury and preventing lower back pain. Those muscles help protect your knees while walking and running, they help you with your speed, and they stabilize the entire leg. Without strong glutes, the entire lower body may fall out of balance causing other injuries
 Improve performance of one or multiple lifts
 Clean (Hang or Power)
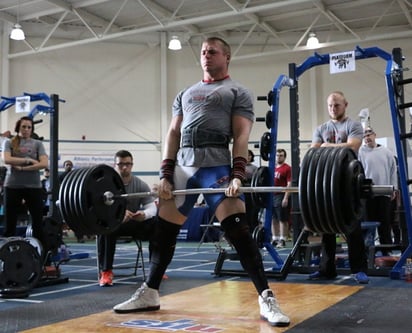 There are numerous different products on the market now that are supposed to help improve your strength training. From lifting belts to Mark Bell’s patented Slingshot, there is more gear available now than ever. For a novice lifter, the multitude of available products will probably just leave your head spinning. What is actually helpful and what is just a moneymaker? Here is my take on some of the most popular products out there.
 For just shy of a year now, NIFS has had the honor and privilege of assisting in the training of the
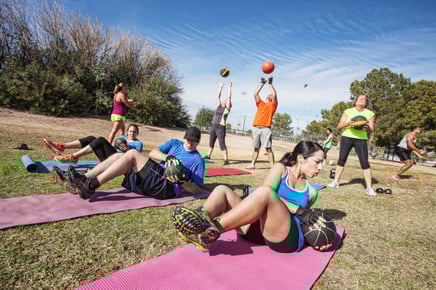 So many people have been expectantly waiting for this hot summer weather to be able to get outside for their workouts. And I can tell you that I am also one of those people; but there are some dangers behind the dog days of summer that we all need to be aware of.
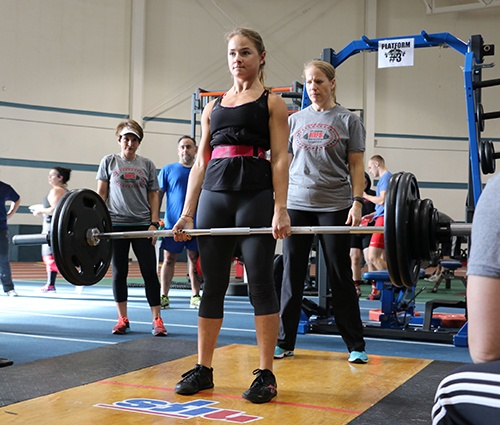 The deadlift is a creature all its own. There is no other exercise like it, and there are so many reasons behind that. It can be one of the most beneficial total-body exercises, yet at the same time, one of the most detrimental if performed incorrectly. Numerous factors go into this very important lift, but there are a few tricks to keep in mind to help you set up and perform well consistently while avoiding injury.