 “If you don’t follow my rules, I’ll personally drag your butt to the front door and out to the sidewalk!”
—Larry Been, gym owner (1963)
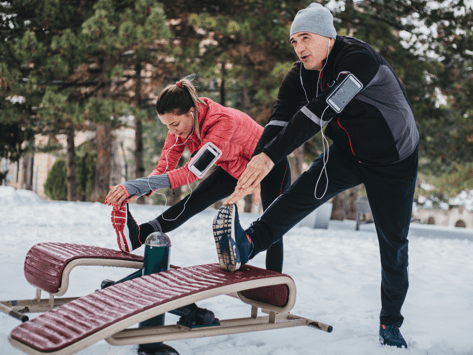
I started lifting weights when I was 10 years old in 1957. My uncle brought home pieces of scrap steel from his factory job that I used for dumbbells and barbells. When I was 12, I got my dad to buy me a 110# York Barbell set (which, of course, I added to). I made do with that until I turned 16 and was finally able to drive to downtown Indianapolis and join my first weighting gym, Larry Been’s Olympia Club located at 16th and Alabama.
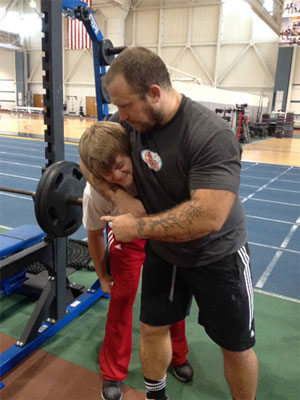
Larry’s gym was the home for such characters as Peter Lupus, the actor who played the strongman on the Mission Impossible TV series; Dick the Bruiser and friends (professional wrestlers), noted local bodybuilders of the day; and strongmen who were competing in a new sport called powerlifting.
It didn’t matter your race, wealth (or lack of it), age, or lifting ability. It was a small, eclectic group of societal misfits who shared a passion for weight training and strength. Larry Been was the ringmaster.Such a group of strongmen with egos to match required rules that were fair and simple to understand. Everyone knew that they had to share the space and equipment by being conscious of how their actions affected the others around them. Here were the rules:
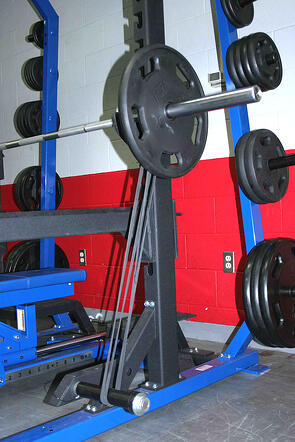
1. Unload your bars and re-rack your dumbbells and weight plates.
It just makes sense. For safety reasons, weights, bars, and dumbbells could not be left laying around on the floor for people to trip over. But more importantly it was a shared courtesy to not force someone to have to unload your bar or put your “toys” away. If you moved a bench, you moved it back. If you took dumbbells from their rack, you returned them to their proper spot. Weight plates had their own horns on the weight tree. This was simply the gym version of the Golden Rule.
My first day at the gym, I was used to training at home with no one else to answer to. I left 45# plates on each end of a bar and started to walk away from the bench. I felt the crushing grip of Dick the Bruiser grab my shoulder; his arm slipped around my neck and I found myself being walked back to the bench in a headlock, being told to unload the bar. Yes sir, Mr. Bruiser! Needless to say, I never left plates on any bar, anywhere, ever again.
2. Between sets, watch others lifting around you in case they would need a spot.
The experienced lifters knew that when limits were being pushed or beginners were just learning to lift, things could go wrong very quickly. The sense of brotherhood grew when you knew you could count on those around to help keep you out of trouble. Safety was a shared group responsibility. If someone didn’t assist, they would find themselves stuck under a bar for quite awhile if they missed a bench press rep. No one would help them, just to make a point, for some people have to learn the hard way.
3. Weights are not allowed to be dropped.
It was believed that if you were strong enough to lift a weight off the floor or out of the rack, you should be strong enough to return it to its place of origin. If you couldn’t, then the weight was too heavy for you and that was a rookie mistake that should never happen again. Therefore, if you dropped a weight, you were looked down upon as a lesser man in the gym. This rule served to protect the equipment, the floor, the safety of other lifters, and the lifter himself. In fact, the appearance of rubber-coated weight plates and dumbbells, and rubber flooring, occurred in gyms for those rare times a weight was accidentally dropped—not to encourage lifters to drop weights because they were either too lazy to lower them correctly or as a sad cry for attention. “Look at me, I just lifted a really heavy weight!” Don’t be that guy, for that would be headlock time.
Old-school lifters knew that lowering the weight under control improved strength and muscle growth. They couldn’t explain it, but after years of trial and error it became a “gym truth.” Arthur Jones, the inventor the Nautilus equipment and the Nautilus training system, expanded the research of “negative reps” during the ’80s. Recent research has shown that the negative portion of muscle action produces greater gains in strength and muscle size than just focusing on contraction. Therefore, the decision to drop weights makes one miss an important opportunity for greater gains for the time and effort spent lifting.
4. Do not tie up equipment. Allow others to “work in.”
Again, the logic is simple. If you want to tie up equipment, go home to your own gym. If you don’t have your own gym, you’d best learn to share the “toys” in the sandbox. The answer to the question, “Can I work in?” was “Sure.”Any other answer was frowned on, and good luck working in with anyone else in the future.
There were a few other rules about lockers, food and drink out in the gym, guests, and monthly payments, etc., but these rules were the biggies, which simply boiled down to respecting the lifters around you, not being a pain in the ass, and knowing what it meant to be a responsible man in the gym.
In today’s gym environment, it is amazing how a just few irresponsible people can spoil the gym experience for everyone else. In fact, they are just spoiled brats with an attitude toward others that will adversely affect them in other areas of their lives. Old school gyms had an immediate and very effective correction: headlock and out the door.
I heard something the other day that I found very interesting. The X-Box generation has their own problems with online gamers causing similar problems for others and that they have their means of chasing them off. Sort of an X-Box version of Dick the Bruiser: “Hey jerk, GAME OVER!”
We can learn a lot from old school about training and nutrition. But it starts with understanding the gym culture and the individual’s responsibility to fellow lifters; to the owner, who provides the equipment and the space to train; and most important to themselves, for gym environment allows them the opportunity to grow physically, mentally, and in a sense, spiritually as well if they use it correctly.
Thank you, Bruiser!
Rick
For beginning weightlifting tips, see this post.
This blog was written by Rick Huse, NIFS Health Fitness Specialist. To find out more about Rick and the other NIFS bloggers, click here.

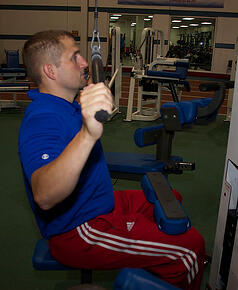
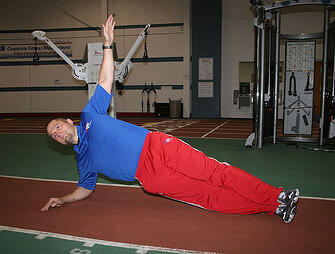
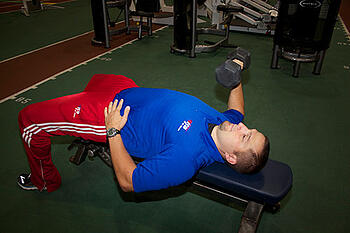
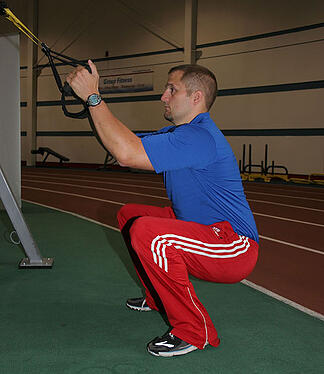
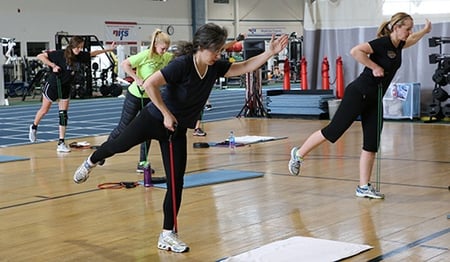 If you have spent any amount of time in the gym lately, I am sure you have seen a lot of people using exercise bands for part of their workout. When looking at a flimsy, thin exercise band, many would think, “Okay, what type of workout will that even give me?” Studies have shown that workouts using exercise bands will increase muscle strength and size while helping decrease fat, similar to using free weights.
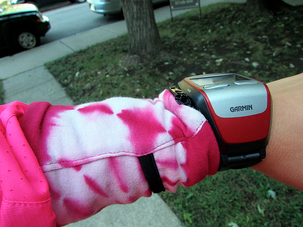
 Wearable fitness technology


 training.