 In my experience over the years working with folks from all walks of life to help improve their strength, mobility, performance, and overall fitness I have found that so many suffer from immobility in two major joints: the ankle and the shoulder, which is the focus of this piece. Lifestyle, occupation, inactivity, and overtraining are all culprits robbing so many of healthy range of motion in the shoulder and shoulder girdle.
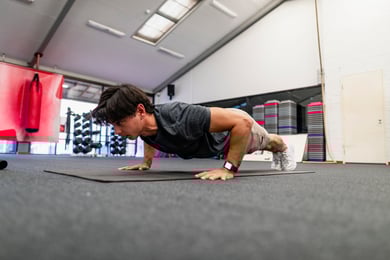
Throughout the history of fitness and muscle, one of the sexiest exercises is the overhead press (OHP). The overhead press is used as an assessment of one’s strength, it’s involved in the popular Olympic lifts and many activities of daily living, and it feels pretty darn good to lift something heavy up over your head. With so many variations that can develop strength and stability in the upper body, the overhead press can be a phenomenal tool in a training toolbox.
Questions to Ask Yourself
There are many benefits to the overhead press exercise, but what if you suffer from immobility in the shoulder or have suffered an injury that has made the vertical press pattern difficult or painful? There are some options for you that can keep you safe while reaping the many benefits of the vertical press movement pattern. Before we get to those, however, I’ll ask a couple of questions.
What are your desired fitness outcomes and goals?
“If you think it, INK IT!” is a practice I learned long ago from a great coach, and for years I have been insisting clients write down what they hope to accomplish along their fitness journey. If you don’t know where you want to go, it will be difficult to formulate the map to get you there. Take the time to reflect, develop, and write your fitness goals before starting any fitness program.
How will the overhead press exercise help you get there?
Pretty straightforward question: how will the overhead press exercise help get you to where you want to go? Depending on your goals, the OHP may play a major role, or it might play a minor role in your success.
How do you know whether you should be including the overhead press in your training?
Once you have established your fitness outcomes and how the overhead press can assist in obtaining those outcomes, it is important to determine whether the overhead press is a safe exercise to include in your training. Your best first step is to complete a Functional Movement Screen (FMS) that will provide some crucial information to your fitness programming. First and foremost, the FMS, specifically the Shoulder Mobility Screen, will determine whether there is pain involved with the overhead position. If there is pain, you will need to see a medical professional to tackle that before anything else should happen.
A score of 1 on the Shoulder Mobility Screen signifies that, among other things, you should exclude overhead pressing from your training until the pattern is cleaned up and you are no longer scoring a 1 on the screen. A score of 2 or 3 means the vertical pressing motion can be included in your training safely. Schedule your FMS with one of NIFS instructors today to ensure you are able and safe to include the overhead press exercise in your programming.
Overhead/Vertical Press Options
Once you have your screen from your NIFS certified pro, you now know where you stand to shoulder the load. If you are cleared to press overhead, I say have at it and press on! But if you are directed to stay away from strict overhead pressing, here are a few options that can provide many of the same benefits from the overhead press while working in a safer shoulder space.
- Landmine Press: 1/2K and Standing
- Landmine Arc press: 1/2K and standing
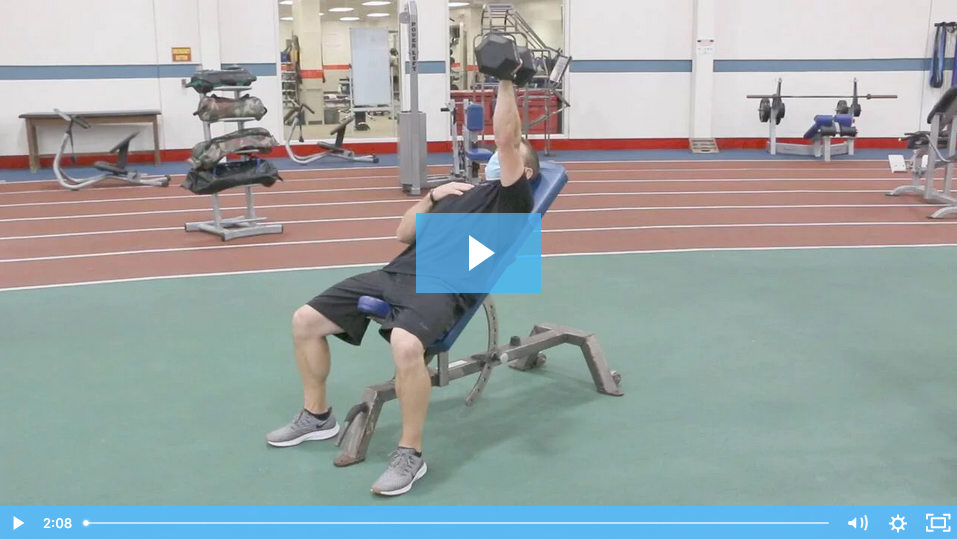
- Incline DB press: SA and double arm
- Jammer Press
Shoulder health, strength, and stability are so important in training and, more importantly, everyday living. The vertical press options here are great ways to continue to bulletproof your shoulders, and the best first step is to get screened and take care of your shoulders prior to heavy loading. One simple and highly effective way to tackle shoulder health is to add the “dead hang” into your training program. Learn more in Lauren’s recent post covering this effective drill. Stay shoulder safe!

This blog was written by Tony Maloney, ACSM Certified Exercise Physiologist and Health/Fitness Instructor. To find out more about the NIFS bloggers, click here.
 In my previous blogs I discussed the
 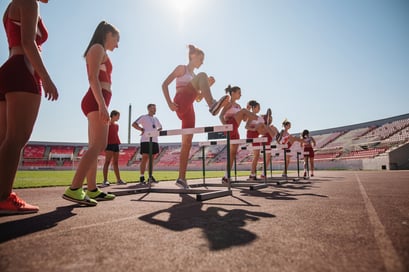 I wish I had a dollar for every time a coach has said to me, “That athlete has stiff hips,” or “That athlete folds over at the waist,” etc. So how do I help an inefficient athlete with stiff hips? I use simple hurdle stretches that train my athletes to bend.
 Love to workout and need a date idea for Valentine’s Day? We have just the workout for you!
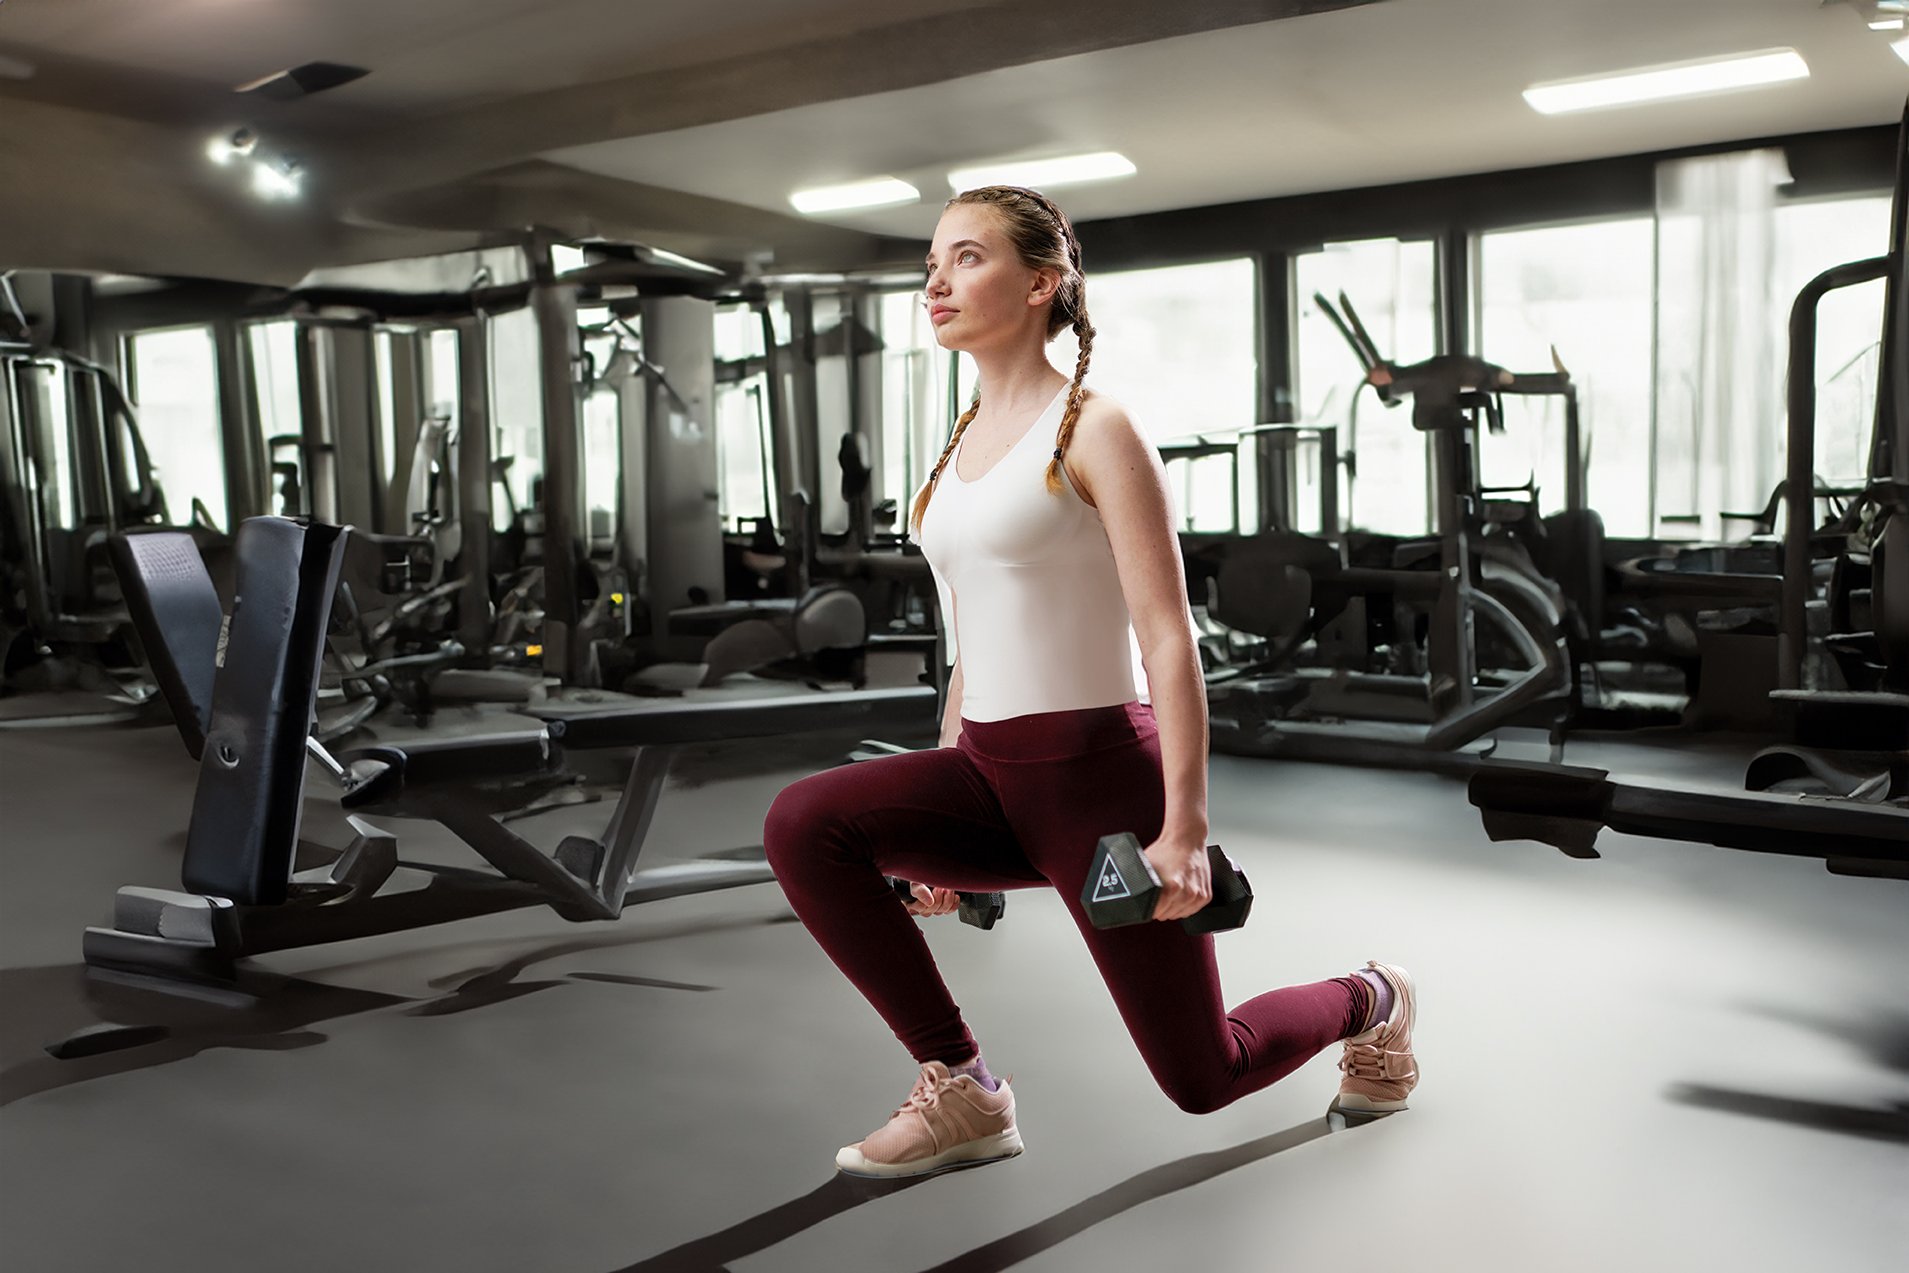
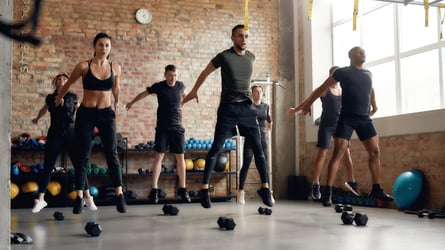
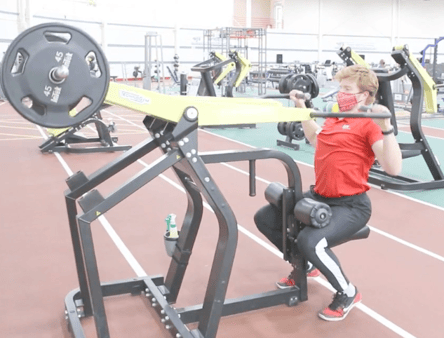 The traditional bodybuilding split of working one muscle group per day might work for the dedicated, high-level competitive bodybuilder who makes their living in the gym. But for the general population only looking to shed some unwanted pounds and improve their overall health, the traditional bodybuilding split is not ideal. Working multiple muscle groups in the same session is much more ideal because it ramps up the body’s metabolism more than working a single muscle group each day. To achieve this, we train the movement, not the muscles.
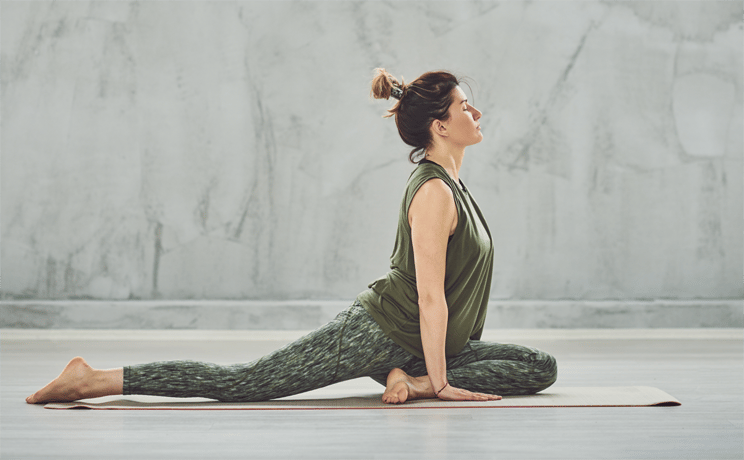 Whether you’re a competitive athlete, a weekend warrior, or the casual gym-goer, addressing mobility concerns can go a long way toward performance enhancement and injury prevention. If a joint is unable to move through a complete range of motion unloaded, then it’s going to be “bad news bears” when it comes to putting that same joint under any external load. Eventually, limited mobility could lead to muscular imbalances and compensation patterns, which could ultimately lead to the onset of injury. In other words, you can’t look to build strength on top of dysfunction.
 Want to jump higher, jump farther, or possibly dunk a basketball? With all the athletes I have trained over the years, at some point within their sport they all jump. Competitive as athletes are, they want to be able to jump higher like in volleyball, or jump farther like swimmers coming of the blocks, for example.