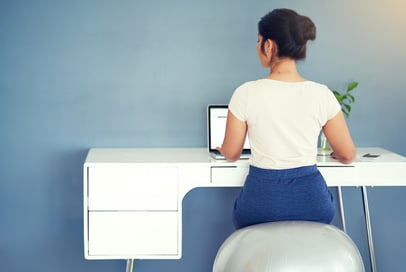
 Whether you are sitting, standing, walking, running, or exercising, having good posture plays an immense role in not only how you physically present yourself, but how your body develops over time. Just like most habits, posture has both good and bad sides, each with distinct effects on your body. Focusing on ways to get the most out of your posture can ultimately give you not only a better workout, but also improved health for many years to come.
Benefits of Good Posture
When we talk about the benefits of improved posture, you might first think about how you look in a mirror or in front of a camera (which is also important). But there are many other physical attributes that can be affected which might not come to mind at first. This includes immediate impact areas such as low back pain relief and less tension in the shoulders and upper back. Further, long exposure issues such as joint wear and tear and poor blood circulation can be linked to bad posture. Other than physical effects, there are quite a few emotional health issues that come to light and are associated with bad posture, including self image and depression as well as relaxation and rest.
An Easy Posture Test
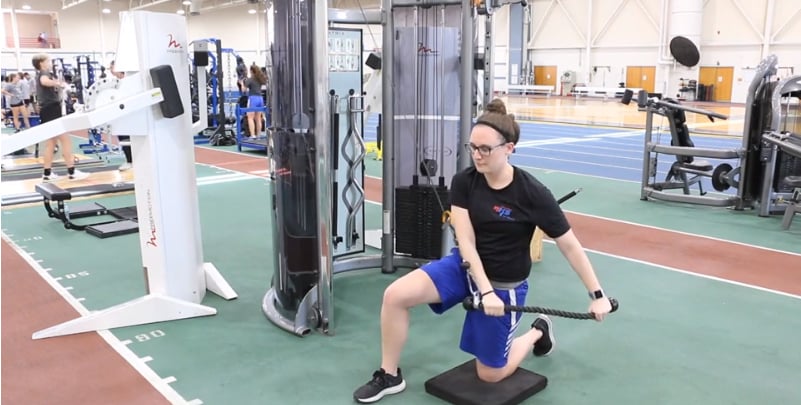
Getting back to the fitness aspect of good posture, I can present a simple demonstration. First I would like for you to sit in a chair, slouching as if no one was watching. Now, sit up tall with good posture. Obviously it takes more effort to sit with good posture, including core muscles. If you apply this concept to your exercises, you might find that not only will your form improve (along with your overall safety), but you will be recruiting more muscle (and albeit small and more calorie burning).
Develop Your Posture
There are things you can do in your day-to-day life that will help you develop better posture habits. Personal habits such as sitting taller, standing taller, and exercising with good form make having good posture much easier. Other things to consider include talking to an ergonomic specialist who can help you set up your workstation to better suit your body’s needs, and talking to a fitness specialist to help with exercise form and technique.
Even though it’s a lot easier to be lazy and not care about your posture, like other aspects of your physical wellness, caring for yourself and developing good posture habits will have long-lasting benefits for your body at a very low cost, so just do it! You will be making your grandma happy in the process.
If you feel as though your posture is getting in the way of your goals and possibly worse, your health, please take time to address the issue today. Talk to a fitness professional about safer, more effective exercises at the gym focusing on form and posture. At work, you can contact your HR rep to see whether an ergonomic specialist is available to help set up your workstation. You are not alone. Let NIFS help you.
Until next time, muscleheads rejoice and evolve!

This blog was written by Thomas Livengood, NIFS Health Fitness Instructor and Personal Trainer. To learn more about the NIFS bloggers, click here.
 How many times have you looked around a room full of people and seen nearly everyone buried in their phones? Their shoulders are slumped forward and their head is hung low. Or maybe you’re at work, and everyone’s busy composing emails with that same forward head position? Chances are, it won’t be long before you notice this posture elsewhere, and it can wreak havoc when it comes to the health of your shoulders.
 In a world where in many cases bigger is better, just because something is small doesn’t mean it’s less important or can’t have big impact. Being short in stature my entire life, it has always been my motto that “dynamite comes in small packages,” and I have strived to create as much BANG as I can in all facets of life. Small in stature can provide big results when you light the proper fuse and utilize its power maximally.
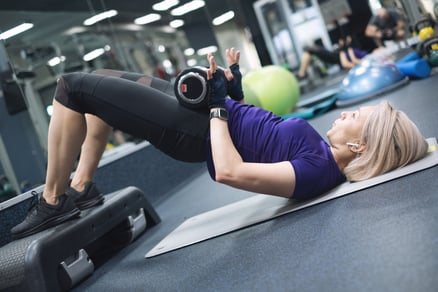 Squatting has always been the go-to exercise for those who want to make glute gains. You have probably heard someone say, “If you want to get better glutes, squatting is the way to go.” Recently, though, hip thrusters have gained momentum as the best exercise for glute development. Although, there is no concrete evidence that one is better than the other, some
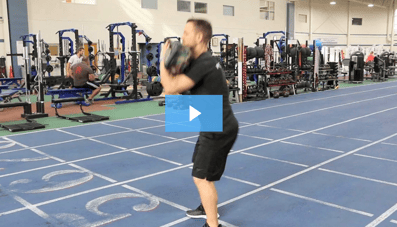
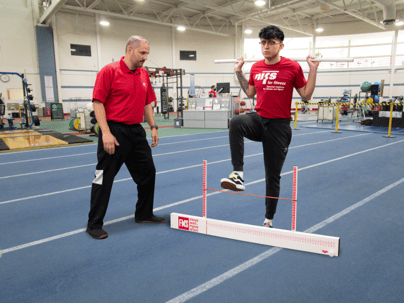

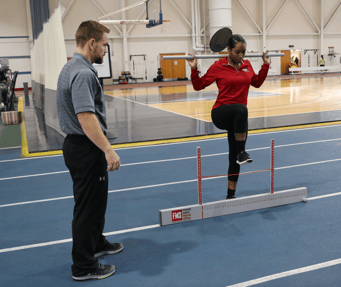
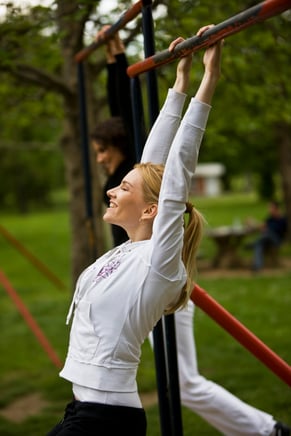
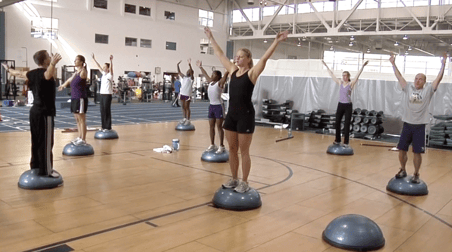 Imagine a tightrope walker, gracefully walking their path across their suspended highwire. An incredible amount of balance is required, along with stability and strength, to ensure that the performer maintains their position on the rope. Now think about balance as it applies to you and your profession or daily life. You might not even think about it, but you use balance every day. Things that you take for granted, such as walking down stairs, putting on a pair of pants, and getting out of your car require some level of balance, or else we would most likely take a tumble. Thankfully, there are exercises and routines designed to improve and train balance that transfer nicely to daily life.