 In a world where situations are ever-changing and a new “normal” is developing, athletes around the world are scrambling to adapt to their new training environments. For most, this new environment is where you are probably reading this now, your home. For the time being and for many people, traditional training methods of using barbells, dumbbells, kettlebells, etc. have morphed into substitutions of paint cans, backpacks, gallon jugs, or just about anything that can act as the “resistance” that your body has become accustomed to using.
Am I Going to Lose Everything I Gained in the Gym?
The first thought you probably had when this situation came about was, “I’m going to lose everything I’ve worked so hard to gain in the gym.” I guess that because it was one of the first things that passed through my mind, and now I believe that a well-equipped gym is one of the most taken-for-granted things I had in my life. It was always there. I could do just about anything I wanted or needed to do there. If the work I needed to do didn’t get done, it wasn’t the gym’s fault; it was my own.
If the work I needed to do didn’t get done, it wasn’t the gym’s fault; it was my own.
So now what? You are at home, you have a minuscule amount of equipment compared to what you had before (here’s another blog with some basics to consider), and your motivation may be low. The easiest thing to do would be the bare minimum and hope for the best when you can get back to the gym. The right thing would be to figure out a way to adapt your program to your environment and change the “maintain” mindset to the “gain” mindset. And I’m here to help you do that. The following are the essentials I believe can help you construct your home-based workout and continue to build on the progress you have made in the gym.
The Four Home-Training Building Blocks
As a coach, there are four main training blocks that can be completed at a very high level from home: mobility, power, strength, and conditioning. Follow along as I break them down!
Mobility
For many athletes (yes, me included), mobility is an area where we can always improve. This part of training is often overlooked or not taken as seriously as it should be. I’m here to tell you, being at home gives you the perfect reason to make this a focal point of your training. I say this because for many mobility exercises (shoulder/t-spine, hip, and ankle exercises), a big array of equipment is not needed. A couch or chair can serve as a perfect platform for you to improve mobility with very little time or effort setting up.
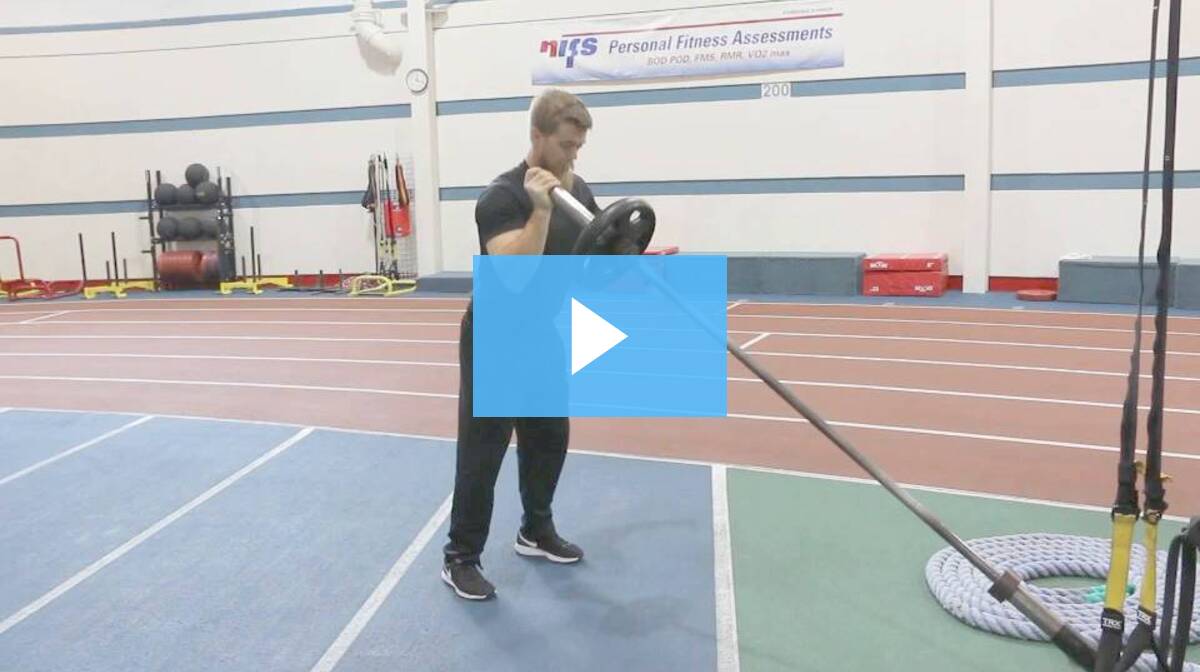
Power
No matter what sport you participate in, power development surely plays an integral part in your performance. In the gym we use medballs, boxes, and barbells to help foster this development. But at home, you can simply use an open space in your home/garage/outside to do this as well. Many “ground-based” plyometrics can be performed with minimal, if any, equipment. You can use vertical and broad jumps (both one- and two-legged) and various plyometric push-up variations, which should provide your body that same “explosive” feeling you have learned to produce. For the jumping exercises, this is a great time to work on the most important part of the movement, the landing.
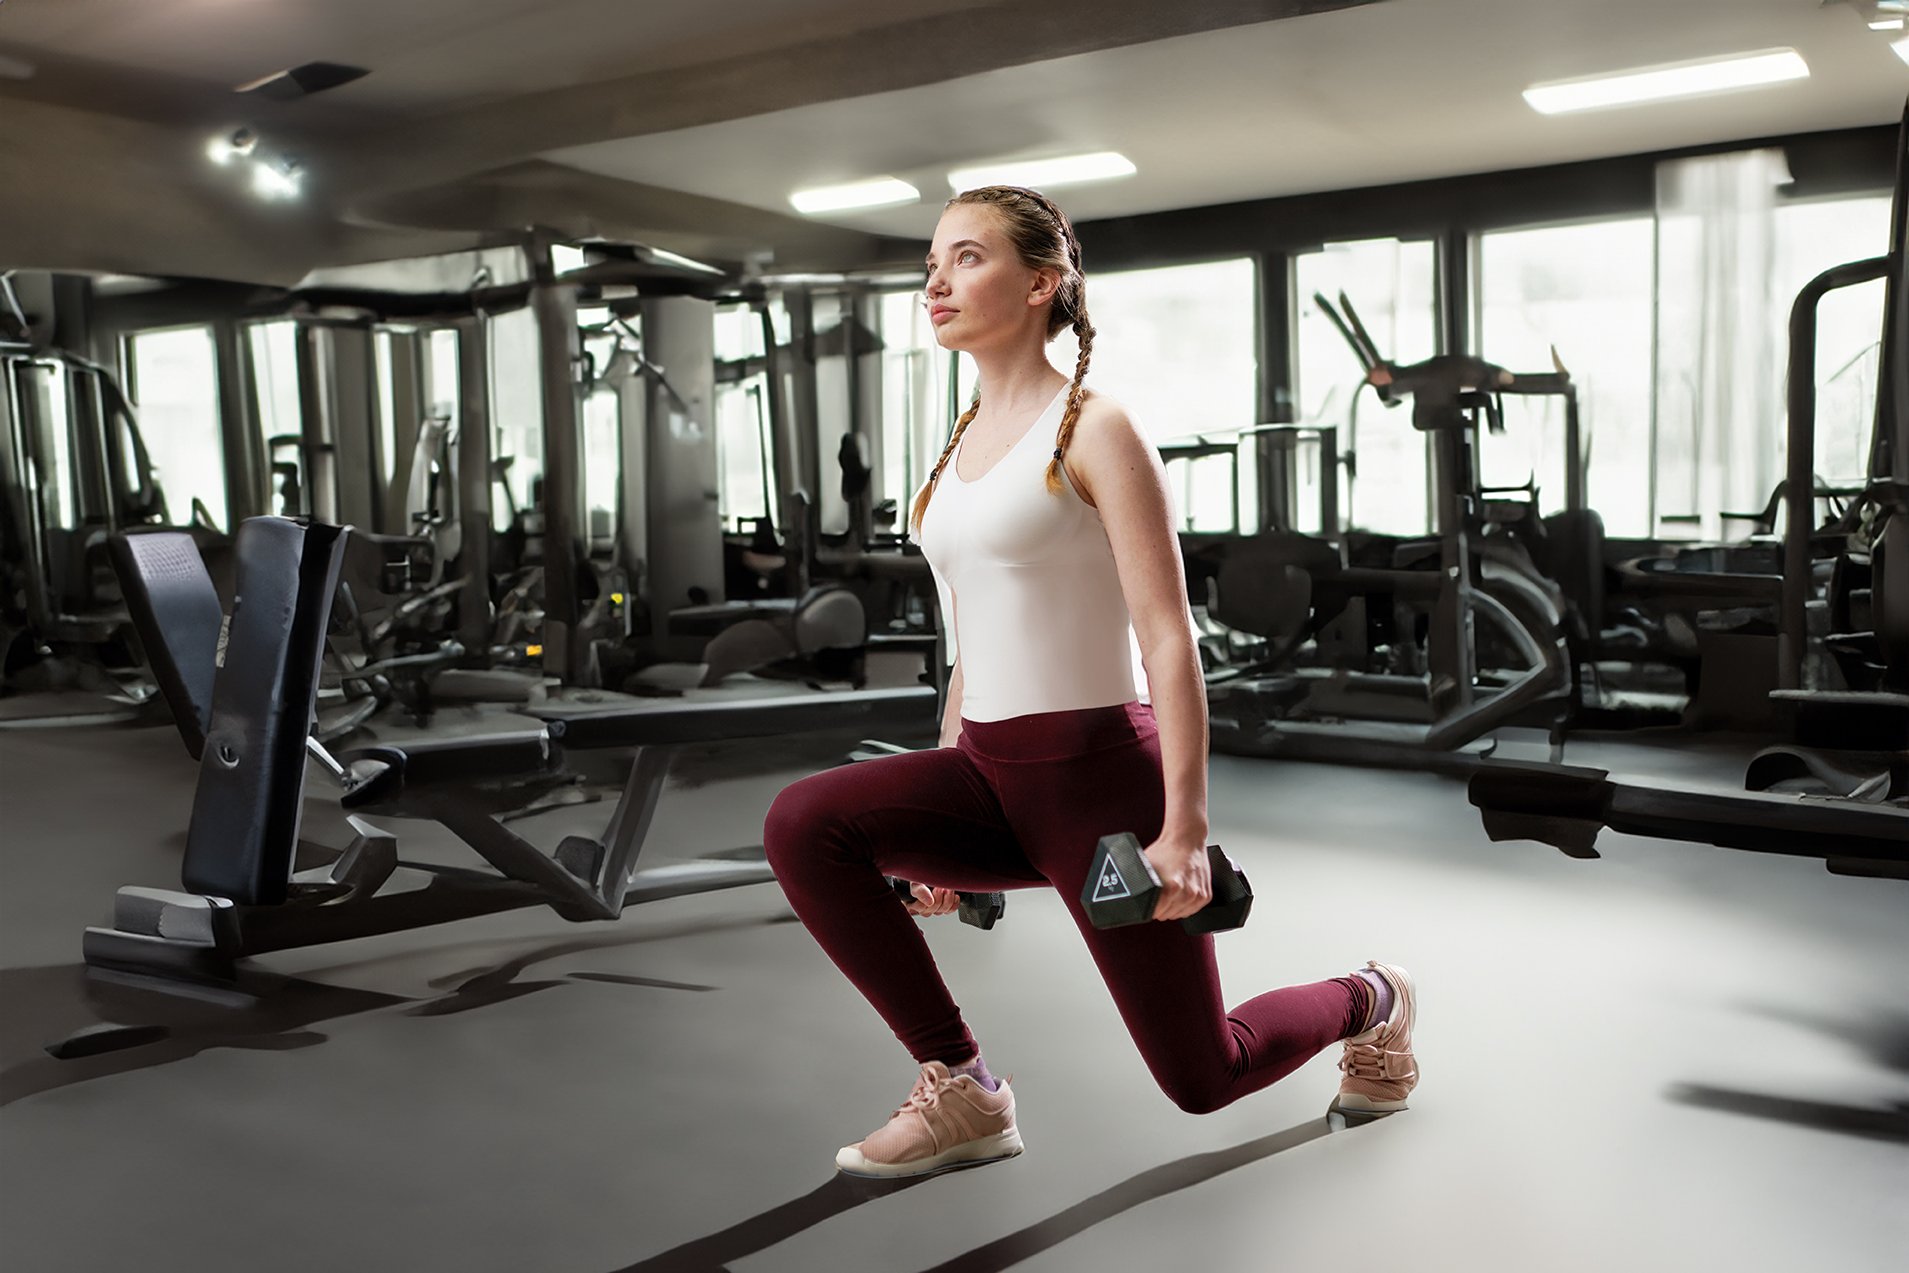
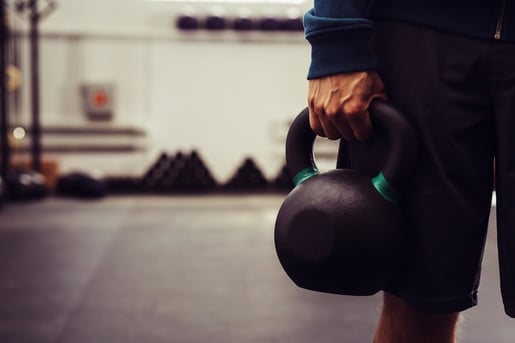
Strength
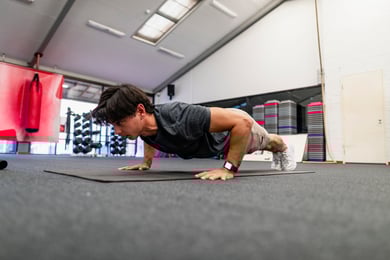
This section might pose the biggest challenge to you simply because the heavy weights you are used to using are no longer accessible. I’m here to tell you that with a little creativity, you can still make improvements. One of the easiest ways to make simple bodyweight exercises more challenging is to elevate one of your points of contact, i.e. elevating your feet for push-ups or putting your back leg up on a couch or chair during split squats. Using a backpack full of books can serve as the extra resistance during these exercises, so dust off your old heavy college books and repurpose them.
Remember this as well: it’s not always about using heavy weight with low reps. If you are used to training in this fashion, doing more repetitions will help with your strength-endurance.
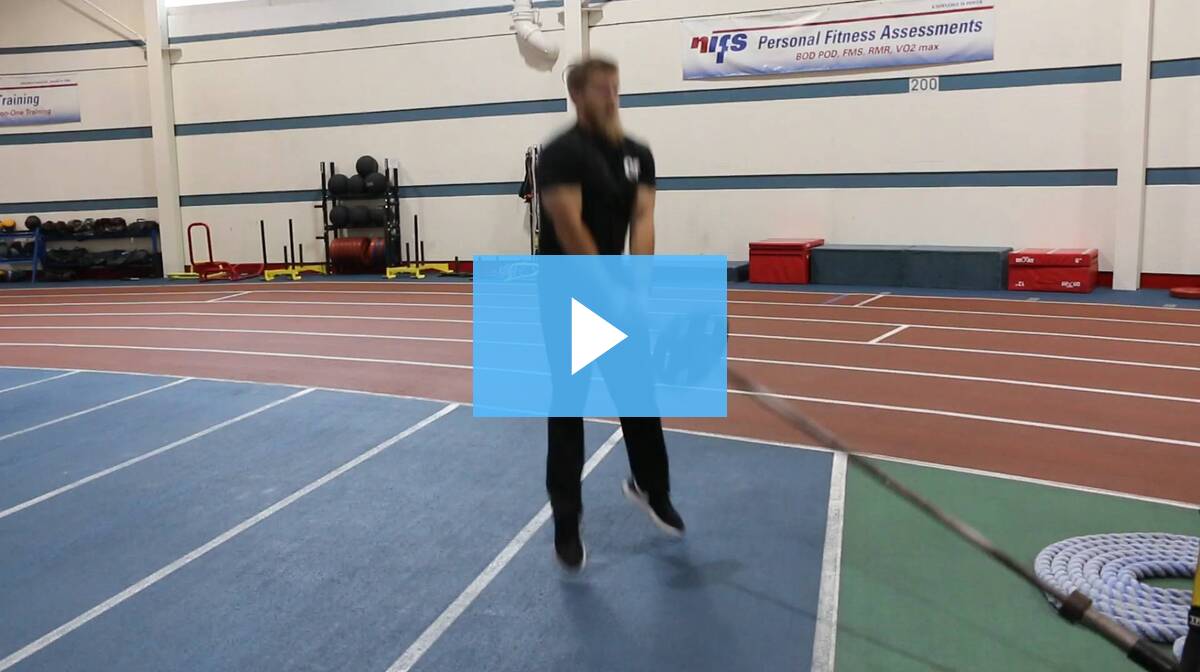
Conditioning
I believe that cardiovascular or conditioning work should be the easiest for you to adapt to while at home. With the exception of some of the specialized equipment you use in the gym (sleds, bikes, etc.), a lot of the training you do during this block requires only bodyweight resistance. Circuits (wall sits, mountain climbers, burpees), running (long-slow distance, interval training), and core work (plank and side plank variations, glute bridge variations) can all be performed with minimal equipment.
Take into account your “work-to-rest” ratio, which is how long you work versus how long you rest. Depending on what intensity you are working at, how long you are working for, or what activity you are doing, these numbers can be adjusted to fit your current fitness level. Generally, the longer your rest periods are compared to your work periods, the easier it will be. If you are unsure, start with 1-minute work to 1-minute rest and adjust for each subsequent workout as the days pass.
Which Will You Choose: Continued Progress or a Downhill Slide?
I leave you with this: the duration of the new normal can go one of two ways, the continuation of progress and improvements of athletic areas you need to work on OR a downhill slide of progress that leaves you fighting to get back to your current athletic state for the following months or years. Which one will you choose? If the work you need to do doesn’t get done, it wasn’t the home gym’s fault.
If the work you need to do doesn’t get done, it wasn’t the home gym’s fault.
This is a new challenge that you should accept and meet head-on with the attitude that nothing can derail your progress and a drive to continue to improve. In a few months, let’s look back on these days with pride knowing that you did everything in your power to get better.

This blog was written by Alex Soller, Athletic Performance Coach and NIFS trainer. To find out more about the NIFS bloggers, click here.
 We’ve all heard that using the same workout program for a long duration is not the most effective way to train. At some point in everyone’s training life, they get into a program or workout routine that just seems to be perfect. It may be time-efficient and enjoyable, and you may see all of the improvements you set out to achieve when you started. These workout programs may last 4, 8, or 12 weeks, but they are always the hardest to switch up even if your improvements (or “gainz”) have stalled.
 The “perfect” workout rarely happens. Every so often, you may have one of those training sessions where every block flows smoothly and programmed repetitions and sets are executed flawlessly. But for most days, there will be missed reps, you may feel more fatigued than you think you should, or the workout may not come together as you hoped it would. That is fine. Your goal should be to strive to be as close to perfect as possible, with the understanding that it may not always happen.
 For many athletes and recreational athletes, the arrival of winter and cold weather usually signifies the end of their athletic season. Once the bulk of your outdoor sport competition has concluded or slowed down, reflections of the past year take place. You may have run a personal record in your first 5K, mini, or full-marathon; had your best record in your tennis league; or had the lowest scoring average over a spring and summer for golf. Whatever your sport is or whatever you worked on that previous off-season, the wheels start churning in your mind about how you might be able to continue that improvement for the next season.
 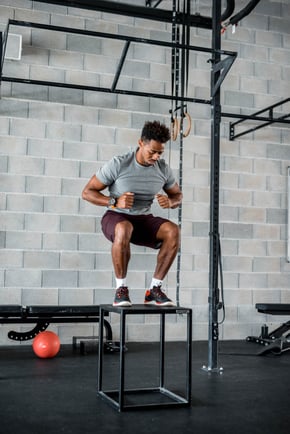 When watching elite athletes during competition, there are many athletic traits and features that we novices or amateurs marvel at. We think to ourselves, “If I did something like that, I wouldn’t walk for a week!” Seeing an NFL running back or wide receiver make a cut at full speed, a baseball player hitting a 400-foot home run, or a powerlifter deadlifting the weight of a Volkswagen Beetle are feats that just leave you in awe.
 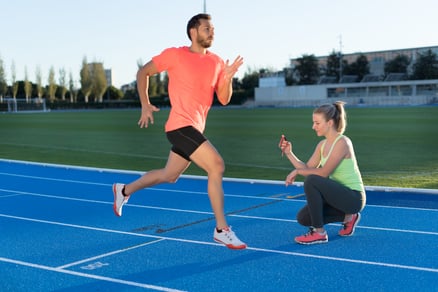 In a world where people want results in an instant and take drastic measures to achieve those results as fast as possible, developing strength, power and athleticism in a long-term aspect is often overlooked. For any fitness-related result or outcome, improvements take time. Fat loss, overall strength and/or power in any particular lift, speed, and agility are all seeds that needed to be watered for a while before noticeable and permanent changes are evident.
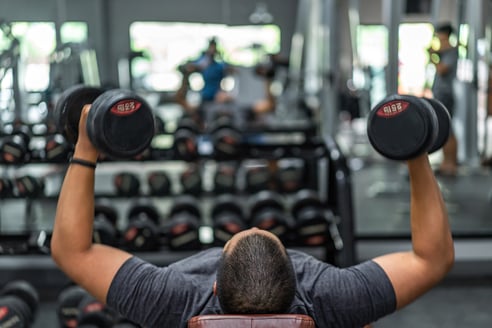 Let’s face it: building your own workouts isn’t always the easiest thing to do. Sure, you probably strike gold a few times a year and the exercises you choose seem to be flawless, from the balance of muscle groups worked to the flow of the routine that you get into. There is nothing better than having that program that just seems to get the job done.
 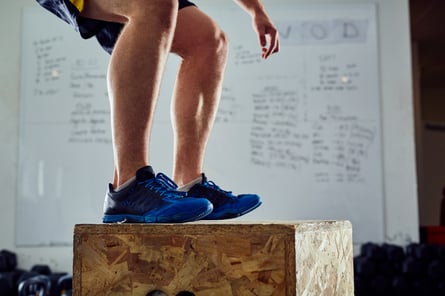 As an athlete there is no substitute for the ability to produce power and be explosive during your sport. From competitive weightlifters and NFL-caliber football players to distance runners, producing (and absorbing) high impacts is crucial for succeeding in your sport as well as staying healthy throughout your competition season. Are you incorporating any of these exercises into your current program?