 Coaching cues can really make a big difference in the outcome of your workouts. Sometimes it means the difference in whether you get injured during an exercise. Or are you even working the muscles you originally intended to use? Without cues, it would be foolish to have a client jeopardize their health because they saw someone else do a movement incorrectly or think they read it in a magazine or online. This is not to say that there are not many ways one can do to their exercises, or modifications to spice up their workout plan, but you need to make sure you aren’t compromising yourself and goals in the process.
I aim to clarify several cues you might have heard a trainer speak to their client, or have read about in a magazine or online. With this knowledge, hopefully you will have an opportunity to make more informed and educated decisions about the exercises you are doing in the fitness center.
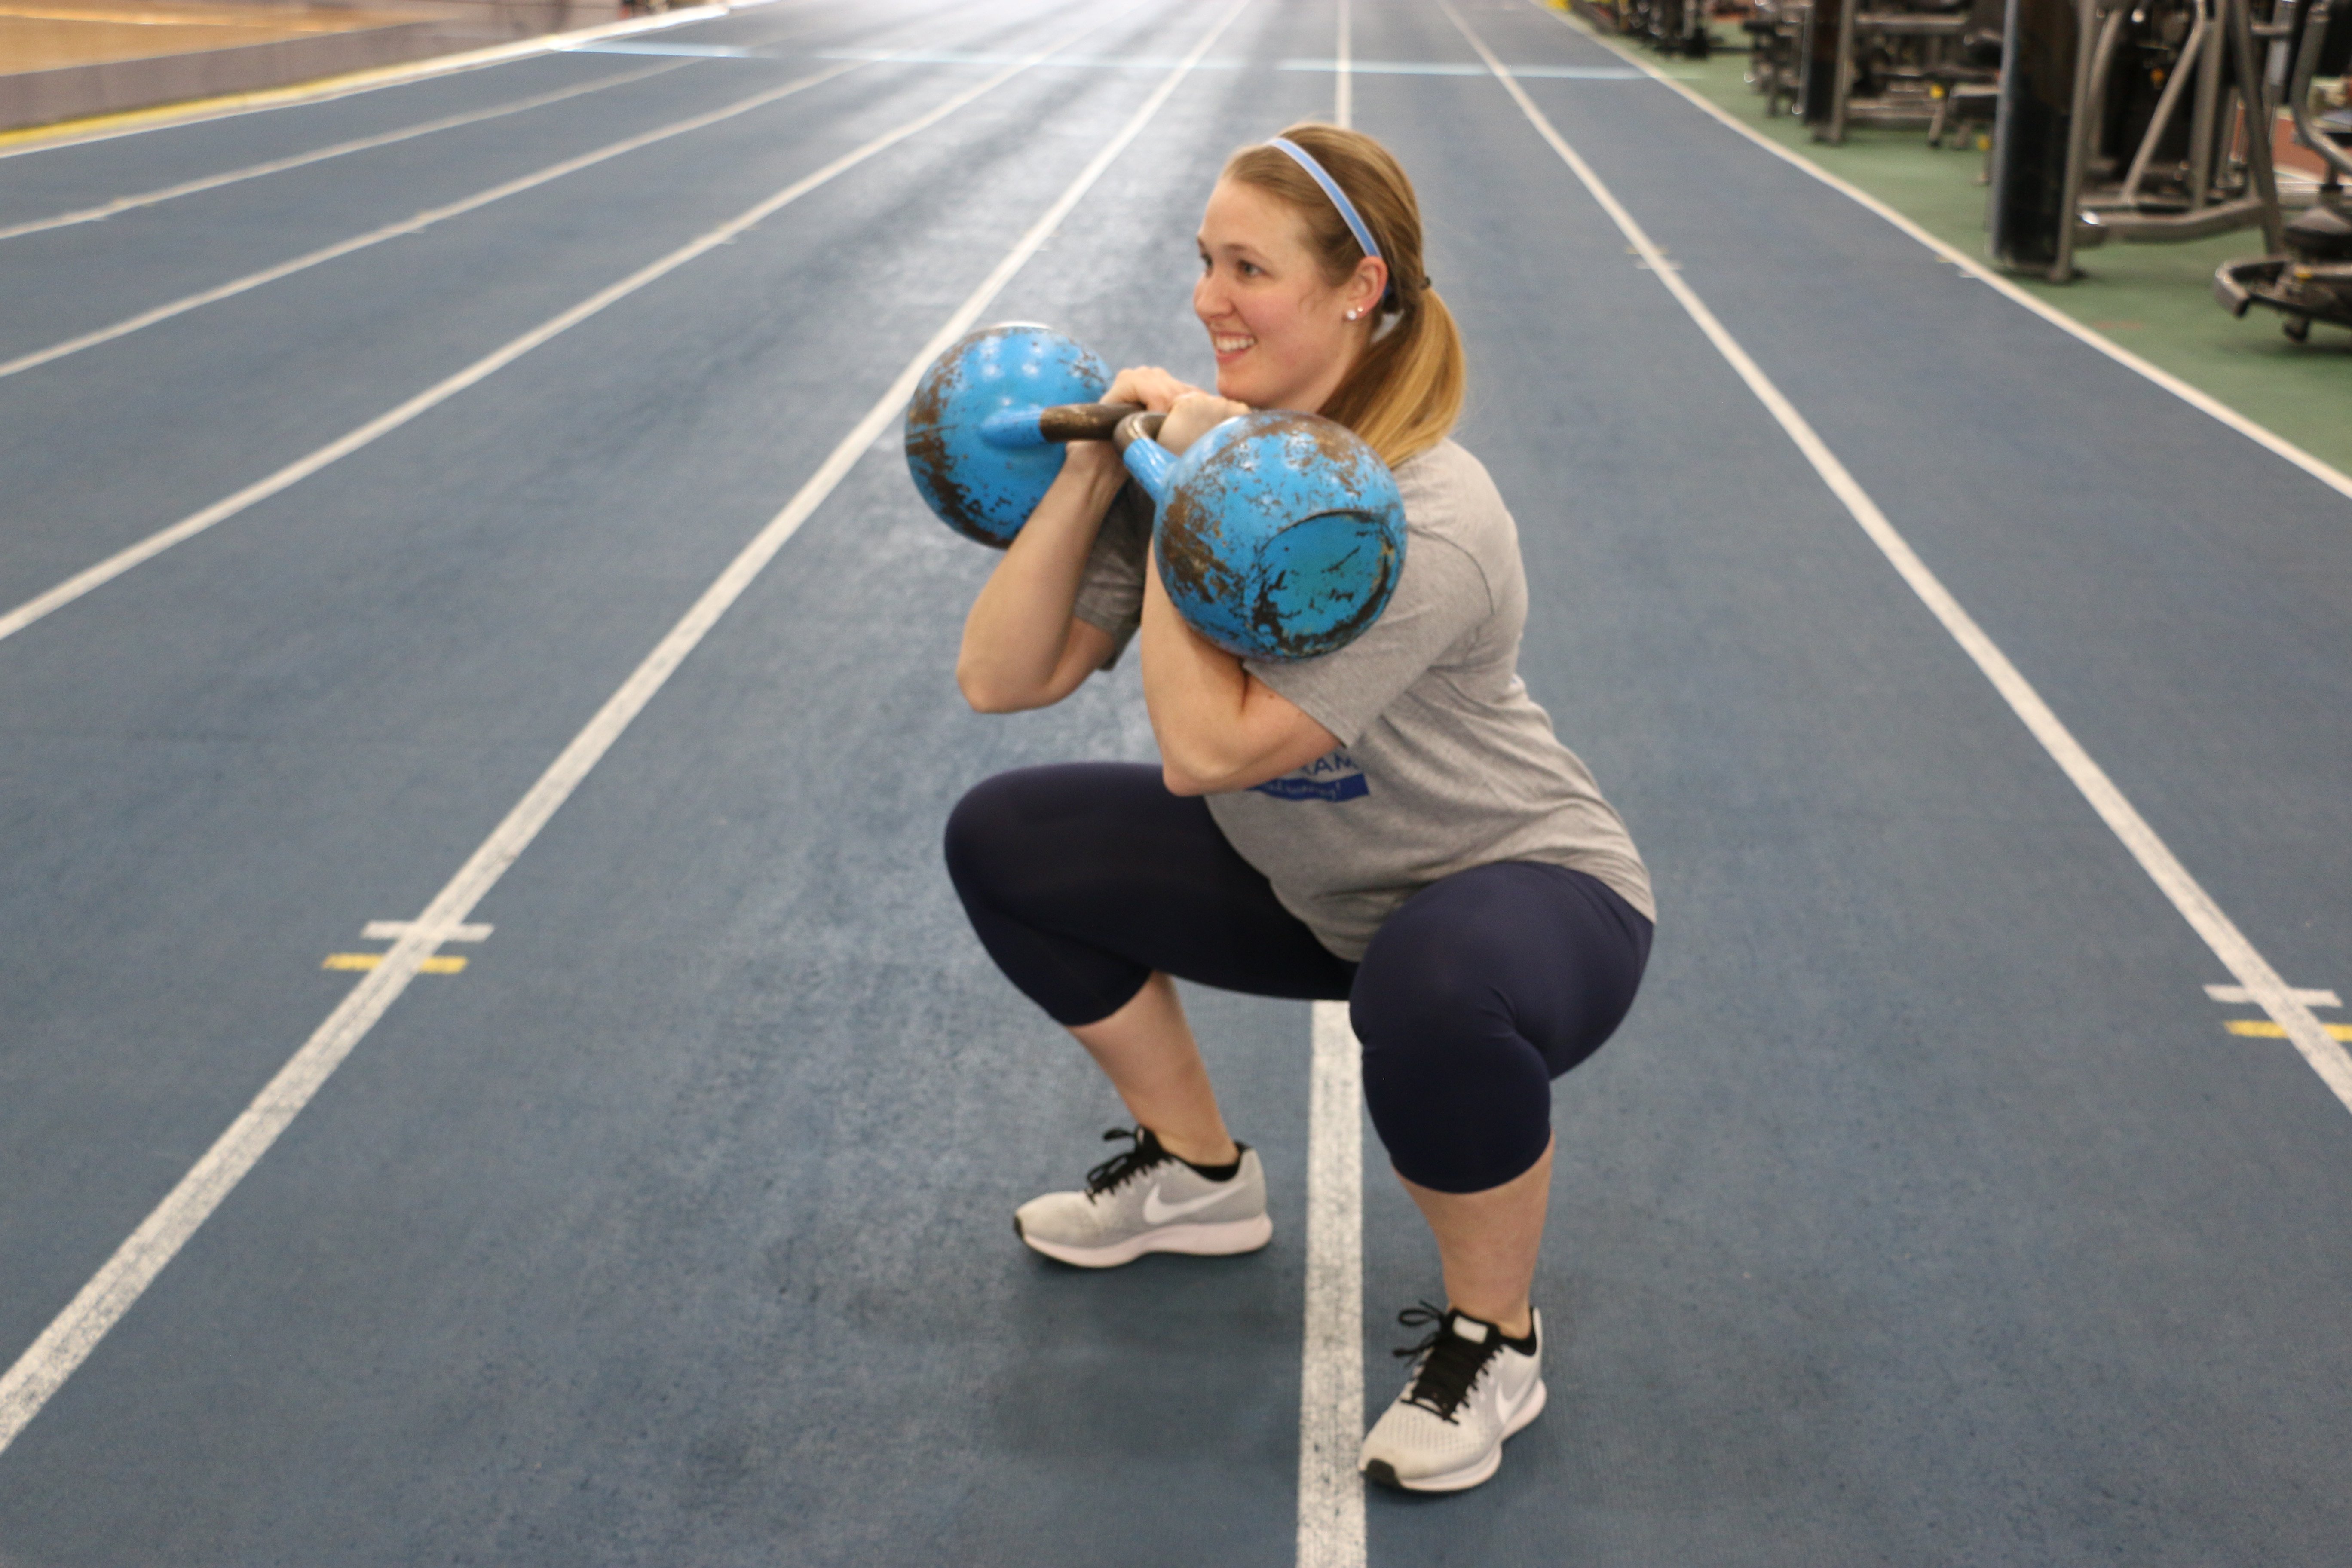
Wall Sit Knee Pain
A great exercise to utilize on leg day is the tried-and-true wall sit. Due to the nature of the exercise and positioning of the body, it can cause a real strain on the knees.
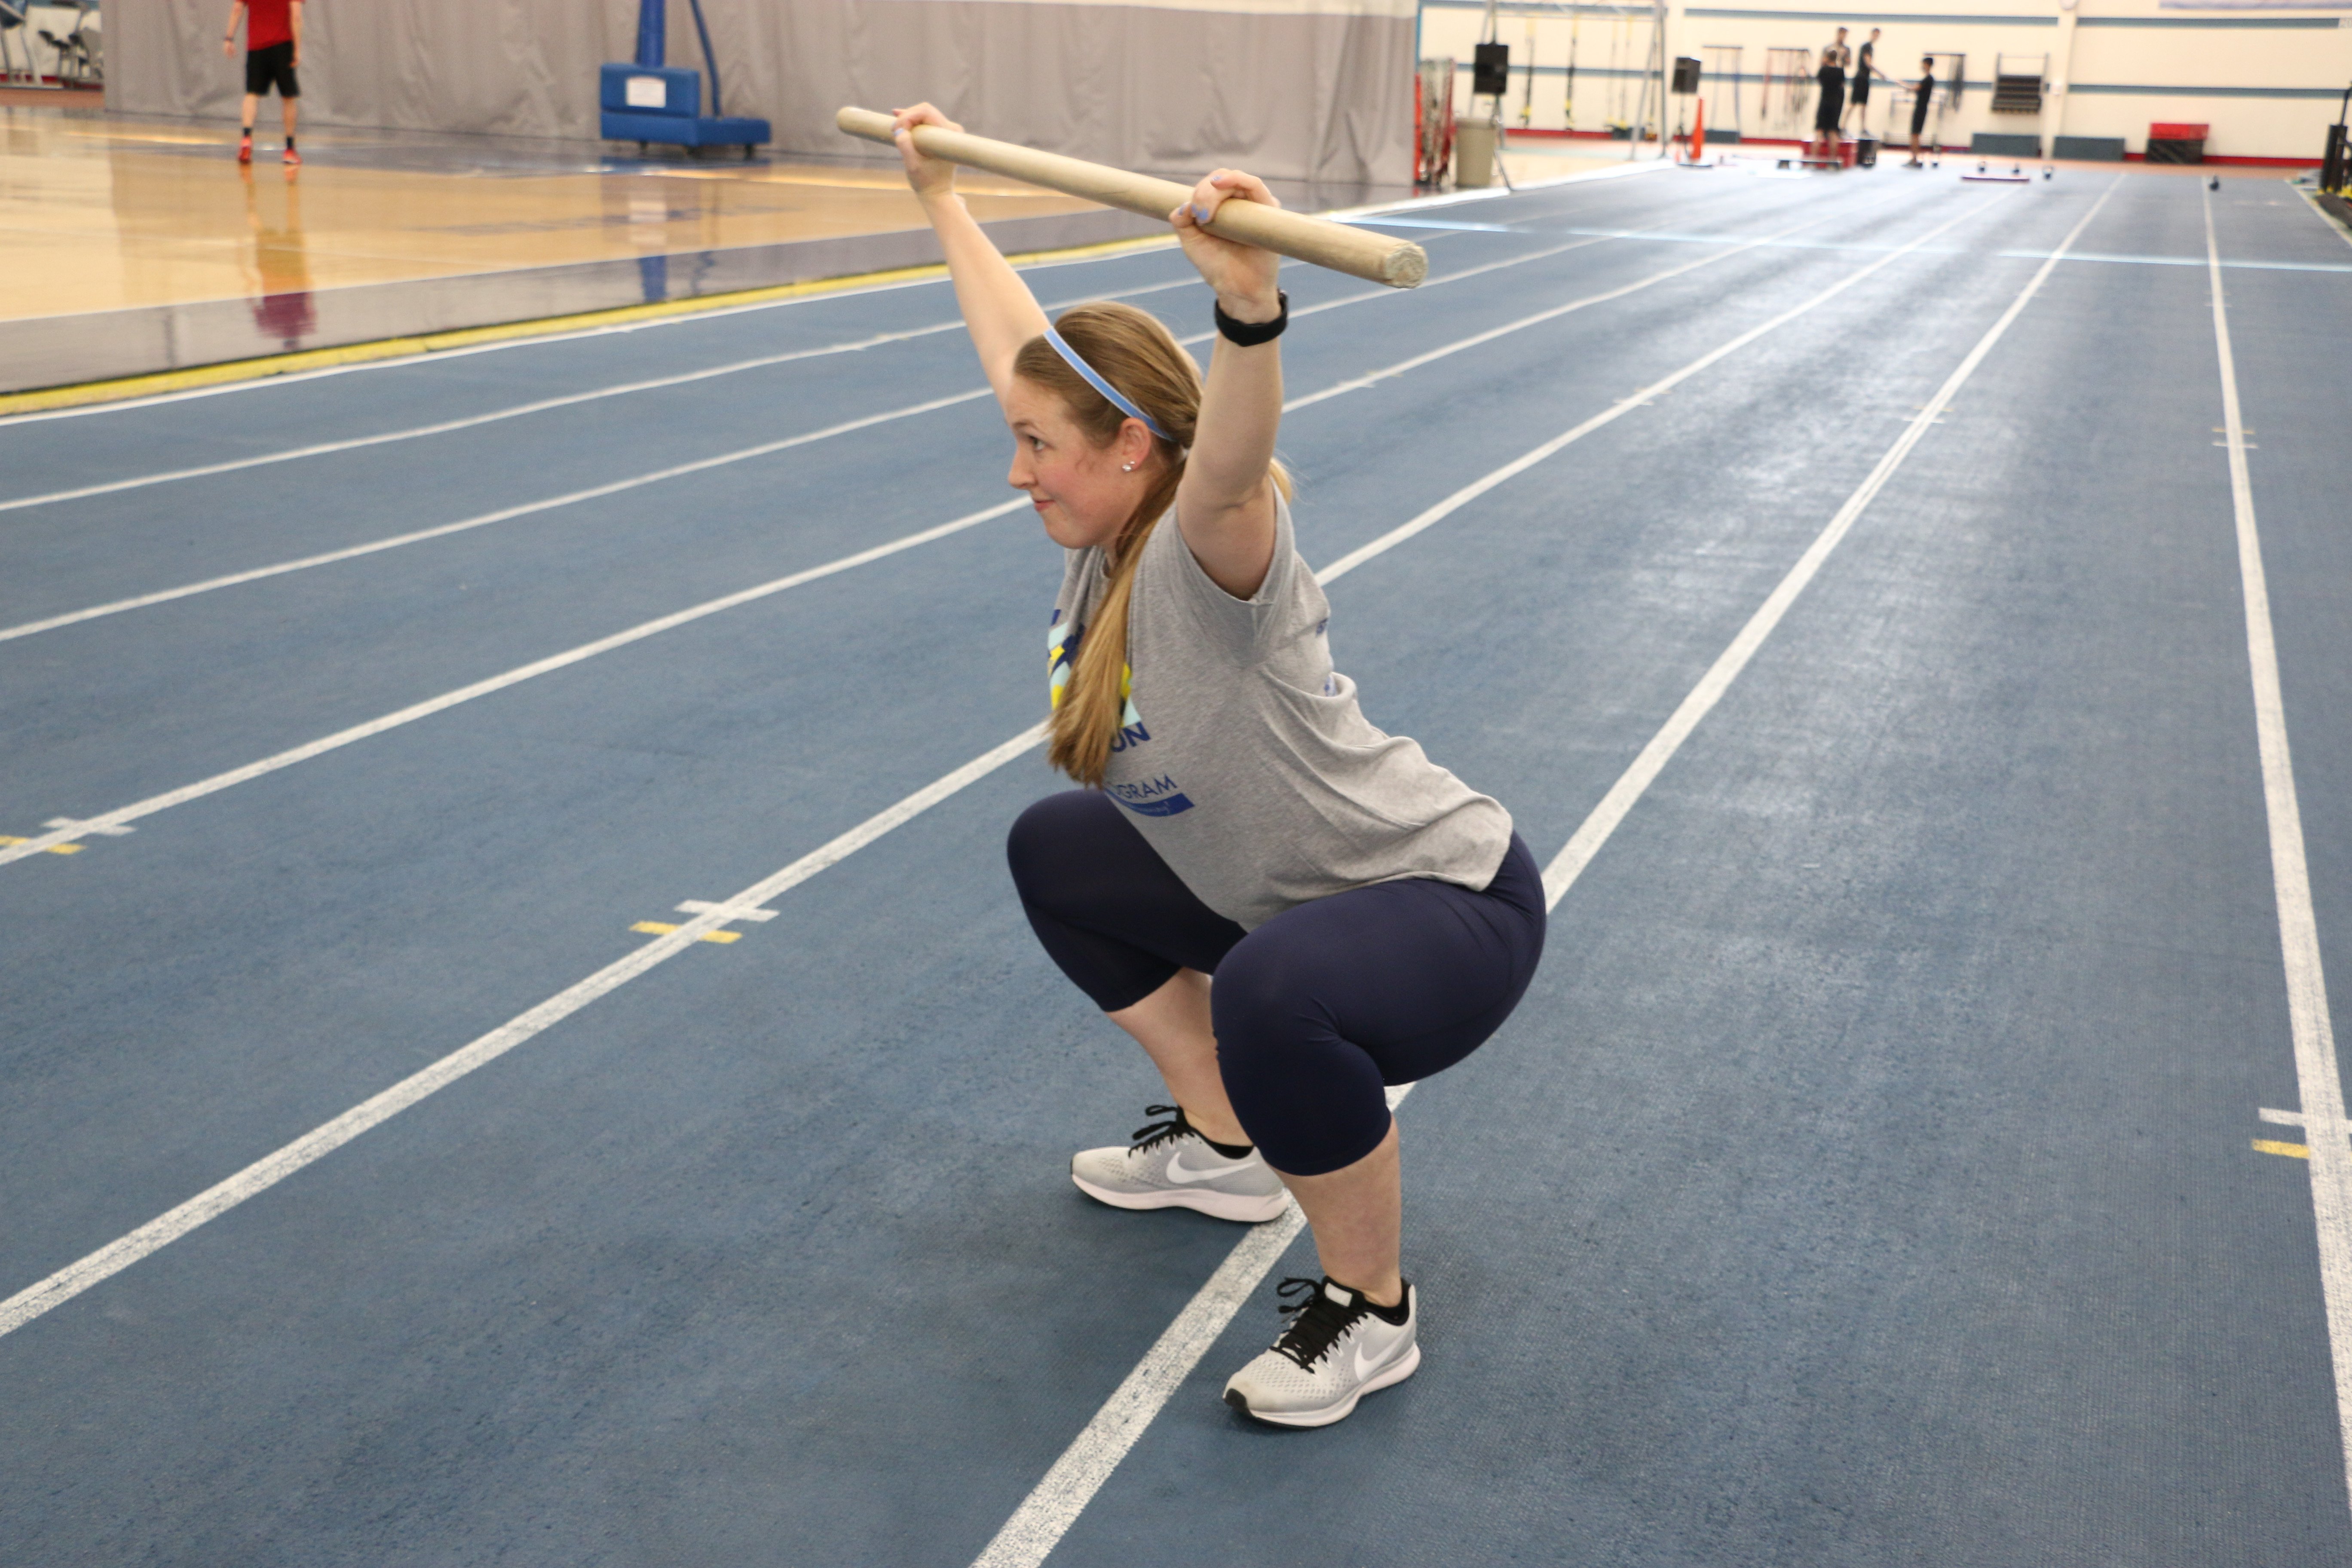
Dissecting the exercise shows which muscles are active during a wall sit. This includes the gluteus, hamstrings, quads, and calves. The movement is basically a static squat while pressed against a wall, utilizing the principles of isometrics. Lowering the body to a position in which the knee is bent at 90 degrees and the back and head are flat against the wall is ideal.
Knee pain can be a side effect; if so, using caution is always rule #1. To help alleviate some discomfort, some cues to consider include the following:
- Make sure your feet are flat on the floor.
- Move your feet away from the wall.
- Widen your stance a little.
- Slightly point your toes outward at an angle.
You will still be using the same muscles, but the emphasis will shift away from the knees and more into your powerful glutei muscles. I also cannot stress it enough: keep your head back against the wall and your cervical spine in a neutral position. For an added challenge, you can try being in a wall-sit position, then add in a bicep curl to accentuate the movement.
Overhead Shoulder Press Pain
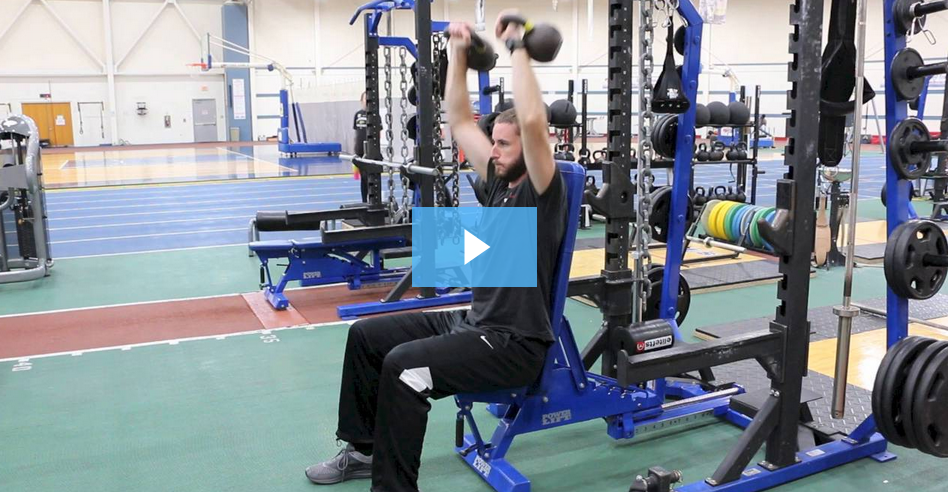
Yet another staple exercise you will see in the gym is the overhead press. There are many variations to consider, some with free weights and some with selectorized machines. Both ways, potentially, will get the job done, if done properly. The shoulder press is performed by pressing one or two dumbbells or a barbell overhead (if using free weights), or with a designated overhead press machine from your favorite selectorized machine line.
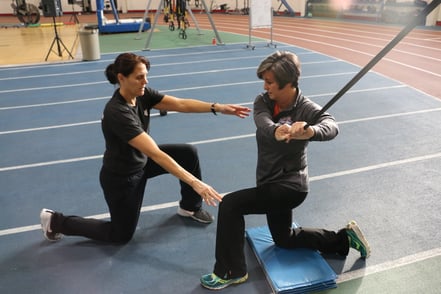
A typical issue that arises during a shoulder press is general overall pain in the shoulder itself, and sometimes discomfort in the upper middle back. If there are no underlying issues with the shoulder, this might only be a technique issue that could be resolved with proper cueing. You can discover whether you do have an underlying shoulder problem by completing a Functional Movement Screening (FMS) at NIFS.
Cues to consider here include the following:
- Never allow the bar to travel behind your head or neck.
- Try to keep your elbows forward of your shoulders as you press overhead.
- Lower the weight until your hands are about at eye level, then press.
- Use dumbbells only when your skill and experience level allows for it.
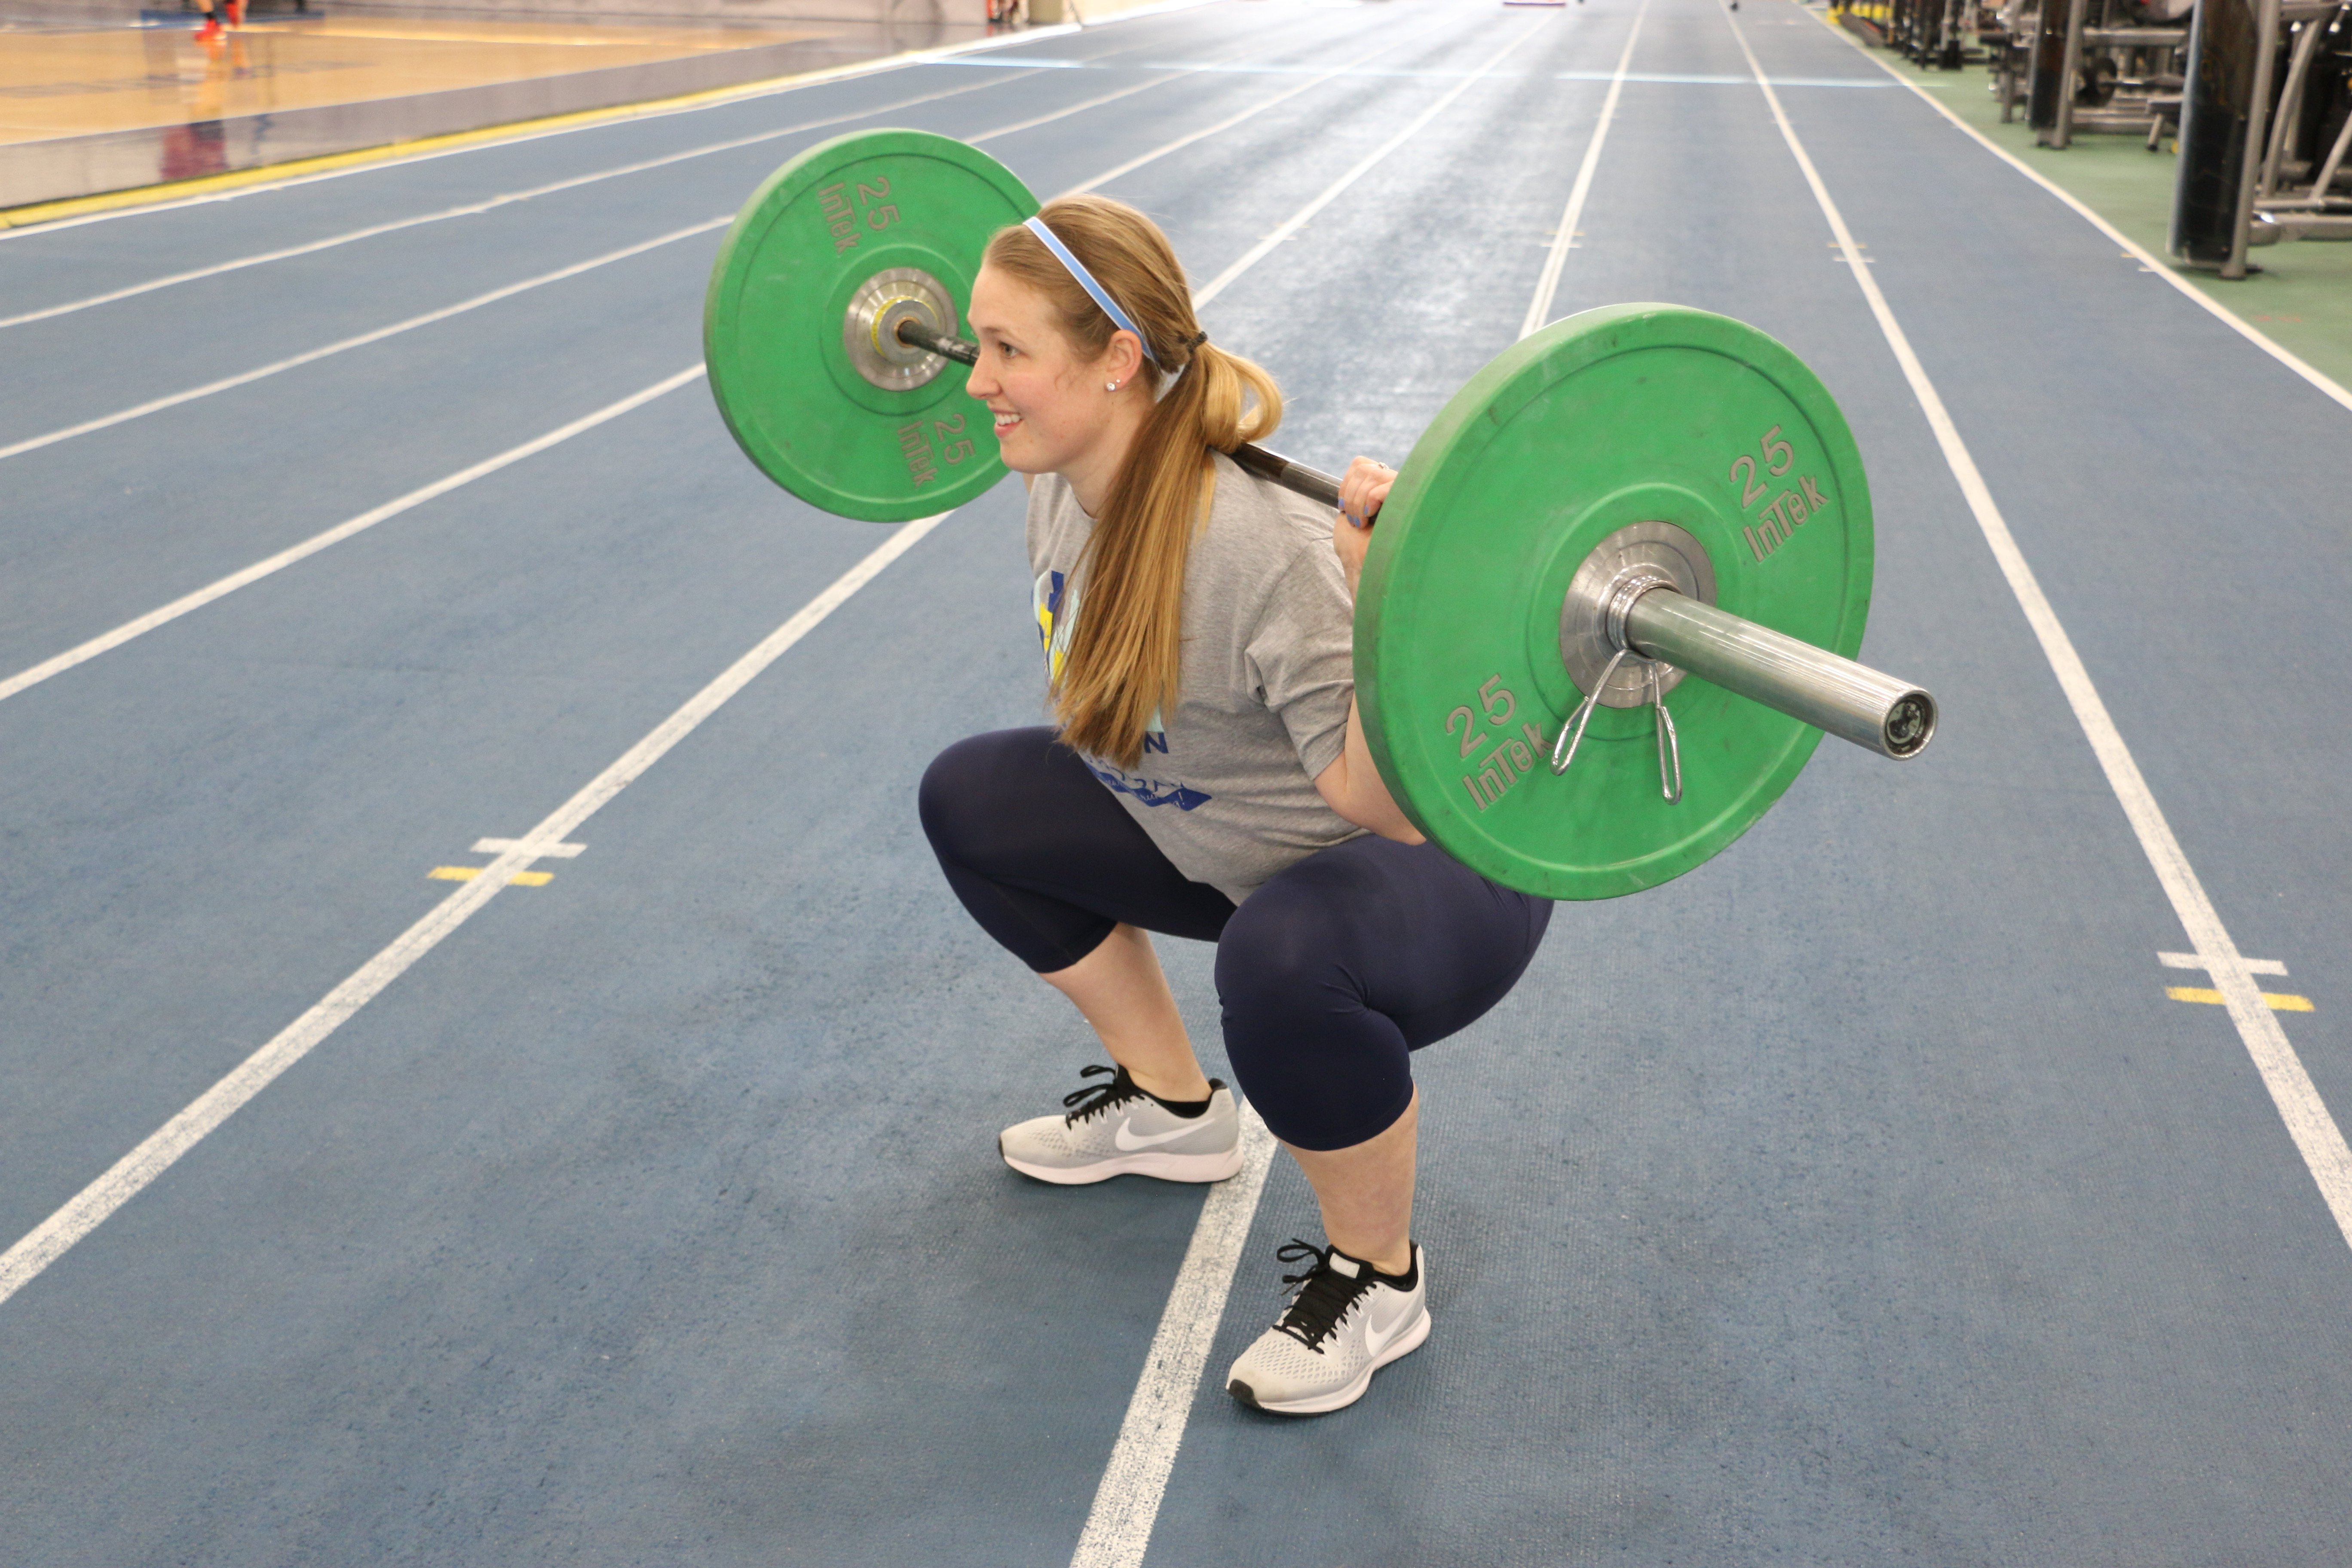
Lifting really heavy weight, such as during Olympic lifting, can also be hazardous and warrant special consideration. Sometimes an injury occurs during an overhead Olympic movement, but often injuries happen when a weight is being lowered to the starting position, safely to the ground.
Dropping weights from overhead is permissible when the weight being used gets to a range that cannot be safely managed on the descent. At this point, it is advisable to drop the weight, but there is a right and wrong way to drop. Consulting with an Olympic lifting coach or professional along with experience is the best way to learn how to drop the weights in a controlled and safe manner. Ideally, you are going to be safe, and the equipment maintenance guy appreciates your courteous and safe lifting efforts.
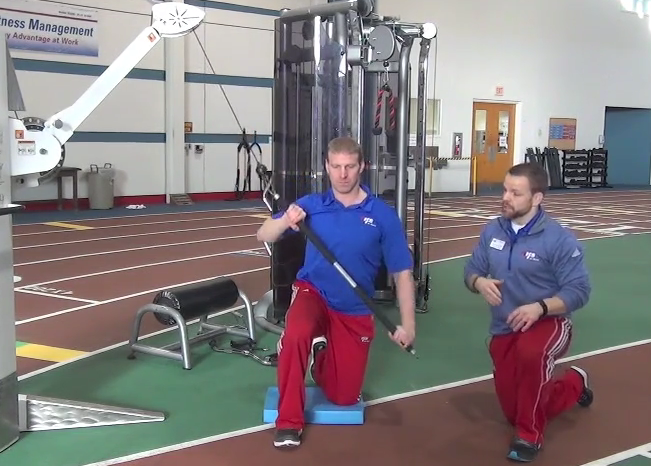
Lat Pulldowns, the Safe Way
Our final cue is for the Lat Pulldown, which is a variation of a pull-up, using a selectorized machine. Although the motion and muscles are the same, the lat pulldown is an easier way to get good repetitions at an otherwise challenging movement. This doesn’t mean you can flub the exercise at the expense of your health.
Ever since the beginning of strength training, an iconic image in the gym is the “behind the neck or head” lat pulldown. A trainer who cares about you will tell you not to do this movement because it’s bad. “But why not?” you may ask. Without a doubt this is a high-risk exercise, but not for the reason you might be thinking. The equipment you are using is checked, double-checked, and deemed safe, but there is always a chance that the cable will give way, causing the bar or handle to come at your noggin at a high rate of speed. We can all agree that a behind the neck lat pull down is not worth a concussion (or worse).
Here are some cues for a safer lat pulldown:
- Grab the bar or handle with hands evenly spaced,
- Pull the bar or handle down to around eye level in front of the body and control the motion both on the way up and back down.
Many people may have other perceptions, but safety is the number-one priority when you are a personal trainer.
***
Do you have a trainer who has given you cues for exercise? Cues can really make a big difference. If you are interested in safer, more effective exercise, and learning about how your body works in exercise, contact a NIFS personal trainer or health fitness specialist to schedule a meeting to discuss your goals, questions, and next steps to a better workout. Getting the most out of your time at the gym also makes sense. Now get back to work!
Muscleheads rejoice and evolve!

This blog was written by Thomas Livengood, NIFS Health Fitness Instructor and Personal Trainer. To read more about the other NIFS bloggers, click here.
 Humans have the ability to become and remain stable throughout any movement, from walking, to lunges, to power cleans. Increased stability typically correlates with increased performance.
 How do you define fitness? Whatever your answer is, it will shape the way you work out, influence the goals you set, and impact your long-term health. Although everyone might have different perceptions of what “fitness” means, the American College of Sports Medicine has defined what
  Not long from now, families all over America will be sitting down to a meal that looks back to that first Thanksgiving, in which the Pilgrims celebrated the harvest after a harsh winter. The year was 1621, and Governor William Bradford proclaimed a day of thanksgiving, which the colonists celebrated as a traditional English harvest feast.
 How long have you been stuck on your max for bench press or unable to become efficient at
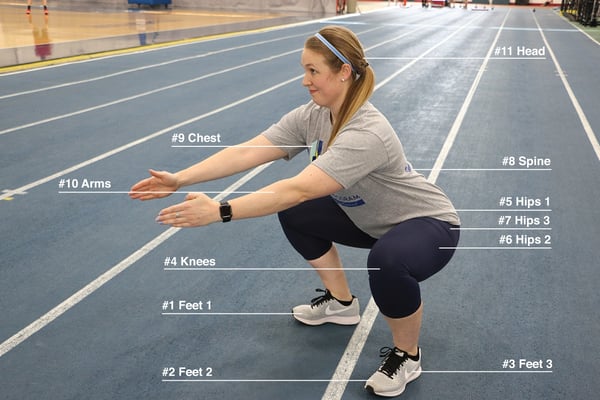

 Chops
Chops Every four years, the
  The concept of cross-country skiing for sport comes from areas in which getting around is easier and more common on skis than trudging through the snow. Out of necessity and the evolution of transportation, people in the Nordic region of Europe are now famously known for producing some of the highest VO2 Max numbers in the world. Your
  One of the most fascinating events at the winter Olympics is the bobsled. A team of individuals, working as one, propels a bobsled down a narrow, icy chute. To get the sled going, the team relies heavily on otherworldly leg strength. The rest of the event takes skill and some luck, as this is a race to the finish line. The winning team usually has a complete balance of strength, skill, balance, and weight.
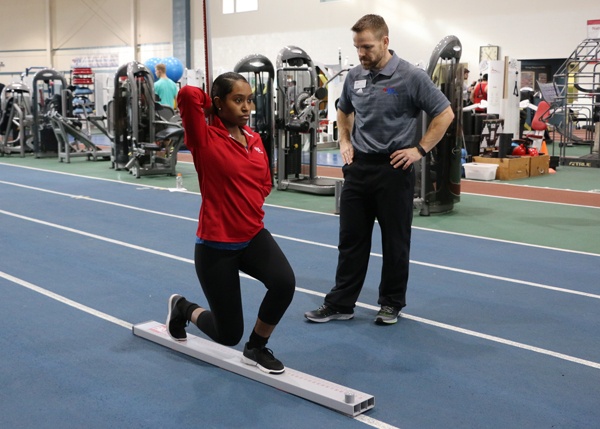 Maximize Your Workout with the Functional Movement Screen at NIFS