When I first came to NIFS more than a decade ago (I know, right?), I brought BOSU Conditioning with me, and the NIFS community welcomed it with open arms (and legs, and core…you get the idea). I was fresh out of a training opportunity with the inventor of the BOSU, David Weck, while working at another gym. I took to the BOSU very quickly and loved the many training dimensions it provided and wanted to share it with as many folks as I could.
In its debut here at NIFS, BOSU was a hit and saw eight great years on the class schedule with many great instructors and class designs. But it needed a break. Finally that break is over, and BOSU has returned to the class schedule and is getting a lot of hype again!
What Makes BOSU So Awesome?
Here are few things you need to know about this powerful, multi-use fitness tool:
- BOSU stands for BOth Sides Utilized. This refers to the ball itself. You can use the dome side as well as the platform (flat side) for so many different movements. Both sides utilized also pertains to using both sides of the body in harmony.
- You can train all aspects of fitness utilizing the BOSU, including mobility, stability, core strength, power, strength, and cardio.
- Movement options are endless and can be adapted to the fitness level of the user.
- Movements can become three-dimensional, which is how we move in the real world.
- Provides an unstable surface, forcing the user to use important stabilizer muscles of the entire body.
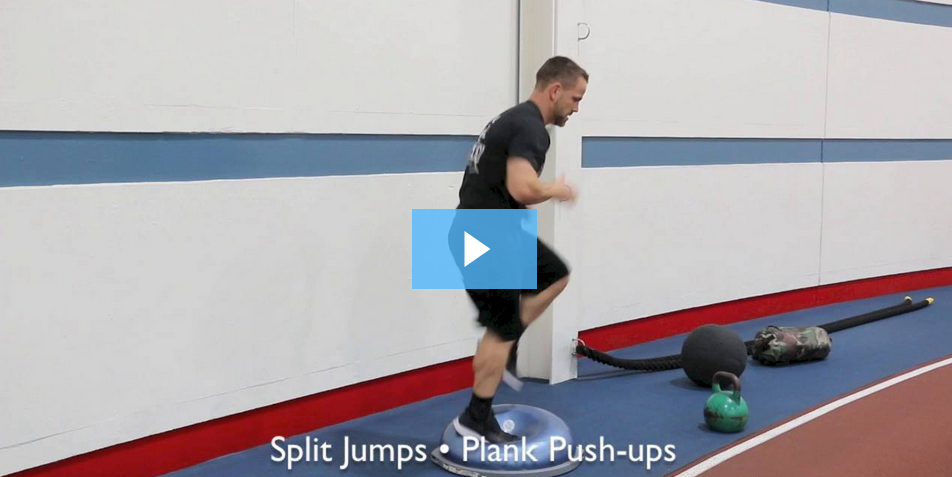
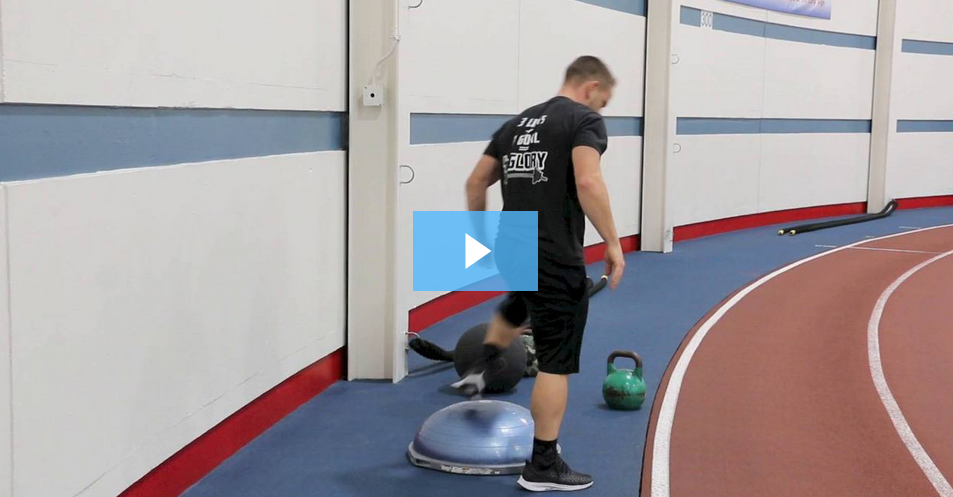
Here are some videos that show some of those movements:
Five Reasons to Try BOSU
Now that we all agree that the BOSU is pretty awesome, here are some reasons to stop waiting and just take a class already. You won’t regret it!
- Be different: There is no other tool like the BOSU, so a class session designed around this one-of-a-kind piece of equipment will be very different from any class you might have experienced. We use different body positions and equipment differently than most training disciplines, making each class different than the last.
- Options for movement: There are countless options for different movement patterns that can be adjusted to suit any fitness level. No matter whether it is your first time on the ball or your 50th, the BOSU finds a way to challenge you.
- Specific adaptations: As mentioned before, the BOSU is an unstable surface that will increase the usage of small stabilizing muscles that are found all over the body globally, and locally to the area directly in contact with the BOSU. An unstable surface elicits a specific adaption of stability. “Use more, burn more" is a direct effect from a class; the more muscle you have to use, the more energy you will burn. If the goal is to increase your stability, balance, and core strength, the BOSU will provide that specific adaptation.
- Unique experience: There are exercises that are done on the BOSU ball, and then there are BOSU movements, both providing a unique exercise experience. There are also unique training effects that can only come from working with the BOSU. Effects such as the increased usage of the foot for grip and stability, which aids in all movement on a stable or unstable surface.
There are plenty more reasons why should try a BOSU class right away, but there are only four letters in the word. So what are you waiting for? Come see me on Sundays at 10am and realize what the BOSU can do for you!

This blog was written by Tony Maloney, ACSM Certified Exercise Physiologist and Fitness Center Manager. To find out more about the NIFS bloggers, click here.
 For the majority of my athletic and fitness career, getting sore from activities, workouts, practices, or games has not only been a sign that work has been done, but also a rite of passage. The saying, “no pain, no gain” came about as a result, and the world would judge successful workouts on soreness.
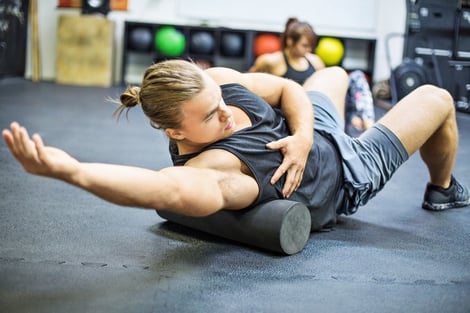
 Think about the most recognized duos of all time: Batman and Robin. Mario and Luigi. Buzz and Woody. Stability and Mobility. Wait, what? Yes, like superhero teams, stability and mobility work together to achieve a balanced, harmonious environment for functional movement.
 When you hear the word stretch, you might think immediately about flexibility (or perhaps your lack thereof). Flexibility was always the term used for enhancing limited movement, until the word mobility arrived and took the fitness industry by storm.
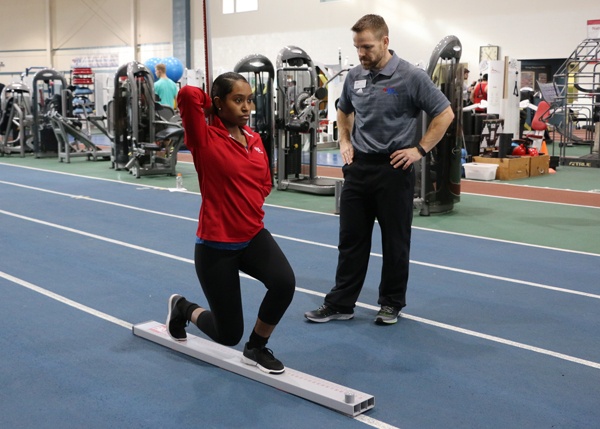 Maximize Your Workout with the Functional Movement Screen at NIFS
 I used to work at a golf course during my time as a teacher. It was a great way to spend my summers and be close to a game I truly enjoy playing. I mainly mowed greens and tees and dug a bunch of holes. I really enjoyed that time of my life very much. On all of the mowers there was a sign that read, “If this equipment can’t work, nor can you.” I think the message is self-explanatory: if the equipment is not properly cared for, it is a very good possibility it will stop working, leading to loss of productivity and failure to complete the job.


 In my previous posts,
 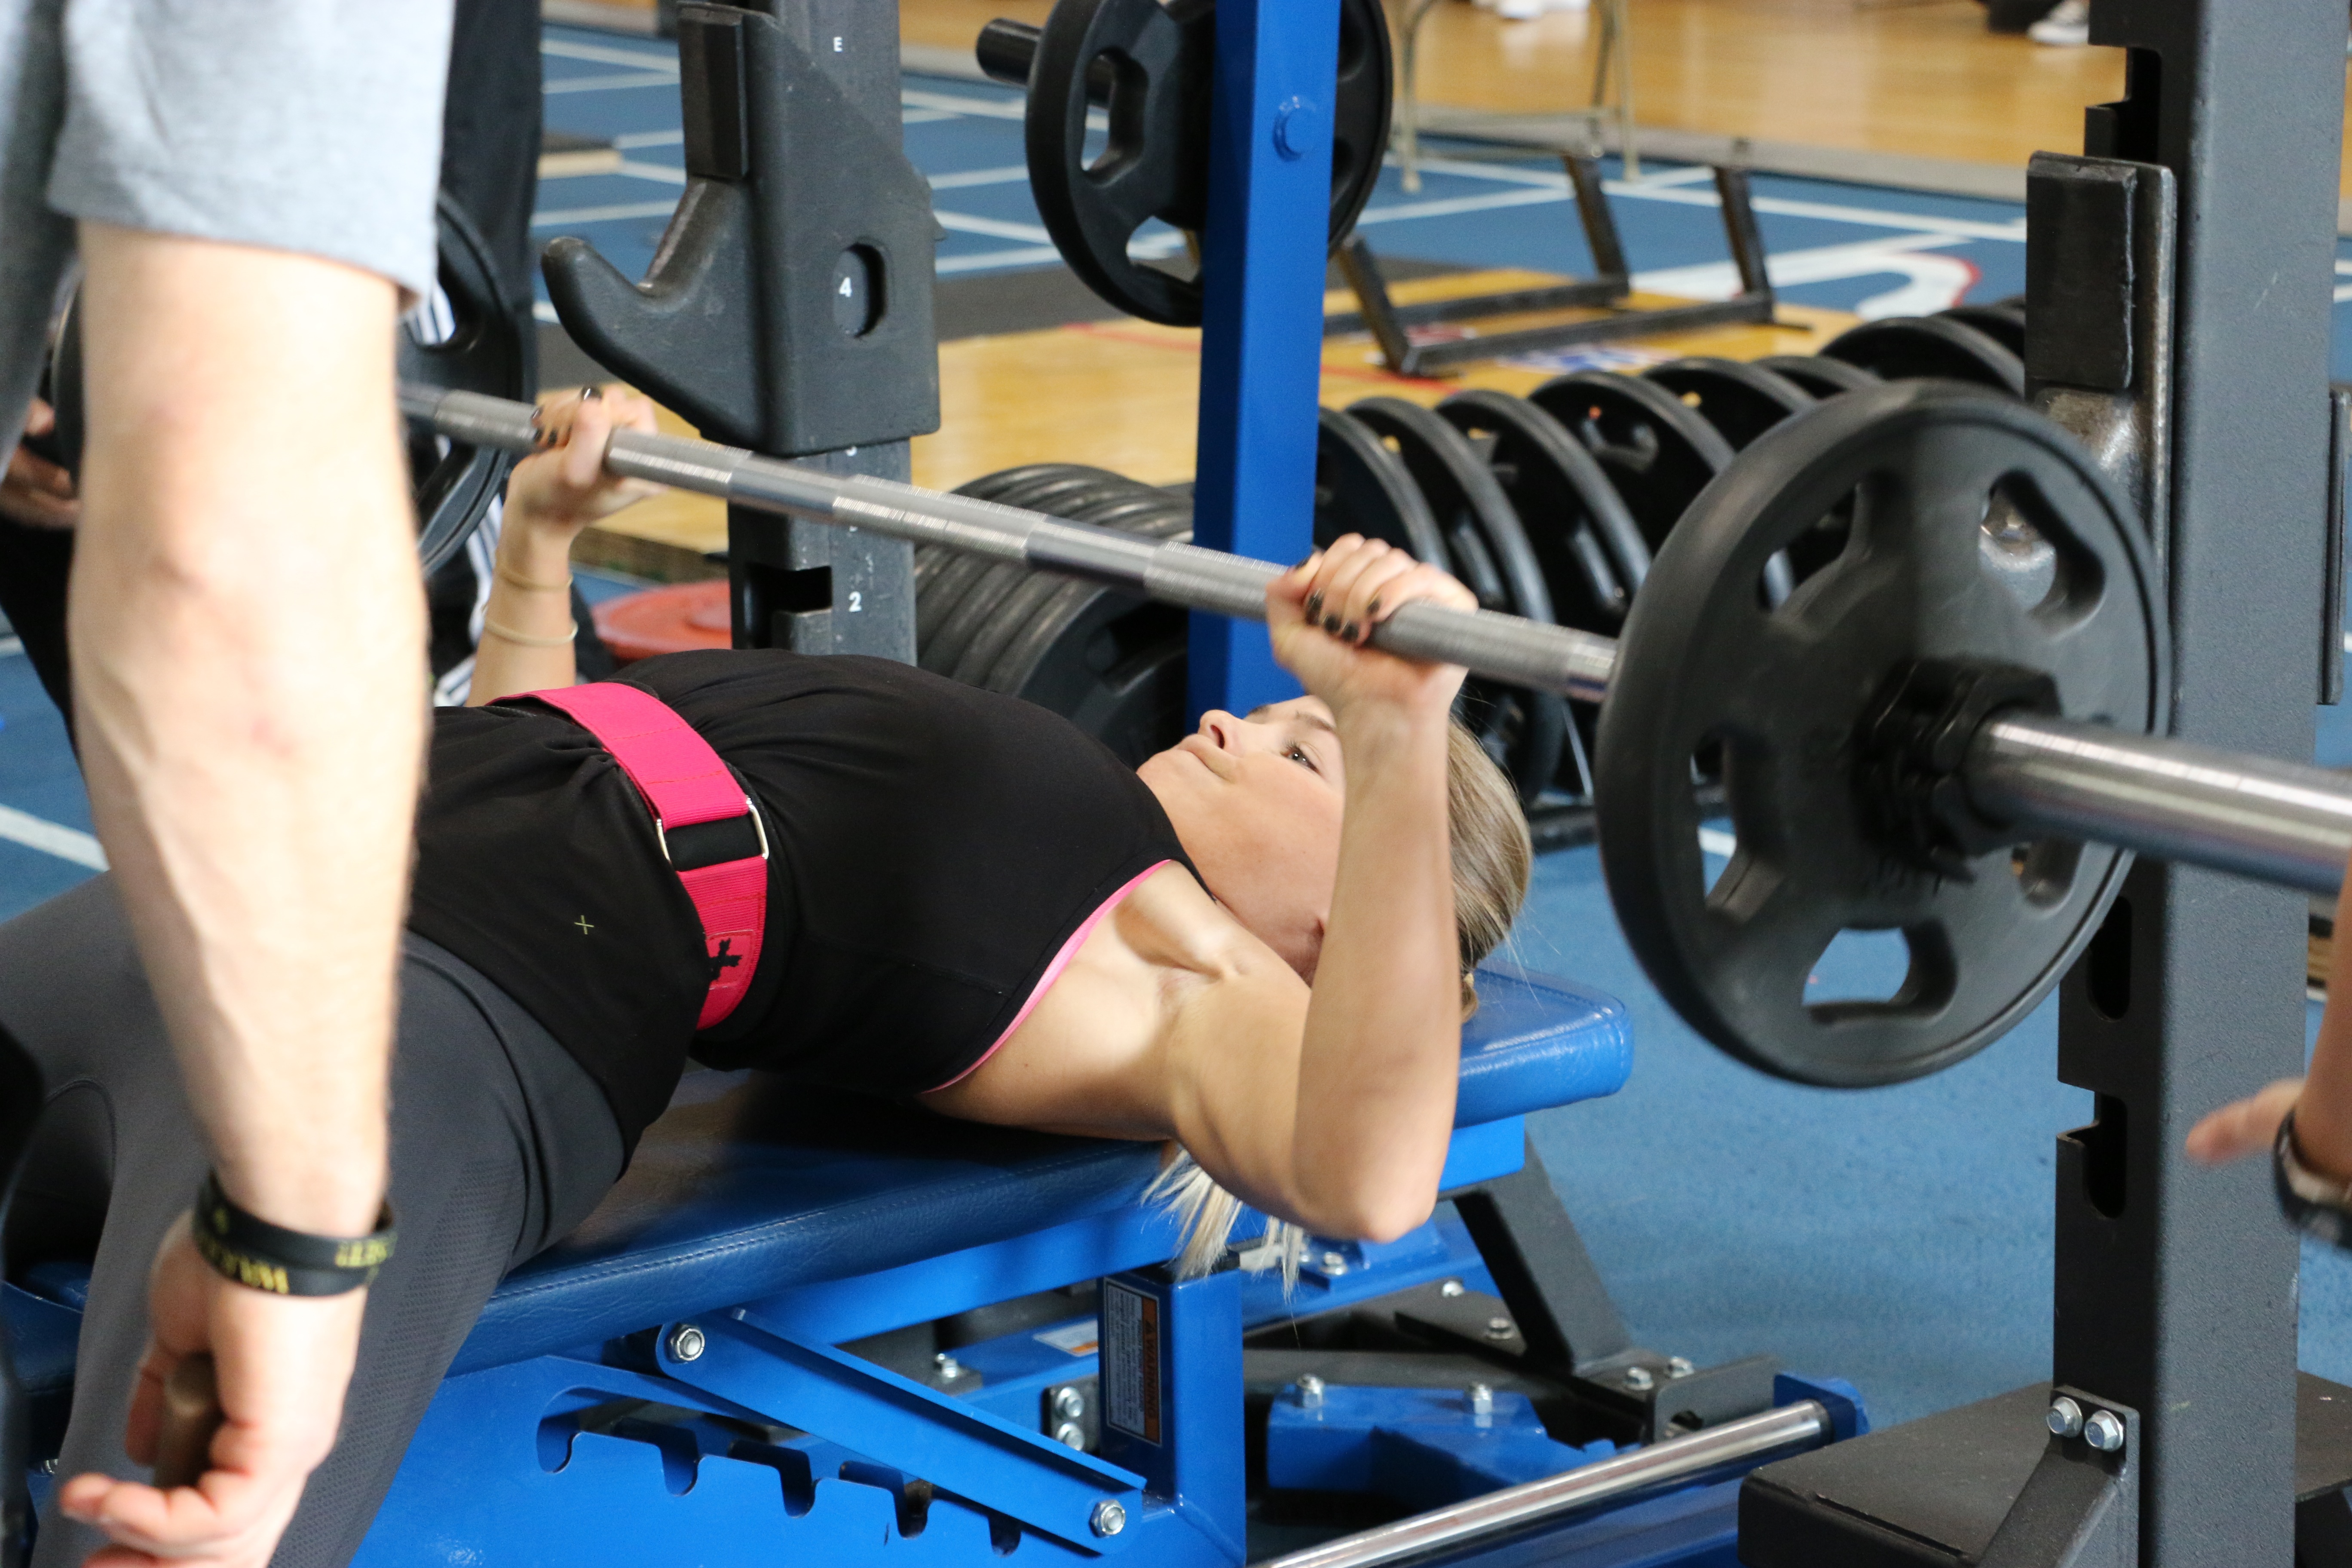 In my previous post,
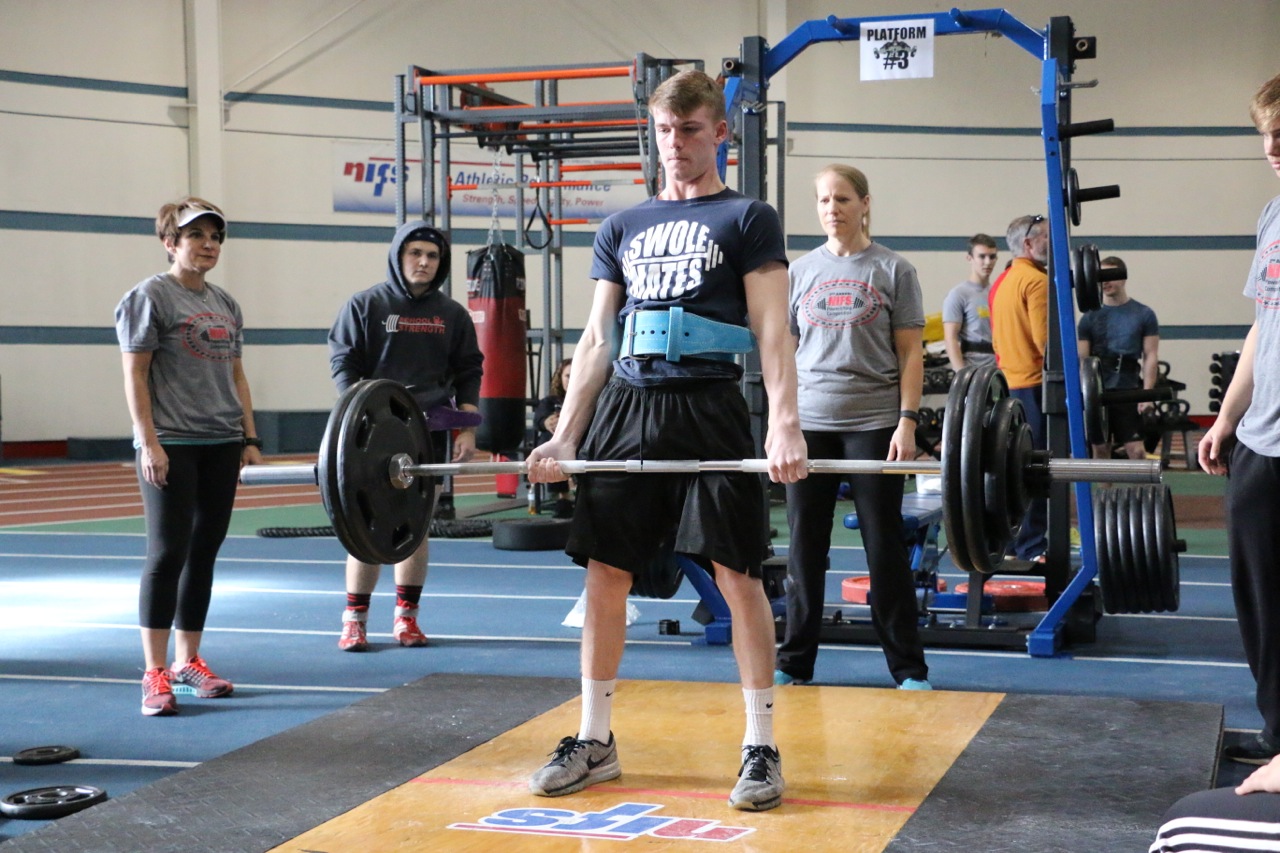
  If you are one of the athletes who want to throw their hat into the ring, I want to give you three key principles that will help you be the best you can be on event day for each of the three lifts. Those lifts, of course, are the squat, bench, and deadlift. Today we will focus on the squat. We will get to the other two soon, so keep an eye on the
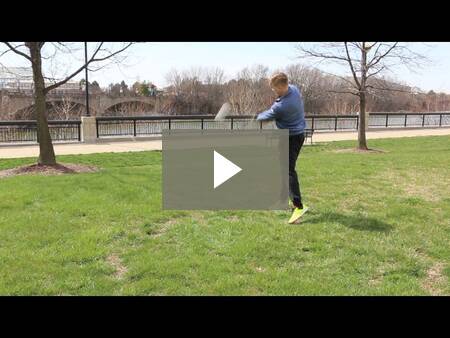
 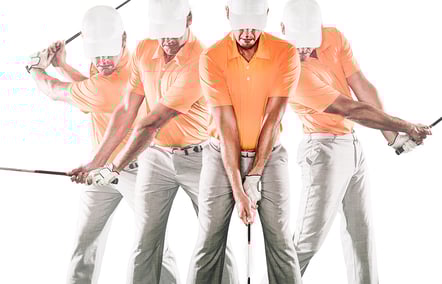 Most of us might have been lucky to get out and play a handful of times over the winter, but some might be picking up a club for the first time in almost five months or more when that first tee time rolls around. Regardless of how many times you have played in recent months, everyone can benefit from improving golf-specific fitness areas before the full-fledged season begins.