 Fall is hands-down one of my favorite times of the year. There’s a crispness in the air, the leaves begin to change, there’s pumpkin-flavored everything, football season is in full swing, and there’s the return of a little phenomenon known as Squatober!
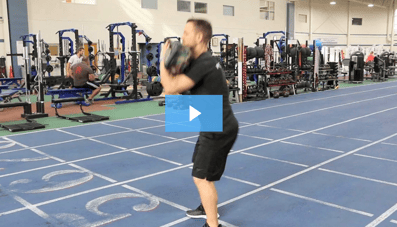
Yes, you read that correctly: SQUATober. Squatober is known as “the world’s largest knee-bending party,” and consists of squatting 5–6 times per week for the entirety of the month of October. Crazy, right? Crazy awesome! The program is written and was originally created by Aaron Ausmus, NCAA D1 shot put champion and strength and conditioning coach. It culminates in a PR party sometime around Halloween (“personal record” for those of you playing at home), and all proceeds from shirts and merchandise are ultimately donated to outfitting a high school weight room in need of some upgrades.
I can almost hear the confusion, apprehension, or flat-out scoffs through the screen. Squatting, and squatting heavy no less, five days a week, every week for a month—why would anyone want to embark on something so outlandish? Well, a lot of strength coaches, fitness professionals, and gym junkies have taken the plunge into Squatober since its inception.
And while I understand that it’s not for everyone, there’s something about stepping up to the plate (or under the bar, I should say) that really appealed to me. It was a "challenge accepted” moment that took me back to the days of being a competitive athlete. Plus, I wanted to be a part of a larger, worldwide phenomenon that ultimately ended in giving back to communities and those in need. There have also been numerous stories of other coaches citing Squatober as the reason they overcame personal struggles such as addiction, mental health struggles, and much more.
After completing the sometimes grueling squat party for the first time last year, I came away with a little more than soreness. Here are my four biggest takeaways after completing Squatober.
Our bodies are capable of some incredible feats.
Now, I’m not saying I broke the female world record for the back squat. But after squatting for 27 days, my estimated 1-rep max increased by over 10 percent! This definitely exceeded my expectations (seeing as all I wanted to do was make it to the end). And I understand that picking up things and putting them down might not be everyone’s favorite pastime. But if you’ve been debating signing up for that triathlon, or that Spartan race, or picking up trail running, or training to hike to the top of Pike’s Peak, my advice? Just start! It’s never too late, and our bodies are able to do some pretty cool stuff; you may surprise yourself with what you’re able to handle.
Coaches need coaches, too.
I’ve always been more of a nerd when it comes to training. I want to know the ins and outs when it comes to physiology, how certain periodization schemes affect the body’s ability to adapt. I view programming as a puzzle: trying to piece together the optimal exercises, at the correct dose, in the right order, in order to achieve the desired result. But when you do that for numerous clients, athletes, and friends, for hours at a time, week after week, I’ll be honest: I feel a little brain-dead when it comes to my own programming. Having another coach be in charge of the plan, so all I had to do was open my phone, see the workout, and get down to business? That was a huge weight lifted (pun intended). Since completing Squatober, I’ve reached out to colleagues multiple times to get not only their advice but also their take on my programming. I’ve found that this leaves me fresh, more motivated, and honestly more accountable.
If you want to improve a skill, do it every day (or close to it).
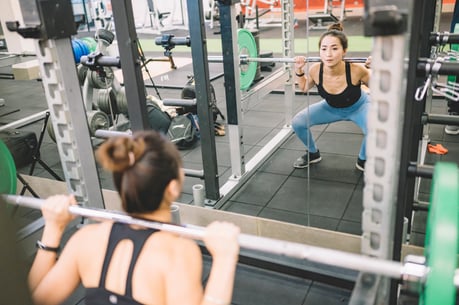
I’ll be honest, the first 6–7 days were a little rough. I was waddling around like I was learning to walk for the first time (hello soreness!). But once I progressed into week two and beyond, I noticed a few things. My depth was consistently better. I wasn’t compensating as much (toes turning out, trunk lean). And my bar path remained more constant (not moving forward or back). By addressing my ankle mobility each day, and my hip stability before each lift, the pieces started to come together. This premise holds true for any habit you want to start or any skill you want to learn. Even if you address it for only a minute a day, making your mission constant improvement, even if it’s only 1 percent each session, it can lead to profound results over time.
Get comfortable with being uncomfortable.
This message was echoed from many of my coaches growing up. Similar sentiments float around the fitness industry fairly regularly. “Comfort is the enemy of achievement,” for example. And Squatober was a nice reminder of that. Again, going into week two, knowing that I had another heavy load that would literally be placed on my back, I started to shift my mentality. I began to look forward to the challenge. I wasn’t worried about any soreness that might ensue. I had begun to become comfortable with being uncomfortable. Now, I’m not saying we have to be uncomfortable 24/7, 365 in order to achieve results. But rather, what was once uncomfortable became the new normal. We adapt, we overcome. And we ultimately change for the better!
I admittedly was only able to complete some of the workouts this year due to scheduling. And I do want to reiterate that I understand this is not for everyone. Would I program this way for athletes? No. Is this the end-all be-all in terms of workout plans? No. Was it fun? For me it absolutely was. I loved the camaraderie it offered. I loved checking in with former colleagues and coaches as we all progressed from week to week. I loved that I could look back and say, “Yeah, I did that. I made it.”
So, if you are interested in hopping into Squatober next year, you can check out @sorinex or @penandpaperstrengthapp on Instagram for workouts. Don’t be afraid to modify when you need to, either. And at the end of the day? Just have some fun with it while accepting the challenge! Happy lifting!

This blog was written by Lauren Zakrajsek, NIFS Assistant Fitness Center Manager, Health Fitness Instructor, and Personal Trainer. To learn more about the NIFS bloggers, click here.
 Looking to build strength that lasts a lifetime? Squats are a foundational movement that supports health, mobility, and longevity, yet many of us overlook this natural exercise due to our modern, sedentary lifestyles. Incorporating squats into your routine can help you stay strong, flexible, and resilient as you age.
 Functional training is an excellent approach for longevity and maintaining a healthy lifestyle and functioning body because it emphasizes movements that mimic activities of daily living, enhance flexibility, and improve overall mobility. In this blog, you will learn about the different functional exercises that can contribute to your longevity, along with their benefits and daily function.
 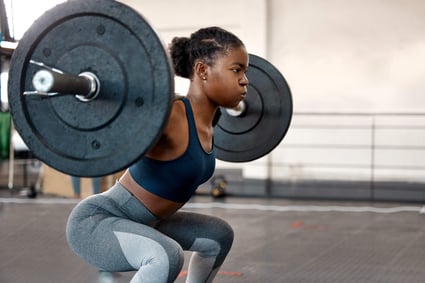 The
The 
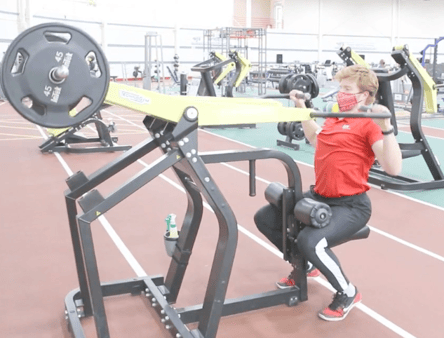 The traditional bodybuilding split of working one muscle group per day might work for the dedicated, high-level competitive bodybuilder who makes their living in the gym. But for the general population only looking to shed some unwanted pounds and improve their overall health, the traditional bodybuilding split is not ideal. Working multiple muscle groups in the same session is much more ideal because it ramps up the body’s metabolism more than working a single muscle group each day. To achieve this, we train the movement, not the muscles.
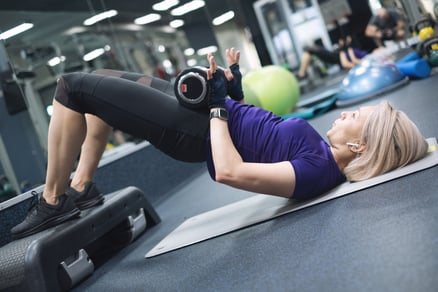 Squatting has always been the go-to exercise for those who want to make glute gains. You have probably heard someone say, “If you want to get better glutes, squatting is the way to go.” Recently, though, hip thrusters have gained momentum as the best exercise for glute development. Although, there is no concrete evidence that one is better than the other, some