 Last time, I covered a few of the benefits of building your aerobic base:
- Ability to recover more quickly between bouts of high-intensity exercise
- Ability to sustain higher-threshold movements for longer (think being able to hit more heavy singles on bench or deadlift with the same rest)
- Ability to handle more acute rises in training volume
- More efficiency, as you’re able to remain in an aerobic state for energy for longer periods (before resorting to another system like anaerobic/glycolytic)
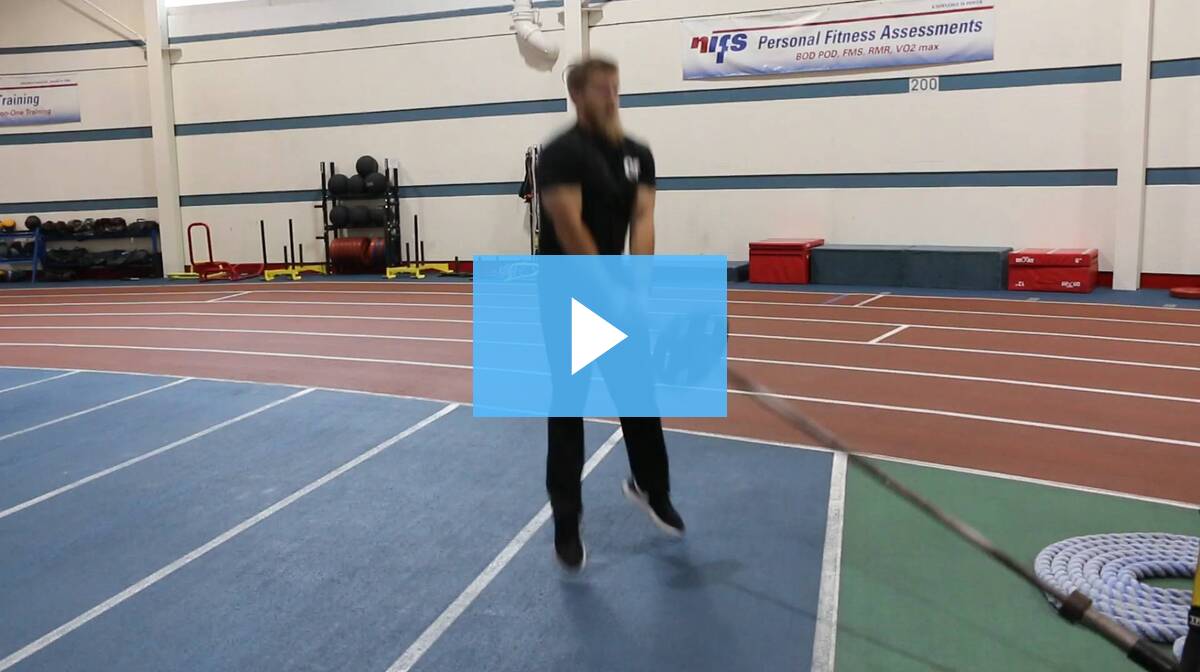
Cool, Lauren! Now, how the heck do I train my aerobic system? How do I start to build that base? Here are a few examples of ways to incorporate aerobic training into your fitness plan.
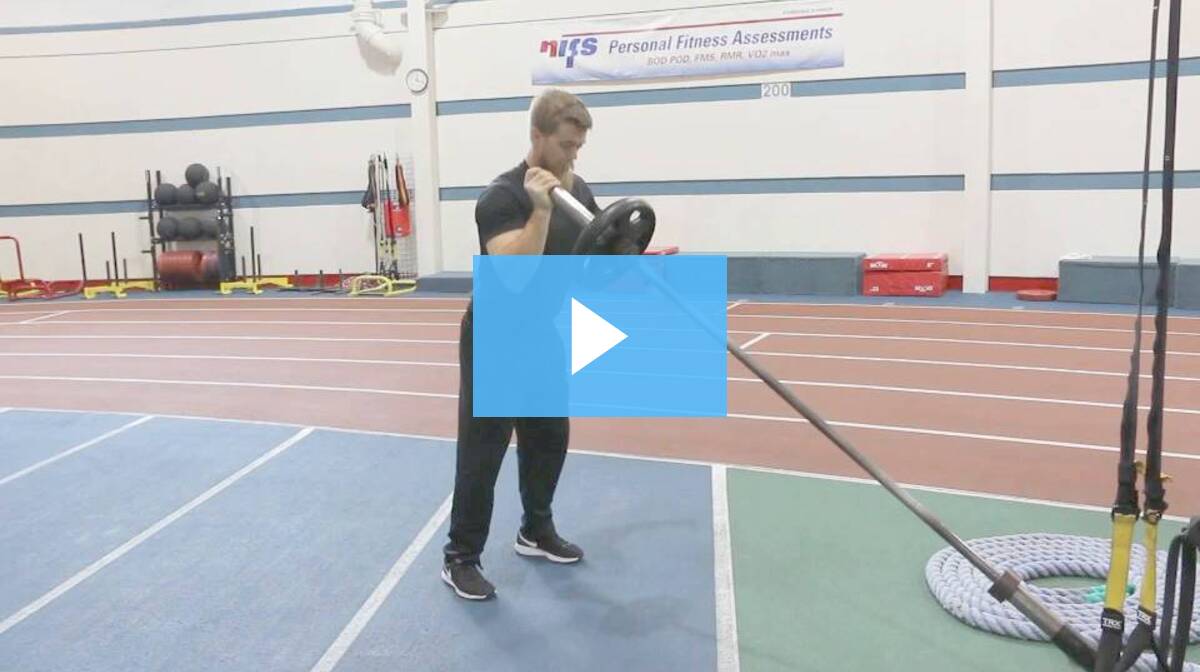
Contralateral Circuits
As the name implies, a contralateral circuit involves working opposite sides of the body while performing a two-part, compound movement—for example, a step-up with the right leg followed by an overhead press with the left arm. Each movement is performed for time, typically 20–30 seconds, followed by a short period of rest while you switch to the opposite side to perform the movement.
By cycling between exercises that work opposite limbs and opposite sides of the body (think diagonally across), we are taxing the cardiovascular system in a relatively novel way. Specifically, as blood is pumped and pools in working limbs for 20–30 seconds (right leg/left arm), the heart has to work slightly harder to then switch to pumping blood to ensure that the next group of contralateral limbs is adequately supplied (left leg/right arm). Heavy weights aren’t involved; typically it’s a combination of bodyweight exercises, bands, or light weights. But after 20–30 minutes of near continuous movement, chances are you’ll see that some sweat has appeared!
Here’s a quick example of exercises that can be linked together for a contralateral circuit:
- Reverse Lunge Right + Band Row Left x 0:25/0:30 rest and transition
- Reverse Lunge Left + Band Row Right x 0:25/0:30 rest and transition
- Step-Up Right + DB Overhead Press Left x 0:25/0:30 rest and transition
- Step-Up Left + DB Overhead Press Right x 0:25/0:30 rest and transition
- Single-leg RDL Left + DB Row Left (Right stance leg) x 0:25/0:30 rest and transition
- Single-leg RDL Right + DB Row Right (Left stance leg) x 0:25/0:30 rest and start over
Escalating Density Training (EDT)
This type of training not only trains your aerobic system, but also allows you to gradually build up volume on particular lifts. So if you in any way resemble me and aren’t the number-one fan of running, this might be for you! Escalating Density Training involves working for 5-minute blocks continuously. You alternate between two lifts, usually opposite in nature (upper vs. lower body), and complete only 1–2 reps of each before returning to the other movement.
For example, you can pair a Kettlebell Goblet Squat with a DB Bench Press. So, for 5 minutes you complete one rep of a Goblet Squat, followed by one rep of DB Bench Press. You can keep a tally of how many rounds you complete in 5 minutes and compare for future sessions to see whether you’re able to do more work in the same period of time. Typically, you can complete three blocks of EDT in one training session, separated by 3–4 minutes of rest. All in all, you’re completing 15 minutes of high-quality work.
Here’s an example of an EDT session:
- Block 1: KB RDL/DB Overhead Press x 5:00 --> 3:00 rest post round
- Block 2: Sandbag Clean & Squat/TRX Row x 5:00 --> 3:00 rest post round
- Block 3: DB Incline Press/Goblet Reverse Lunge x 5:00 --> cooldown
A Long Walk or Hike, Focusing on Nasal Breathing
This one is pretty simple, but surprisingly effective. Getting used to nasal breathing, as opposed to mouth breathing, has more than a few benefits. One of them is that it allows our body to become better adapted to handling CO2 as we produce it during exercise and movement in general. Why does this matter? This has been shown to lower resting heart rate, improve pH regulation, and improve our body’s ability to cycle and filter out metabolites.
So, the next time you head out for a hike at a state park or a stroll through your neighborhood, see if you can maintain a moderate pace while only nasal breathing. If you feel the need to breathe out of your mouth, that’s fine! Each time you go out, simply see how much you can do with nasal breathing, trying to push that time or distance bit by bit each session. Bonus? You get to enjoy the great outdoors.
Low-intensity Modalities + Breath Holds
I came across this method after listening to Cal Dietz, Strength & Conditioning Coach at the University of Minnesota, at multiple conferences and clinics. He’s worked with numerous Big Ten Champions, NCAA National Champions, and Olympians throughout his career. When working with athletes as they return from a hiatus in training (i.e. post summer semester), he has employed a 2-week period focusing primarily on aerobic training.
One method he’s used is 10-second exhalation and breath holds while performing light aerobic exercise. For example, while on a Concept2 Rower, he’ll have his athletes find an easy, maintainable pace for 1–2 minutes. For the next 10–15 minutes while maintaining that pace, athletes will exhale at the beginning of every minute and hold their breath following that exhale. They will attempt to hold their breath until the 10-second mark of that minute. So, if it takes 4 seconds to exhale, they’ll then try to hold their breath for 6 more seconds. Once you start breathing again, the goal is to stabilize the breath as quickly as possible.
After trying this myself, it was surprisingly difficult. There was a sense of being uncomfortable, obviously the urge to breathe, some slight tinging, followed by immense relief after the 10-second mark. I’m listing this last because it’s something I would work up to. Can you try it right off the bat? Absolutely. But don’t feel that you need to continue the breath hold for the full 10 seconds. Maybe its only for 5–6 seconds while you acclimate to the training.
***
All in all, there are various ways to train the aerobic system, and there isn’t one that fits all. But if you’re looking to sprinkle some variety into your routine, one of these modalities might be for you. As always, the goal with these workouts isn’t to leave you running for the trash can. If it does, take it down a notch.

This blog was written by Lauren Zakrajsek, NIFS Health Fitness Instructor, Personal Trainer, and Internship Coordinator. To learn more about the NIFS bloggers, click here.
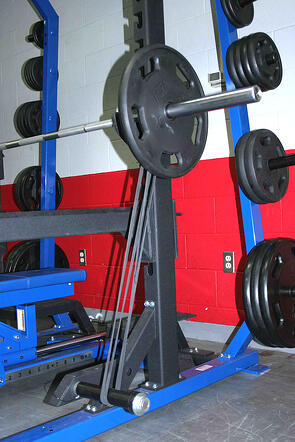
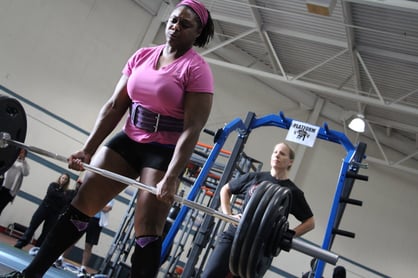 Weight-lifting belts have become a staple in many gym settings for powerlifting, Olympic lifting, bodybuilding, and strongman, and for anyone who wants to lift heavy loads. Whether you use them for training or on the competition platform, you need to know the ins and outs of weight belts so that you can make a smart decision.
 Periodization
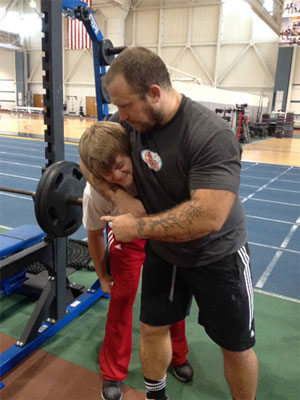
 Whether you have particpated in our Powerlifting Competition or interested in joining, I’m going to give you a solid progression that will allow you to develop a strong power clean with proper technique. The following movements can be a starting point for beginners or experienced lifters looking to get a fresh perspective on their current programs.
 just as many expectations to live up to. You guessed it, that’s me on top of that pyramid crying my eyes out about something I don’t remember—I’m sure one of my older brothers had recently given me “something to cry about” (a phrase we heard a lot).
 “If you don’t follow my rules, I’ll personally drag your butt to the front door and out to the sidewalk!”
 In
In 


 training.