 During this 2020 Coronavirus Pandemic, have you found yourself looking out your window and wishing that you could be enjoying sports, recreational activities, and exercising? In the not-so-distant past, we could spend seemingly unlimited time playing pick-up games of basketball with our best buds or head down to the gym and join our favorite yoga class, packed with like-minded individuals. Unfortunately, with social distancing being more and more prevalent in society, we have to not only limit contact sports, but also allow enough space so that others can safely participate in the activity, leaving classes no choice but to limit size or cancel altogether.
If you are one of these individuals that need sports and exercise in your life, there is good news! There are many activities you can participate in without putting yourself in harm’s way or interfering with someone else’s space. Here are several options that could help you become more active and socially distance at the same time.
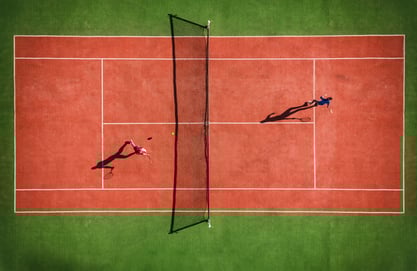
Tennis
Although tennis is a two- to four-person game, the court is large enough to share and still be sufficiently socially distanced. Tennis is a great game to improve total overall body health from cardiovascular capacities to strength development to motor skills.
Pro Tip: Avoid the end-game “high-five” and instead try one of these creative new celebrations (such as these replacements suggested by the World Health Organization (WHO).
Disc Golf
Disc golf, a game played with a Frisbee-like disc, is quite popular because it can be played in wide-open outdoor areas, which allows for social distancing while still being able to have a friendly competition with your pals. Although disc golf may not be as physically active as tennis, you can benefit from other elements such as hand-eye coordination and positive stress relief. Check out the Professional Disc Golf Association website for information ranging from disc golf courses near you to pro tips to get the most out of your experience.
Kayaking
For those who enjoy the water, kayaking can provide numerous health benefits, most notably cardiovascular health. Like traditional cardio, you will most likely receive more benefits with increased efforts. You can expect to get a healthy dose of upper-body strengthening as kayaking uses the back, arms, shoulders, and chest. Possibly the best part of kayaking: when you are finally finished and are ready to cool down, you can take a quick dip in the water! You do not have to own a kayak; there are many outfitters in central Indiana that can provide kayaks, safety gear, and paddles for your excursion. Check out KayakingNear.me for exact details.
While limiting our workouts seems unavoidable, always remember that there are many activities available to keep your interest and your fitness at peak level. Keeping you moving and exercising, all while being as safe as possible, is one of our top goals. NIFS is committed to fitness and safety alike. Feel free to stop by and see a staff member at the NIFS track desk to schedule an appointment for a fitness evaluation, a workout program, or just to discuss your favorite socially distanced activities and sports!
As always, muscleheads rejoice and evolve!

This blog was written by Thomas Livengood, NIFS Health Fitness Instructor and Personal Trainer. To read more about the other NIFS bloggers, click here.
 In my experience over the years working with folks from all walks of life to help improve their strength, mobility, performance, and overall fitness I have found that so many suffer from immobility in two major joints: the ankle and the shoulder, which is the focus of this piece. Lifestyle, occupation, inactivity, and overtraining are all culprits robbing so many of healthy range of motion in the shoulder and shoulder girdle.
 A question I get asked frequently is, “Why are you interning for a fitness center when your major is social work?” The first thing people think of when they hear social work is working at the Department of Child Services, and being in a fitness center doesn’t seem to make sense. But social work is so much bigger than that, and it continues to expand into new places, such as fitness and sports.
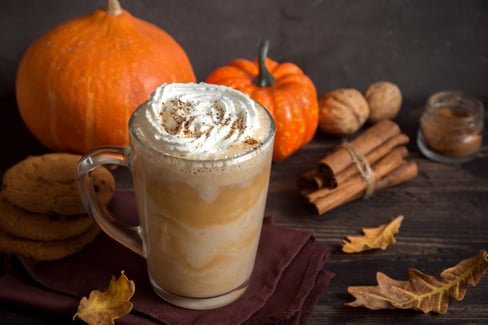 Pumpkin season is officially here, and I am SO excited! Call me “basic”—you would not be wrong. Starbucks has launched their pumpkin drinks. Food bloggers, including myself, are basically turning their kitchens into giant pumpkins. It is a whole thing.
 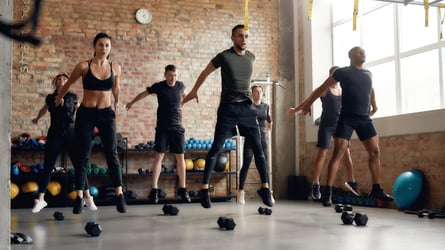 Want to jump higher, jump farther, or possibly dunk a basketball? With all the athletes I have trained over the years, at some point within their sport they all jump. Competitive as athletes are, they want to be able to jump higher like in volleyball, or jump farther like swimmers coming of the blocks, for example.
  You’ve told yourself that it would just be one “cheat meal,” but the next thing you know that one meal turns into everyday meals and you feel like you have fallen so far off the wagon that there’s no getting back on.
 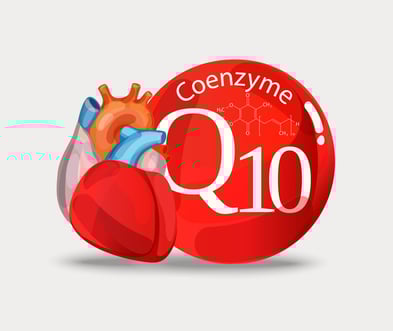 Coenzyme Q10, also known as ubiquinone, is a commonly used supplement by those with cardiovascular risks and disease, and especially those using statins. CoQ10 acts as a carrier in our cells to assist in
  Looking back on the history of my work in the blog world, I have found that
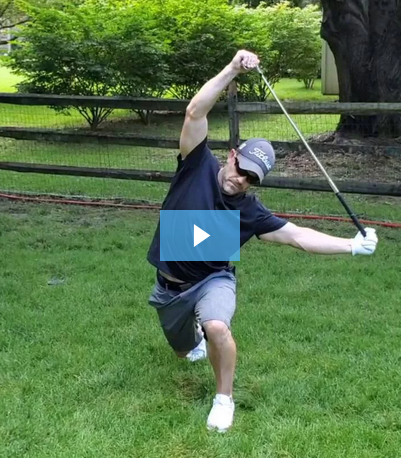
 Often I ask my clients or athletes why they exercise. The most common answers that I get from them are “because I want to look better” or “for good health,” which are great reasons for sure. But what if I told you that exercise helps one of the most important organs in your body that doesn’t include any visible muscle:
 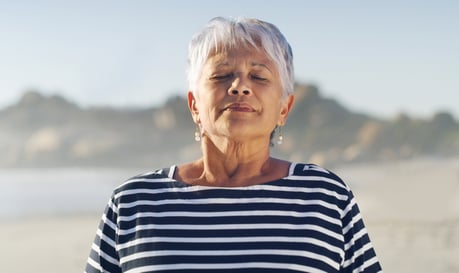 Seriously. Stop and take a breath. Don’t judge your technique, just breathe in and out. Failure to do both in and out will likely result in you fainting, and the ERs and urgent care centers have enough to do without you coming in with a cut forehead requiring stitches.